Editing a Zone Record
There are two ways to edit a DNS zone:
- Click on the "Edit Zone" icon. This will take you directly to the Zone Editing screen.
- Click on the zone name. At the Zone Detail View screen, you can click on the "Edit this zone" hyperlink.
The Zone Editing screen has three main areas:
1) Zone Management:
This area is at the top of the screen and provides direct access to confirm zone file changes. By clicking the "Check Zone" button, we automatically confirm that your zone is verified and highlight any problem entries. Once verified, you have the option to perform an "rndc reload" or "rndc retransfer" of the particular zone you are editing and the server type it is associated to.
*Note: When zones are written the serial number is incremented and DNSSEC refreshed (if enabled)
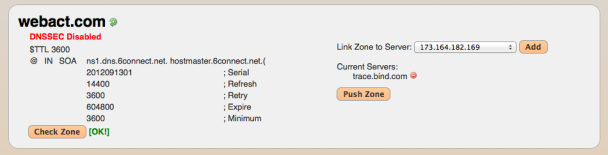
Figure 1: Normal zone with no errors
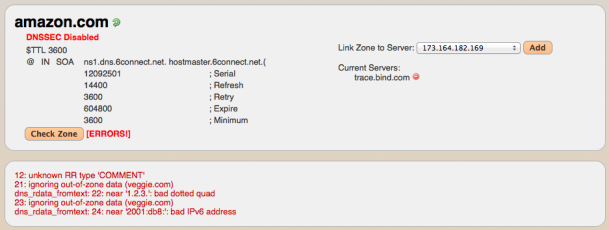
Figure 2: Zone with multiple errors of different types
If errors are detected, the relevants zone record entries will be highlighted to show the error condition.
2) DNS Zone Record Data:
You have two modes for viewing/editing Zone Record Data. he Verbose view and a BIND view allow for varying levels of comfort with DNS editing tools. The Search window also allows the user to filter the list by using multiple parameters.
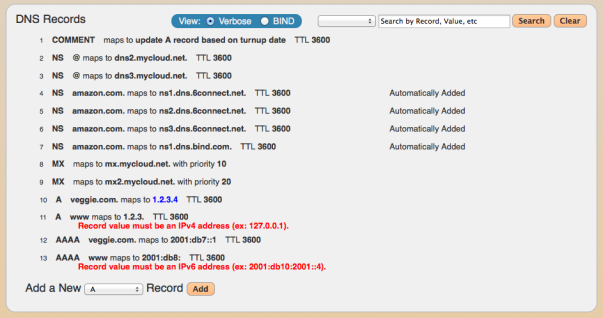
To Edit a Zone Record, simply double-click on it the entry and make any required edits. Press the "Cylinder and Pencil" button to save your edits.
![]()
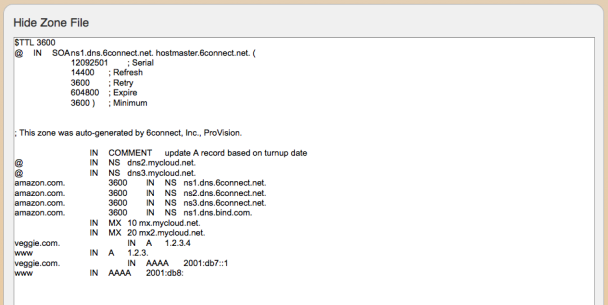
3) Show DNS Zone:
This view gives you a "CLI type" view of the one file - this is a read only screen.
4) Show DS Records:
This section displays the DS keys generated for this particular zone.
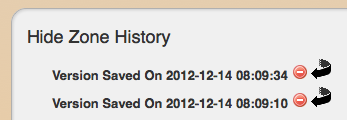
5) Show Zone History:
The feature allows you to revert/reload previous zone versions. Note that the zone has to actually be pushed for the Zone History area to show up on the screen.