ProVision 6.0 is a major release with new features.
New Features
(CFR denotes customer requested)
DNSv3
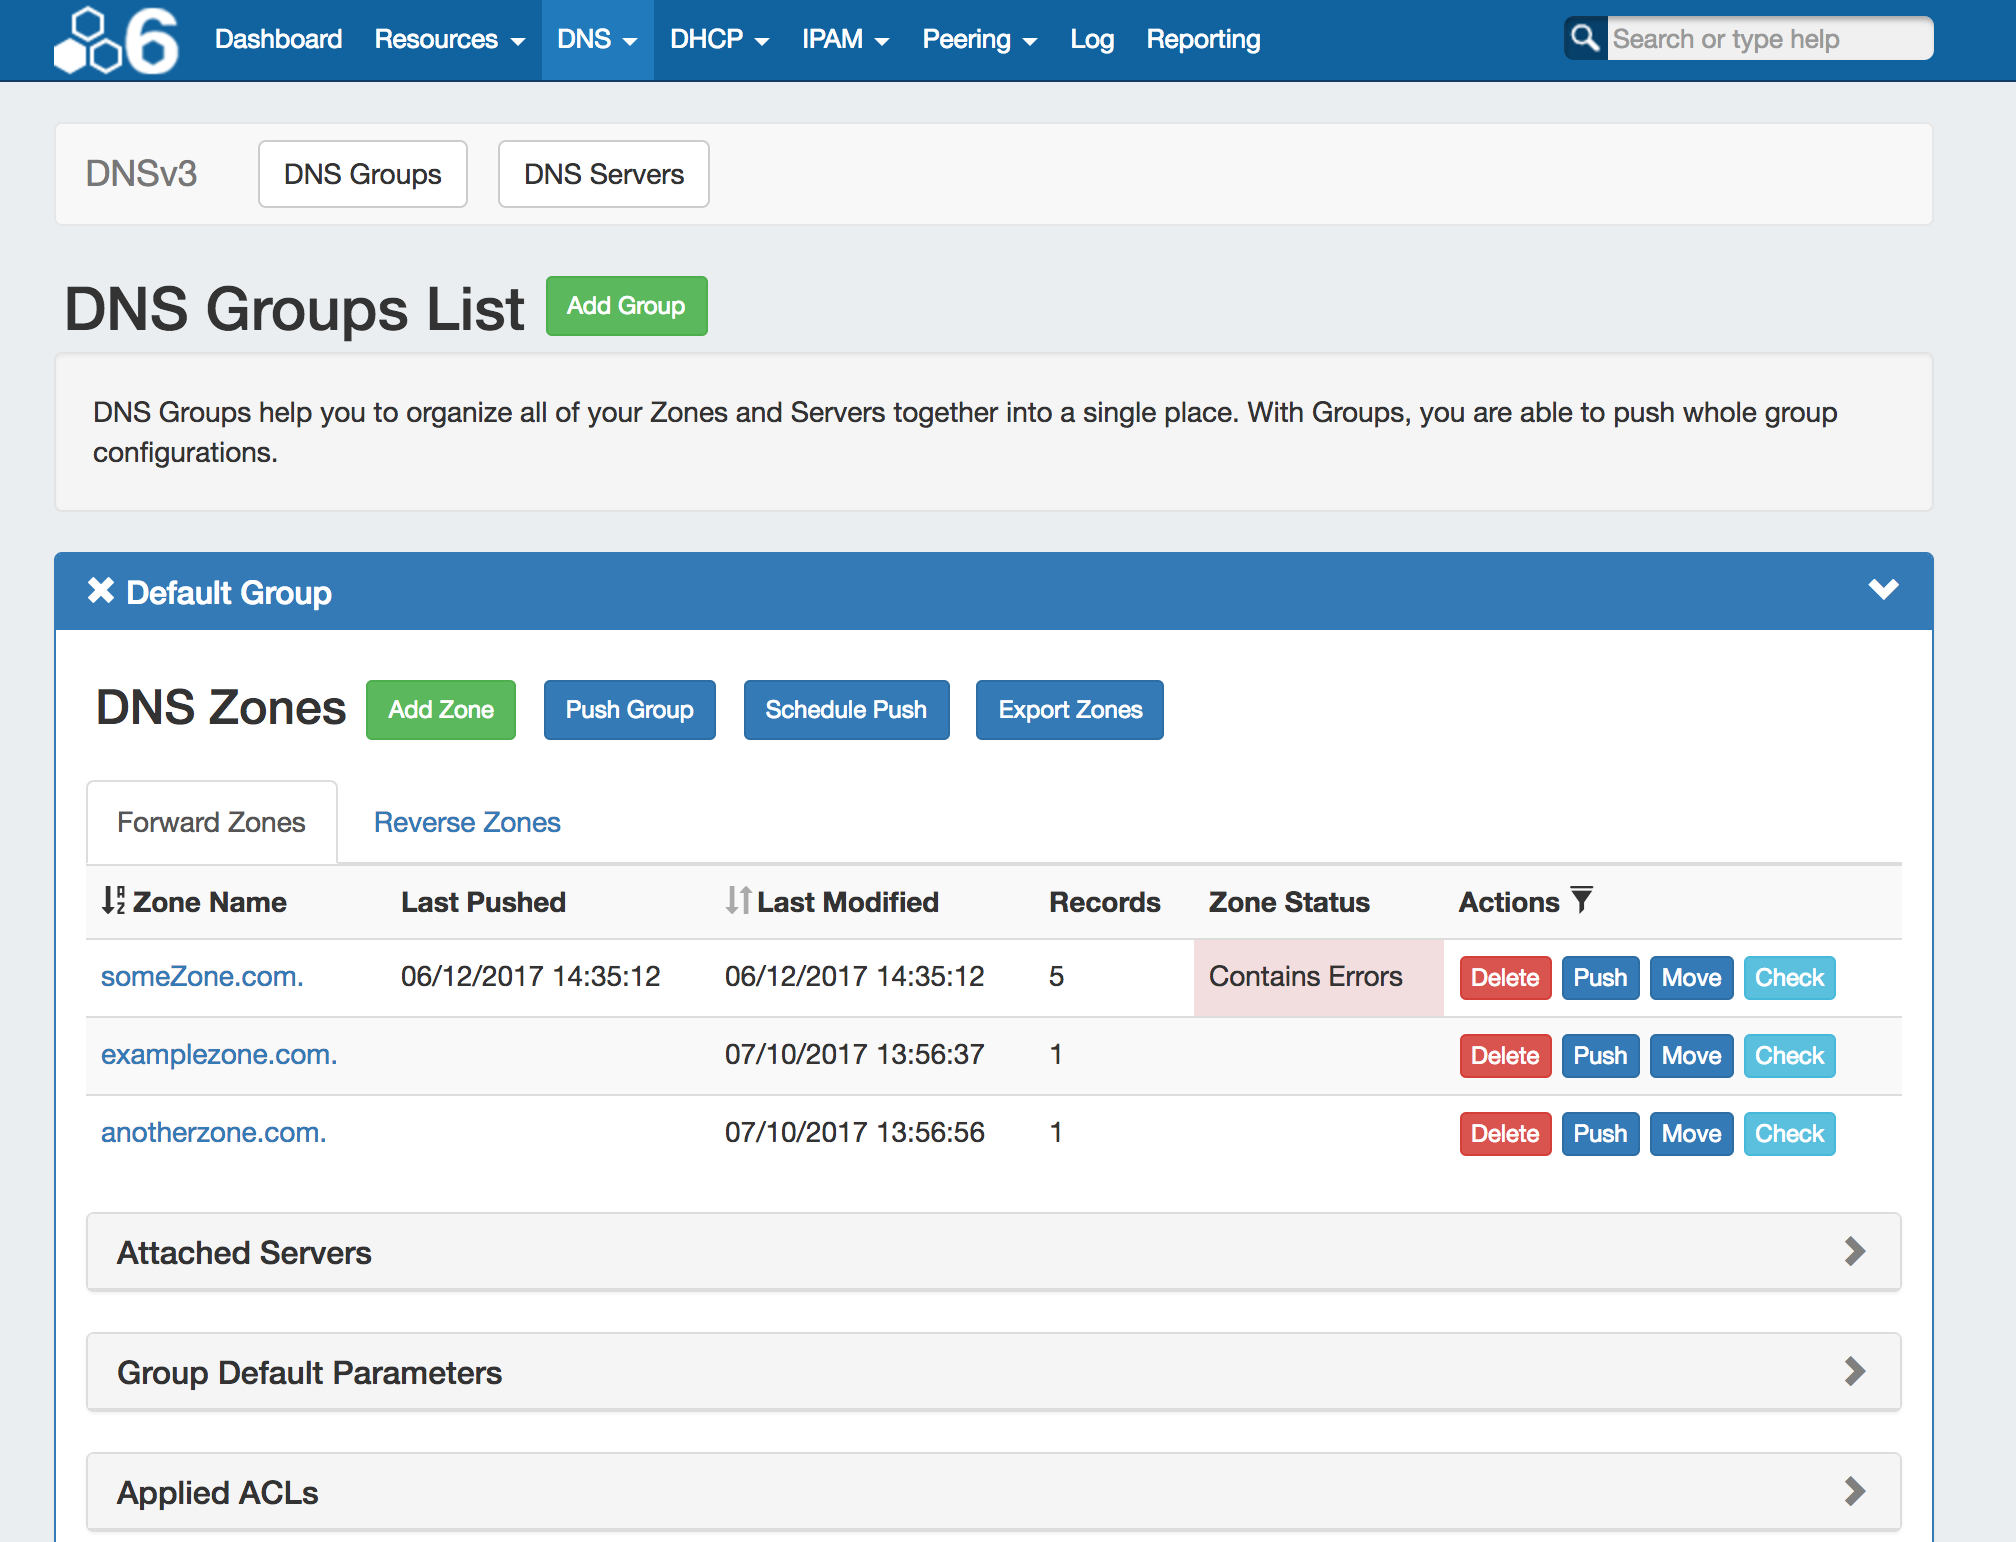
IM -2552: Updated and replaced the DNS Admin and DNS Tabs with DNSv3 - featuring a more efficient backend, new user interface, and a DNS "Group" system.
DNSv3 restructures ProVision's DNS tab to organize DNS zones into "DNS Groups". Zones are gathered under Groups, default parameters and servers are set per Group, and pushes may be done on a per Group level. A "Default Group" is automatically provided in ProVision, but other Groups may be desired to organize zones and default values. See the updated workflow for DNSv3 at DNSv3 Workflow Concepts.
DNSv3 changes ProVision's approach to Admin-level DNS tasks, integrating them under the DNS tab rather than a separate "Admin" tab. Server management has been integrated into the DNS Tab, under "DNS Servers" (accessible only to admin-level users), default parameters, SOA, ACLs, and exports are incorporated into each DNS Group.
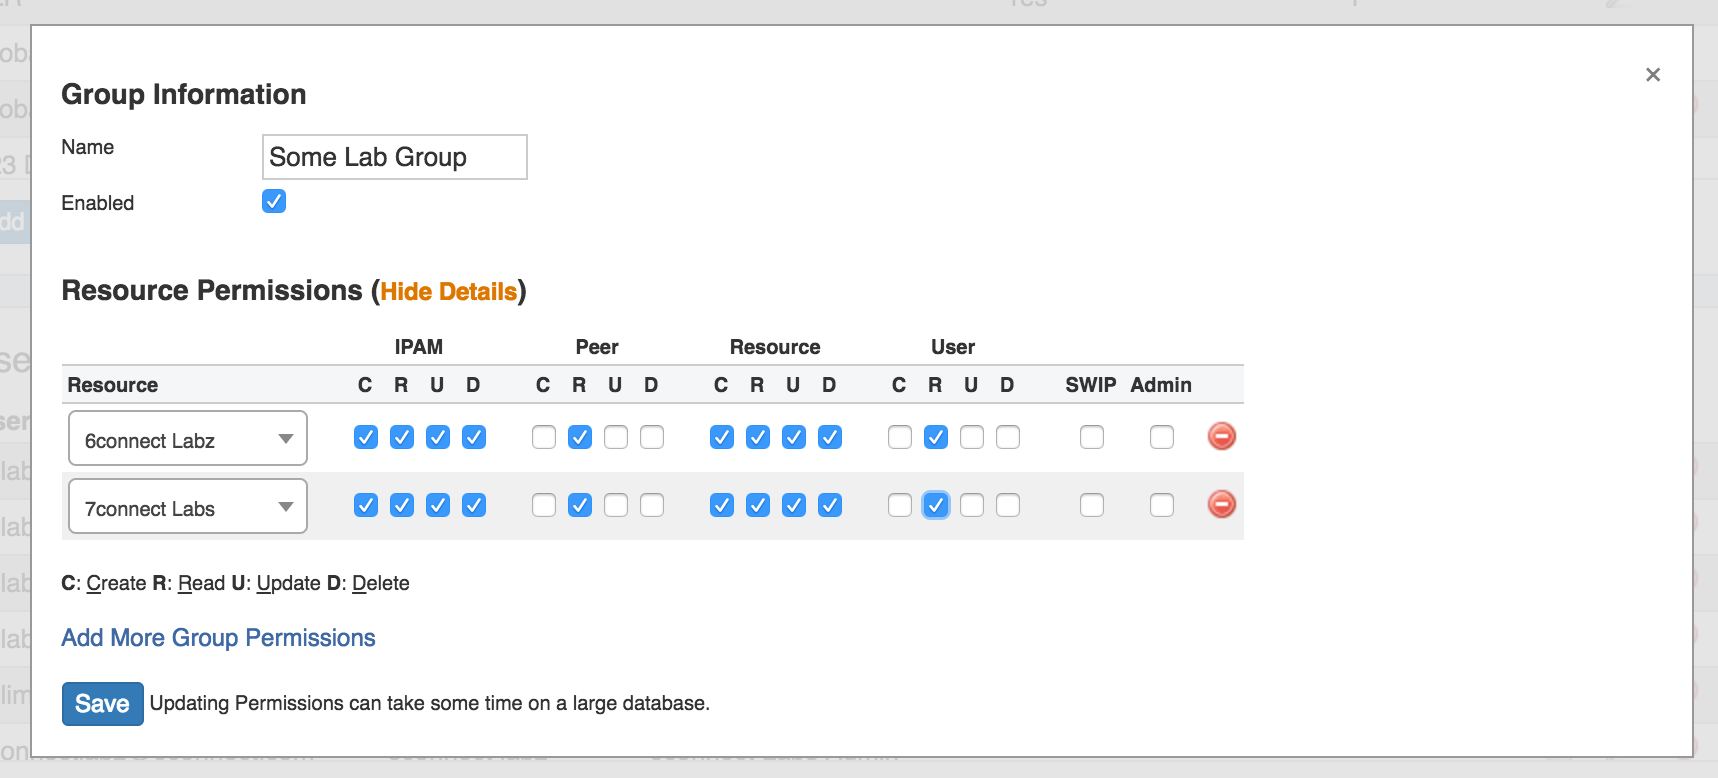
Permissions for interacting with DNS elements in DNSv3 have been adjusted, incorporating DNS items under the "Resource" system when setting User Group Permissions. This allows for fine-tuned settings on individual DNS Groups, servers, and zones within the Permissions Group.
For an overview flowchart of working in DNSv3, see the updated workflow for DNSv3 at DNSv3 Workflow Concepts.
- Access DNS Servers, Groups, and Zones from the same ProVision DNS tab.
- See: DNS Tab
- Removed the DNS-Admin tab. Functionality previously in DNS-Admin is now contained under the DNS tab "DNS Servers" area (Admin only), with SOA and Nameserver defaults set per-Group.
- Introducing "DNS Groups" - Organize your Zones and Servers together into a single place. With Groups, you are able to organize groups and push whole group configurations at the same time.
- Updated Zone list interface and View Zone pages.
- See: Working with DNS Zones and Editing DNS Zones
- Zone Error Monitoring - Check zones for errors, and receive detailed feedback.
- Schedule Pushes at the server, group, or individual zone level.
- DNS Templates have been removed and replaced with an option to "Clone Existing Zone" when creating a new zone.
- "Template" Zones may be created under a "Template" DNS Group, and given an appropriate name (templateABC.com.) to reference when cloning. Any existing DNS Templates with automatically be migrated to a new "Template" DNS Group during the 6.0 upgrade.
- See Working with DNS Groups and Working with DNS Zones for more information on creating new Groups and zones, respectively.
- Incorporated ACLs / Views into a DNS Group module.
- Enabling and configuring DNSSEC has been revised to work within the DNSv3 server / Groups system.
- The Users tab Group Permissions have been updated to remove "DNS" as a separate permissions area, as DNS entities (servers, groups, zones) are now considered "Resource" items.
- In order to push a DNS Group or zone, Users without global or admin permissions will need to have resources permissions specifically added for that server, DNS Group, or zone.
- See Users & Permissions
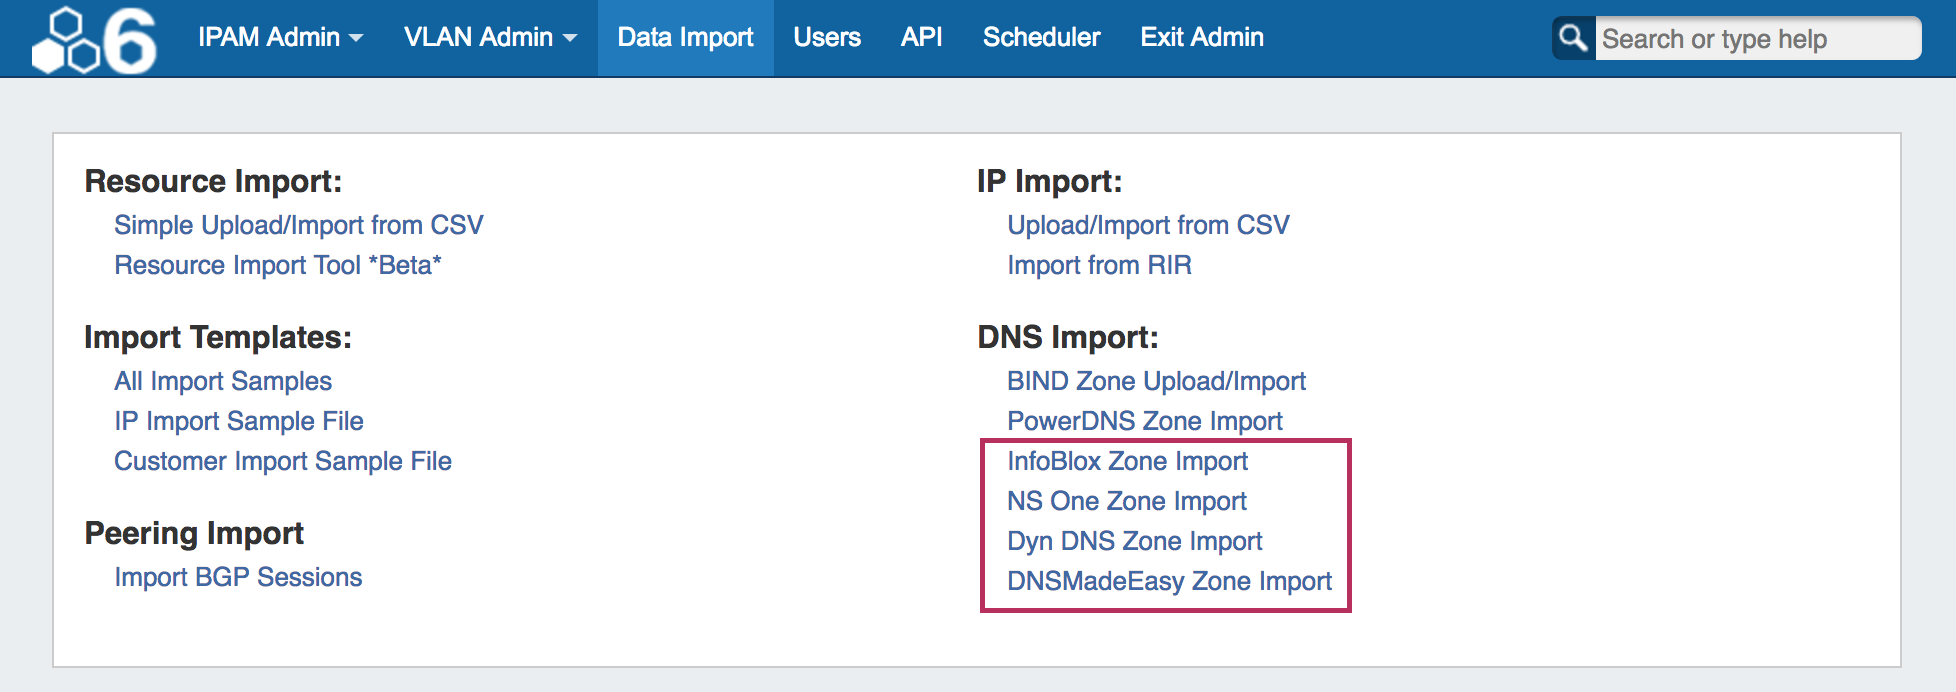
- Revised the Data Import -> BIND DNS Zone Upload / Import tool to be compatible with DNSv3 and ProVision-exported DNS Group export .zip files. Imports may now associate a DNS Group to import zones under, and server mapping has been removed (as servers are now associated at the DNS Group level).
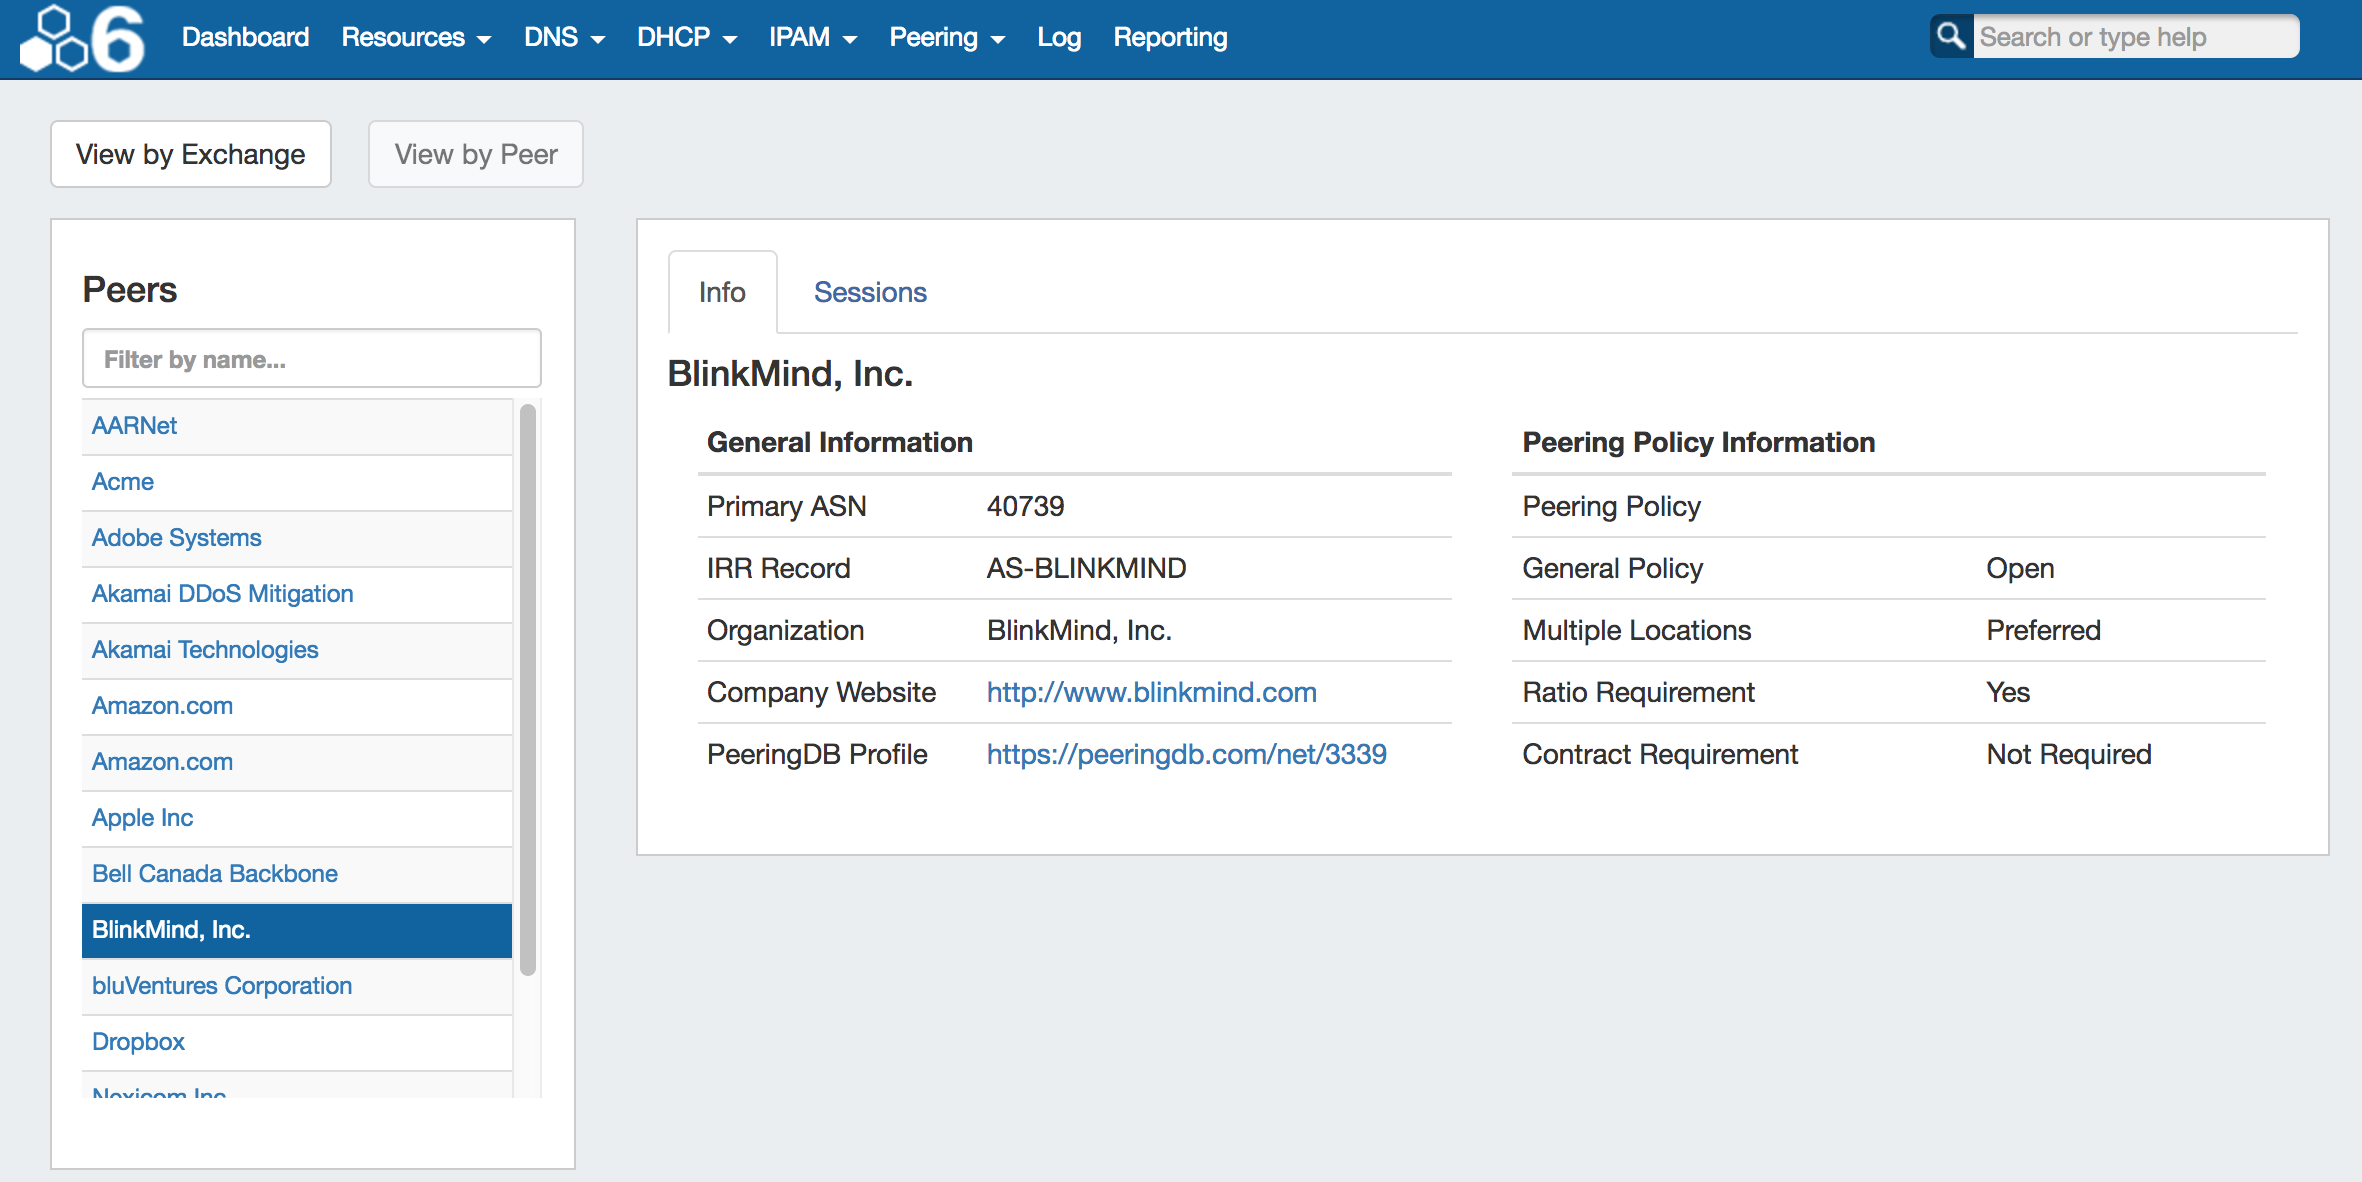
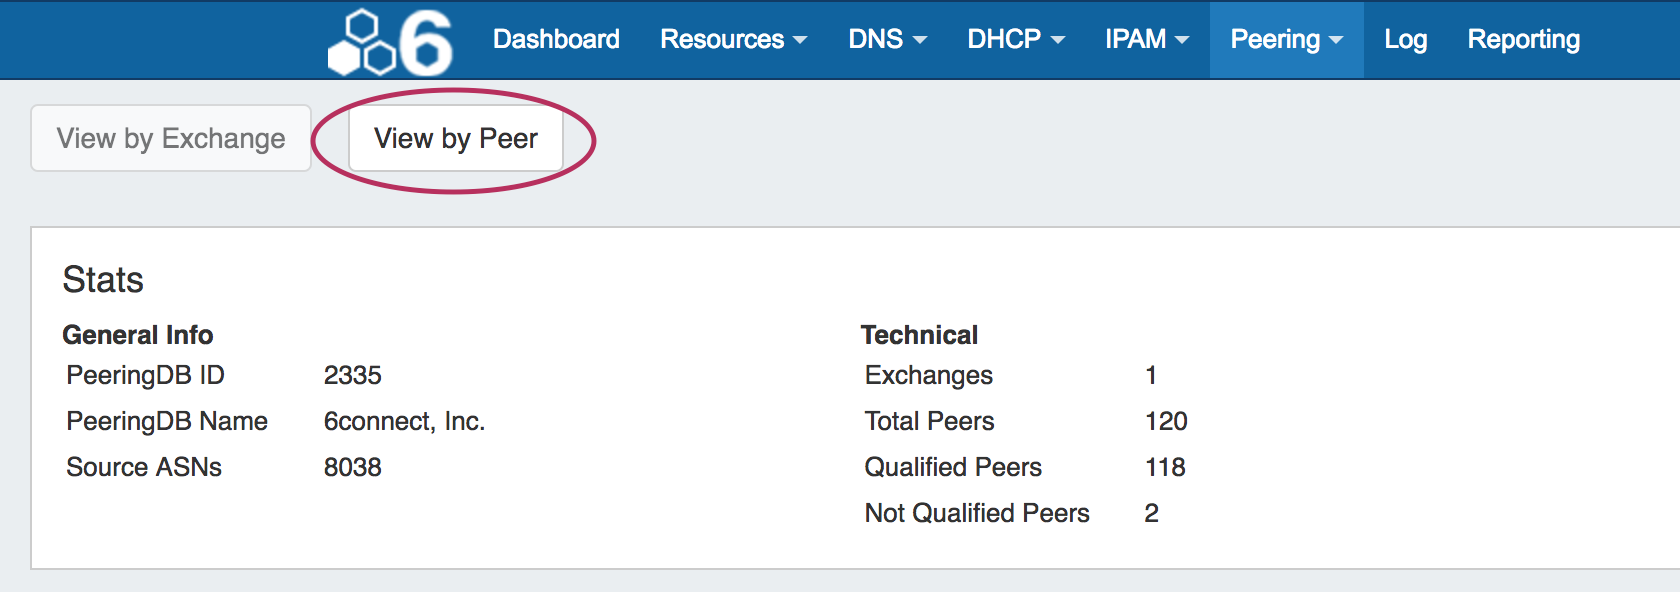
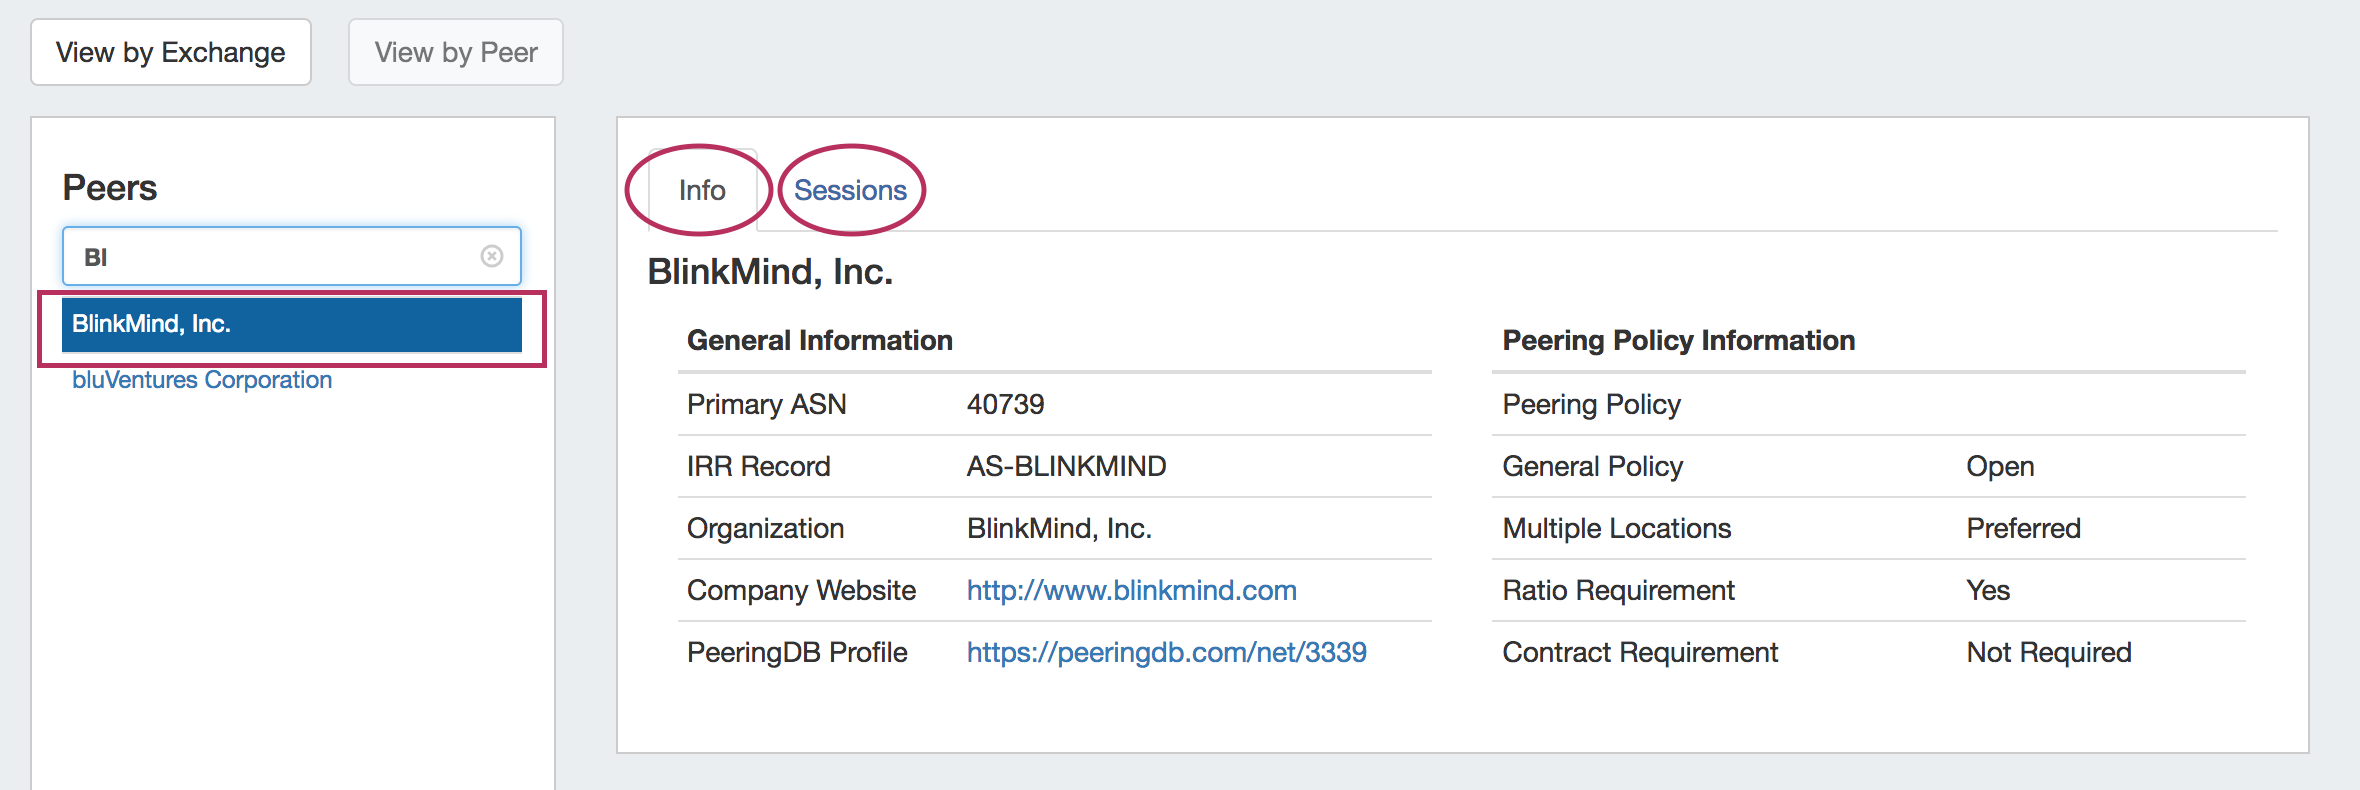
Peering "View By Peer" tab
DNS Autogenerator Gadget
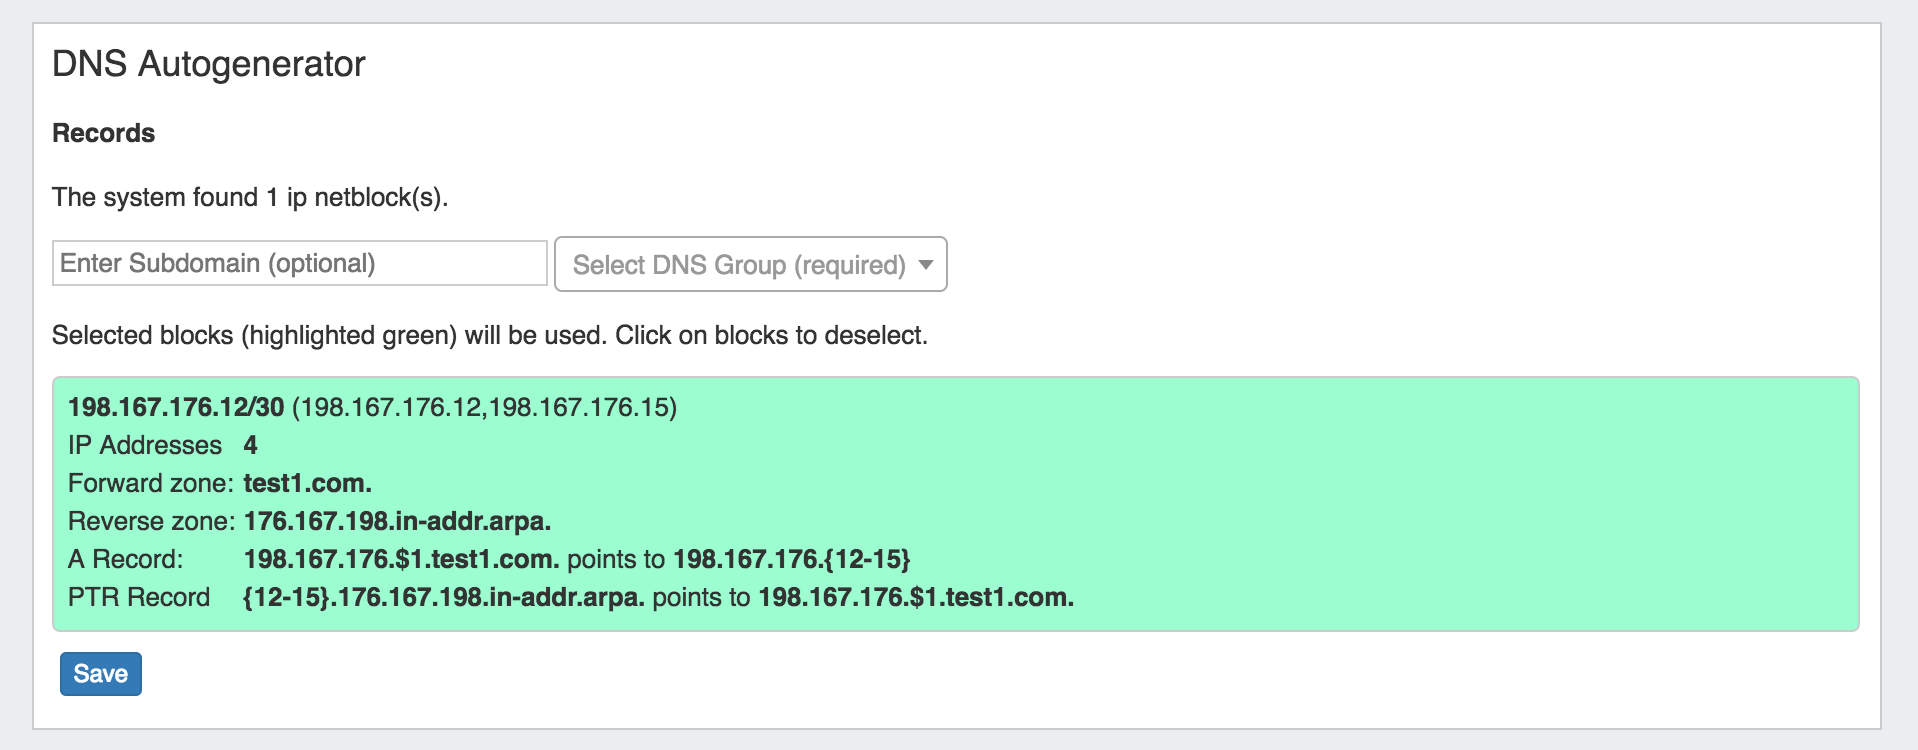
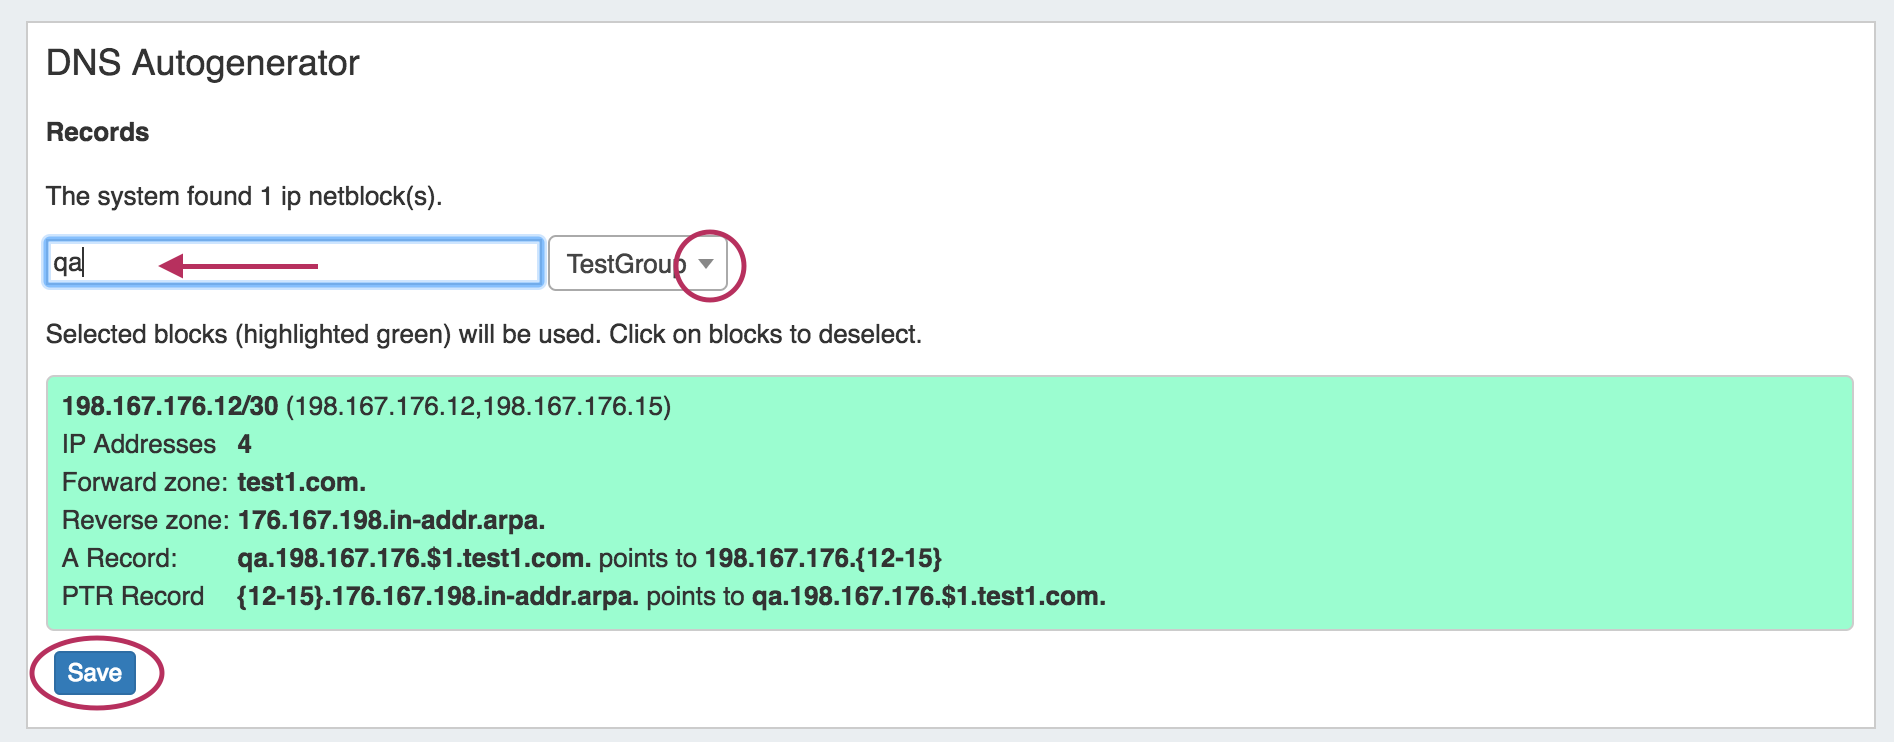
The DNS Autogenerator Gadget uses the Hostname field (6c-hostname-fqdn) of the Resource to generate a list of DNS forward and reverse zone entries based on the blocks assigned to the Resource in the IPAM Gadget It will generate a list of potential zone records - just select the ones you want to create, save the changes and you are ready to push the zones. See Gadgets - DNS Autogenerator for more details.
DHCP Customer Configuration Gadget
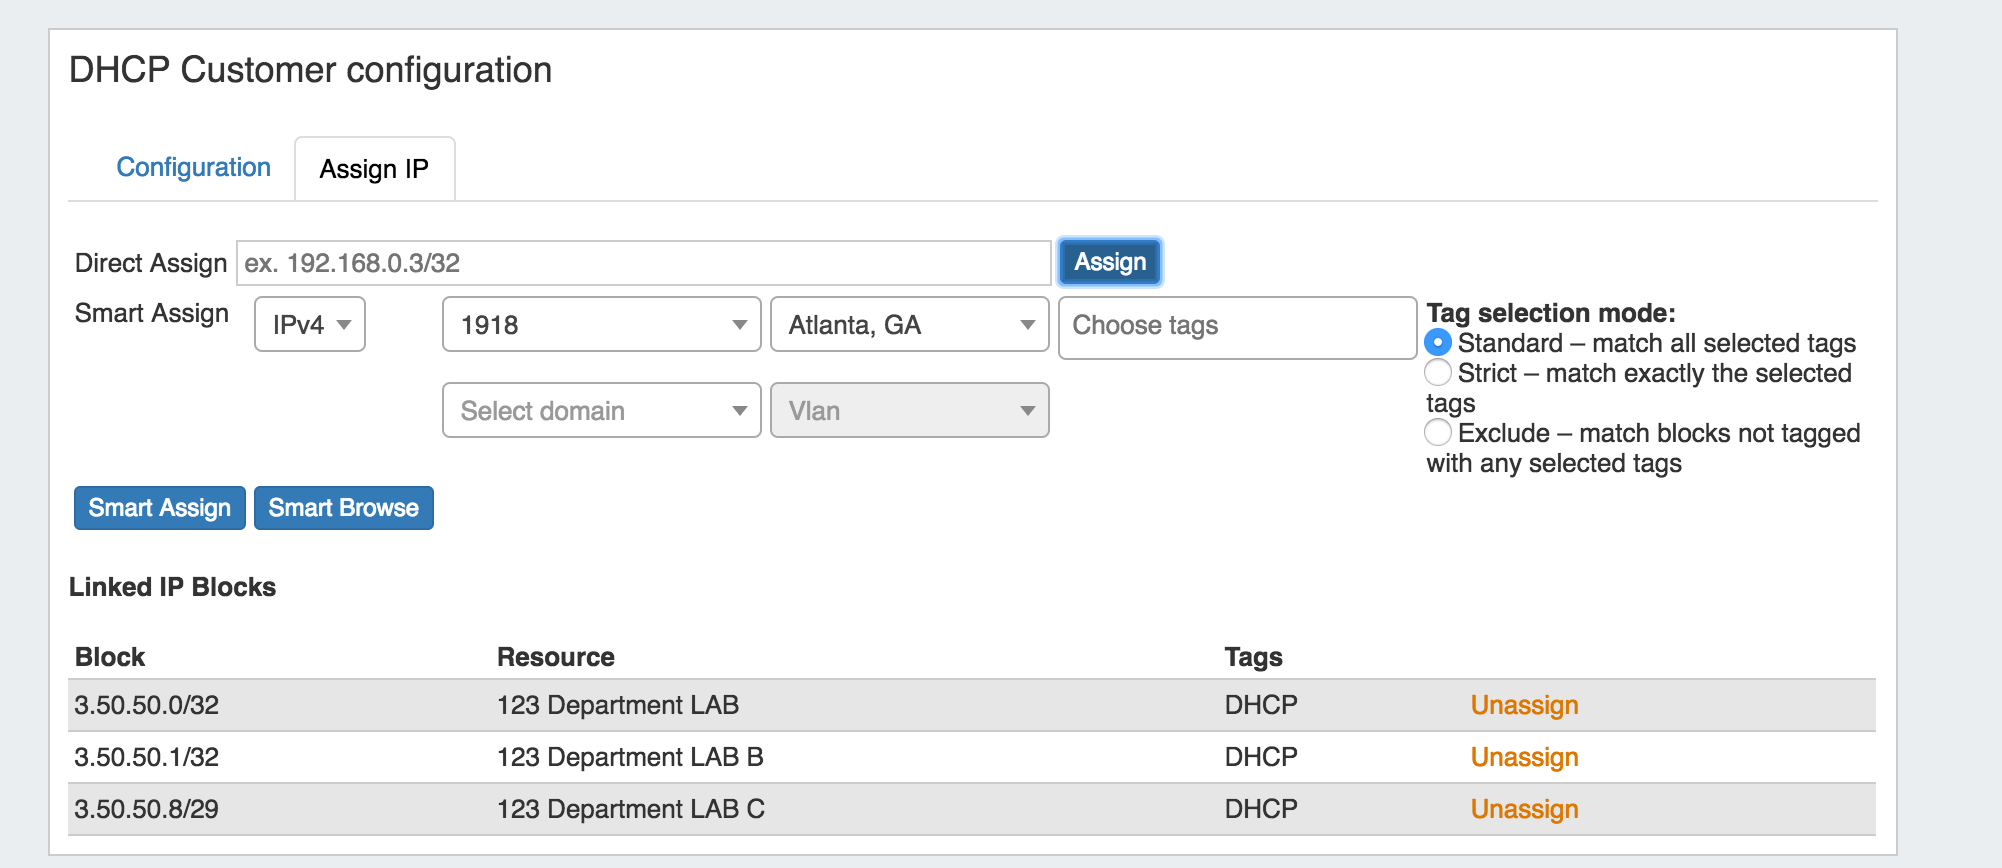
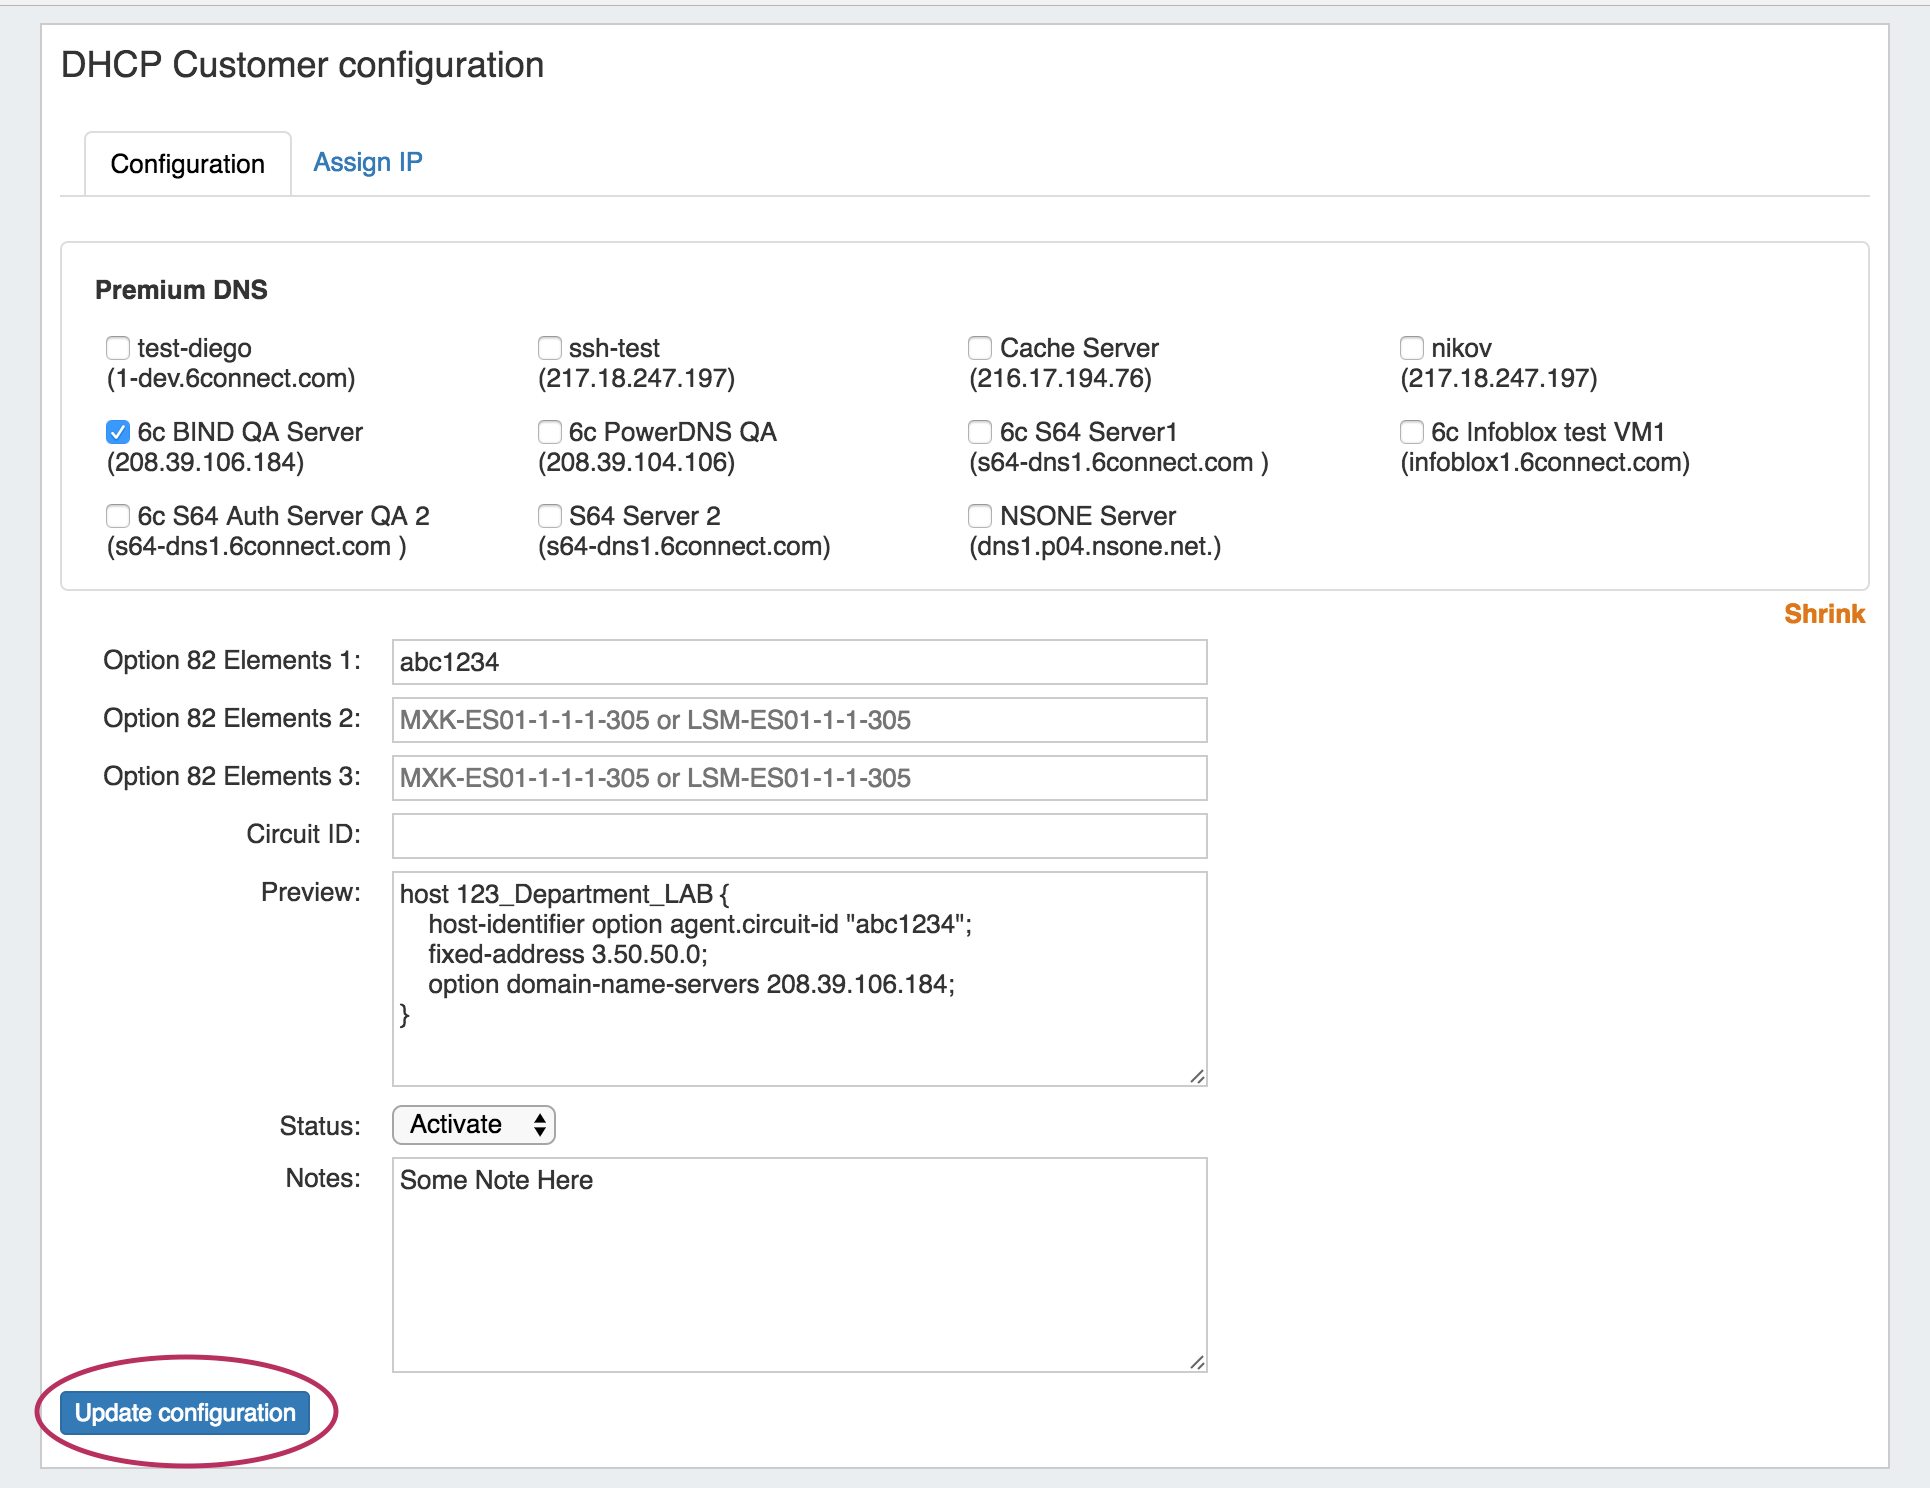
The DHCP Customer Configuration Gadget allows users to assign IP aggregates to the DHCP server pools and generate DHCP Server Configuration changes.
These configurations are then sent to the associated DHCP server Management Gadget as "Unpushed Configurations", where they may be held until a manual or schedule push occurs.
Additional Features / Improvements
New DNS Import Options
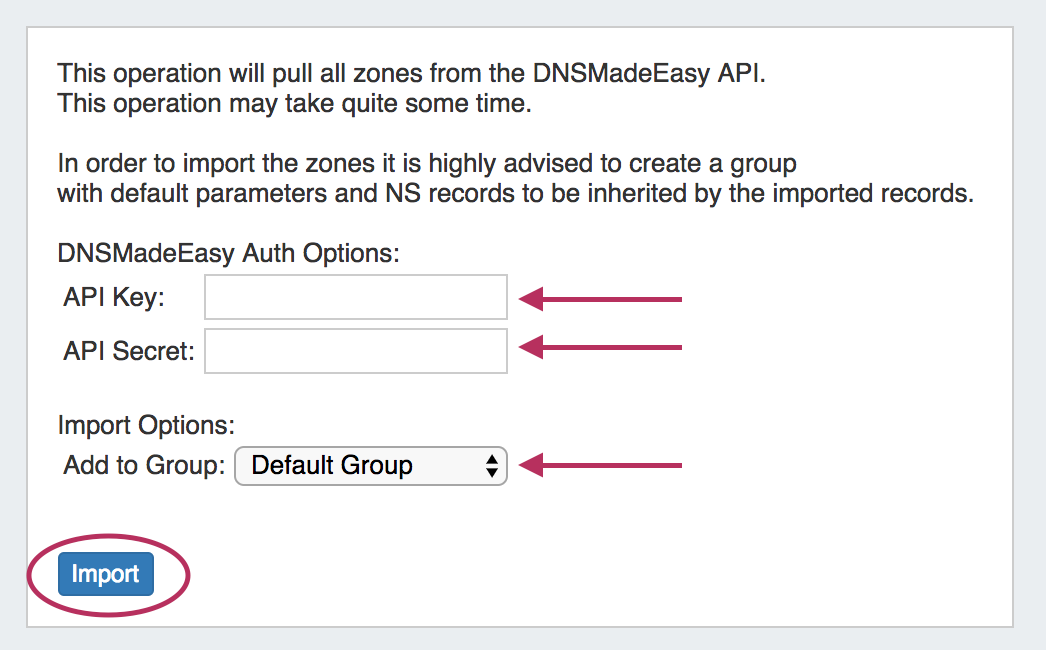
Provision DNSv3 supports the addition of four new DNS Zone Import options to the Admin Data Import Tab:
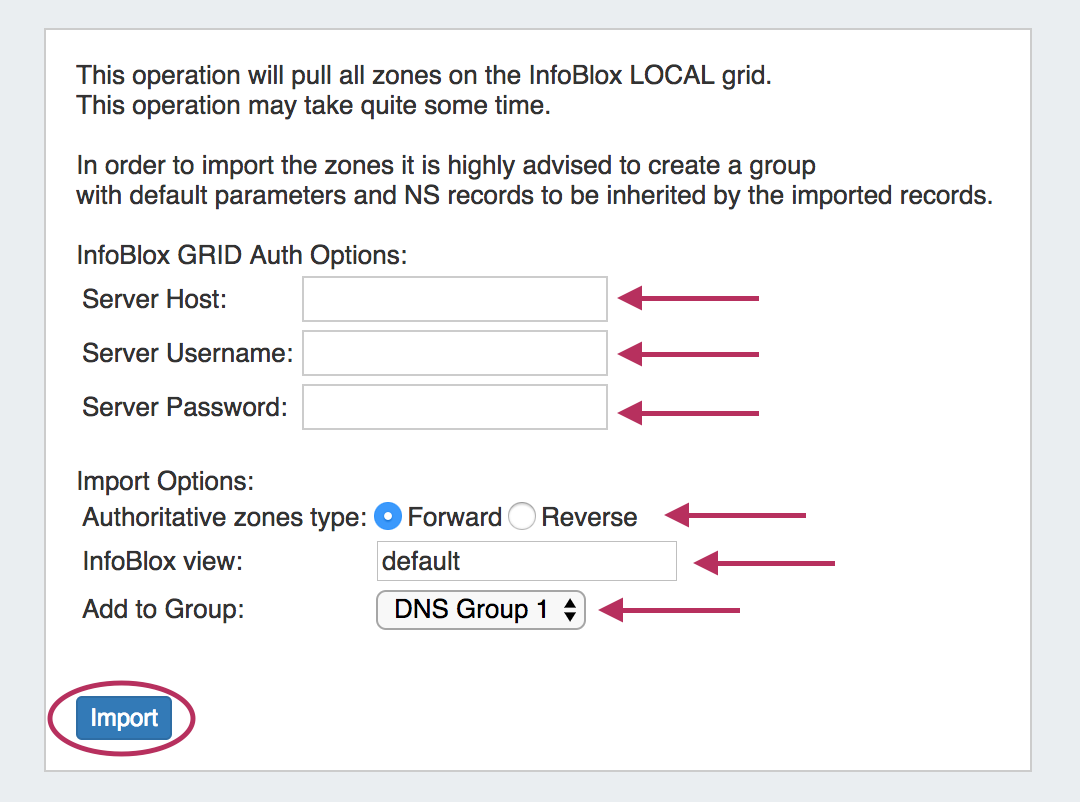
InfoBlox DNS Zone Import
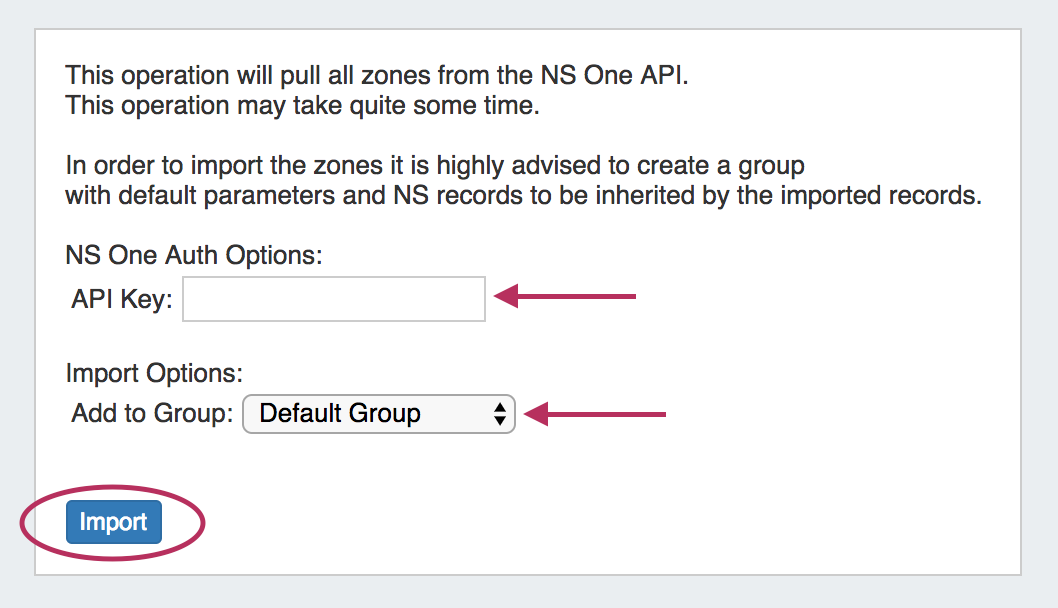
NS One DNS Zone Import
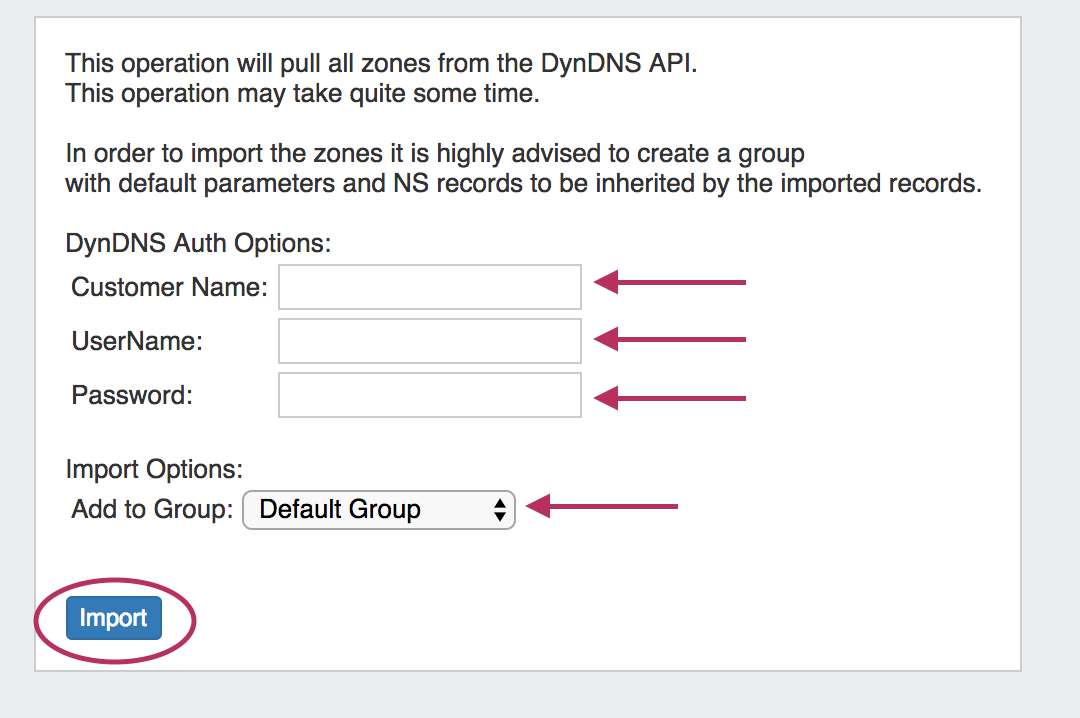
DynDNS Zone Import
DNSMadeEasy Zone Import
Peering - Configure Sessions for Existing / Approved Peers:
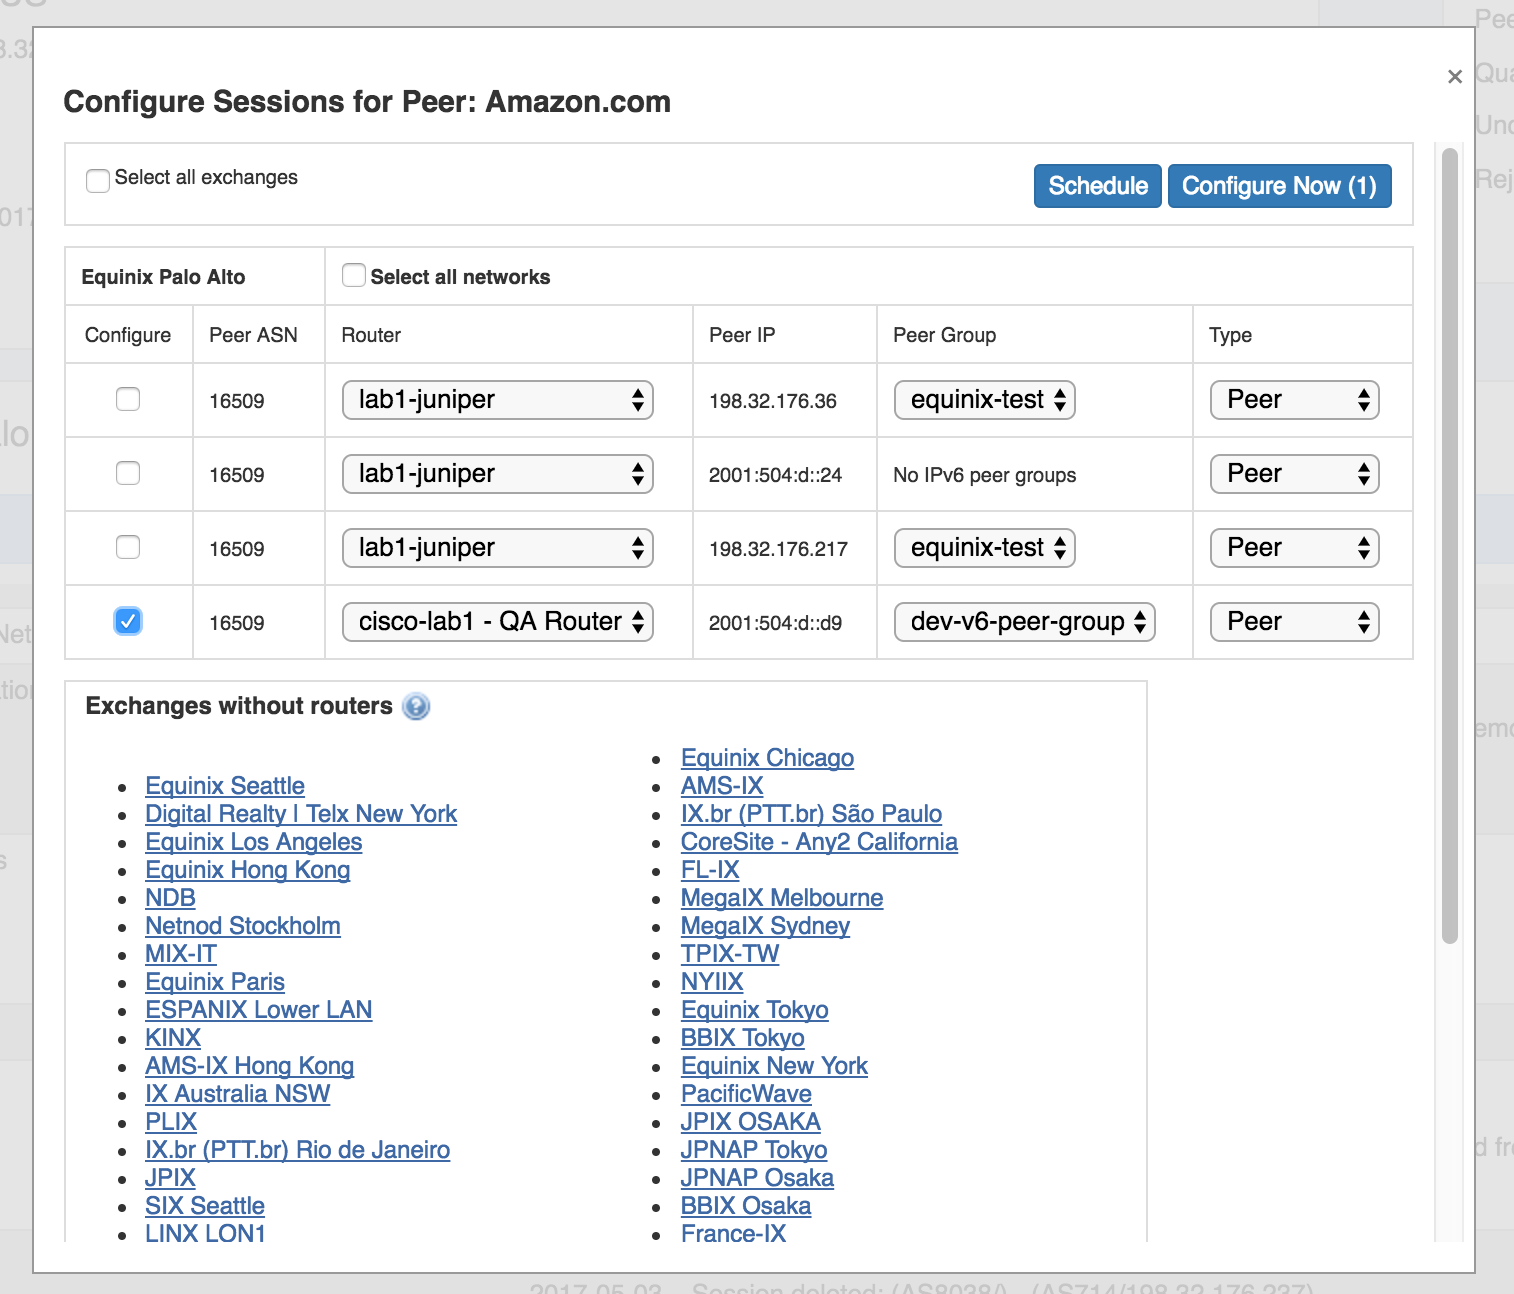
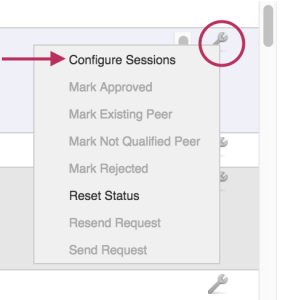
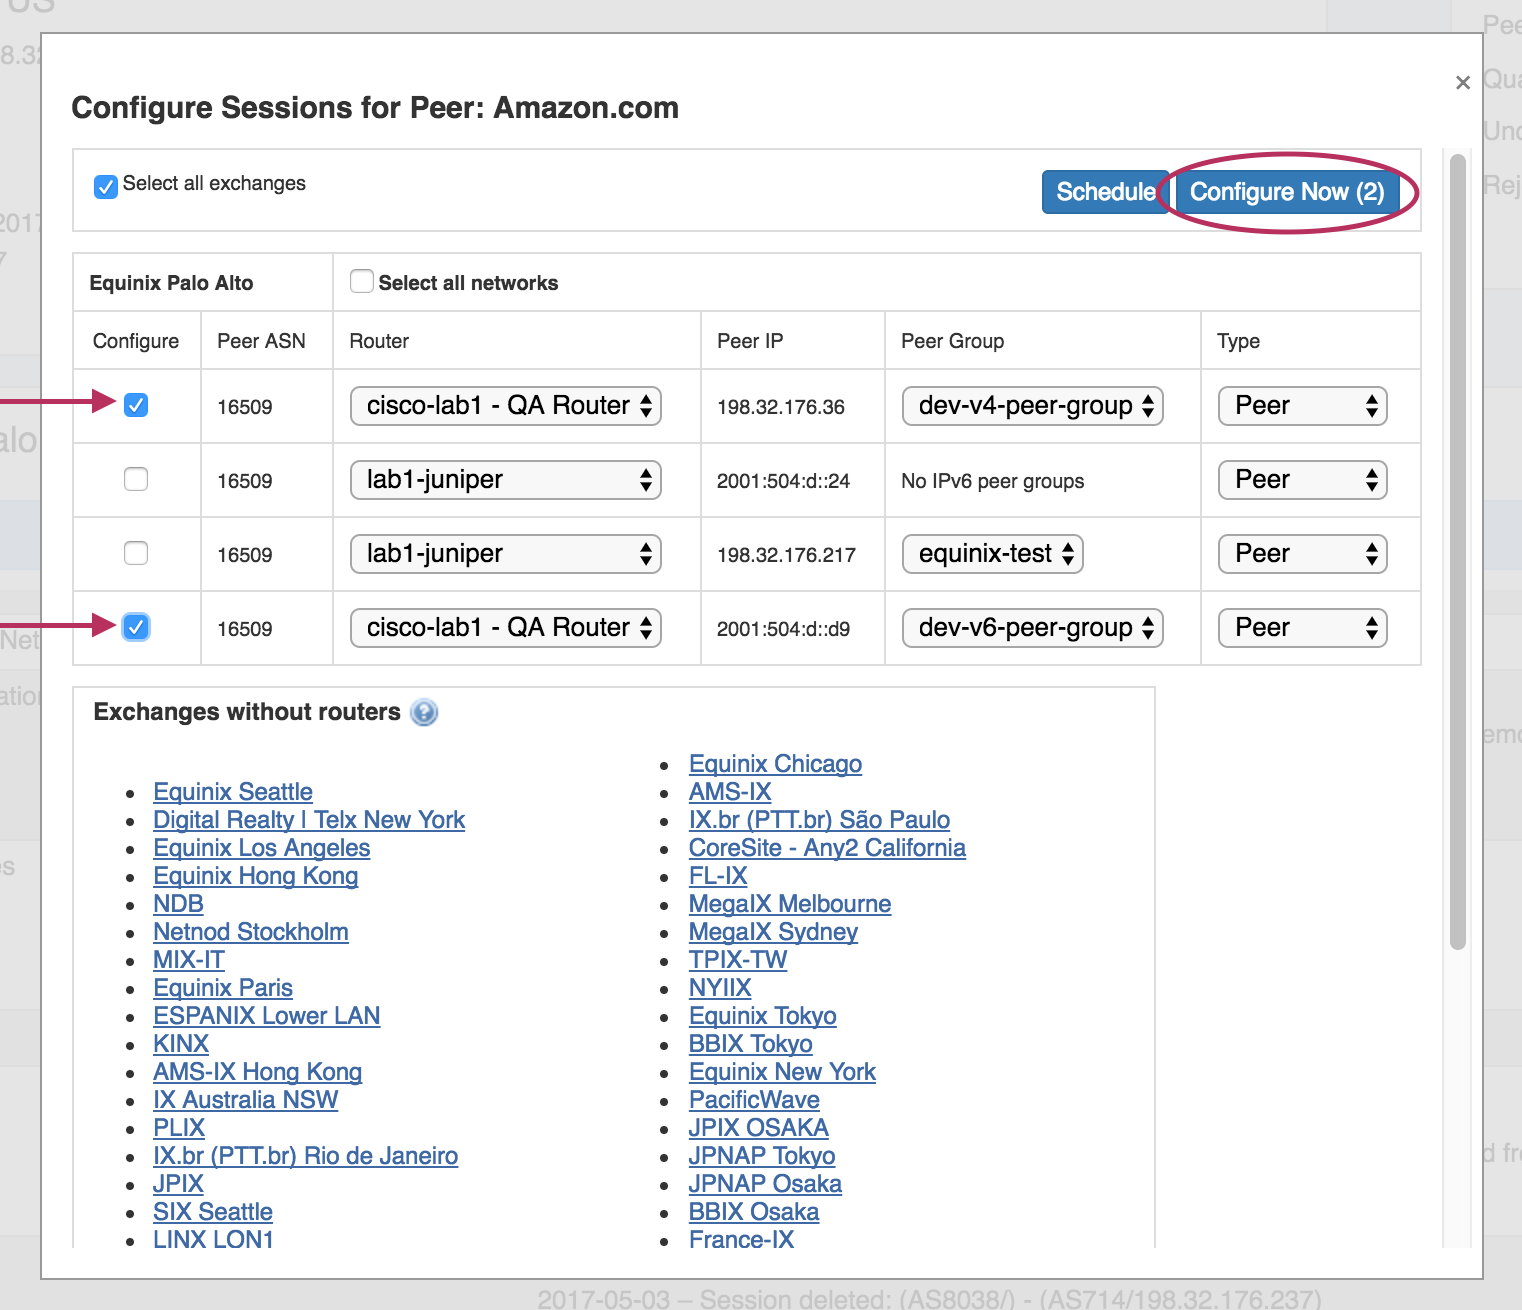
An option has been added to the Peering Communications action menu to "Configure Sessions" for that Peer. With this option, you can view and configure all sessions, from any or all exchanges, for that Peer from one menu. "Configure Sessions" becomes available once a peer has been marked "Existing" or "Approved" in the Communications Action Menu. For more information, see Peering Sessions.
Users Tab/ Permissions Updates:
The Users tab in the Admin area of ProVision has been updated to reflect DNSv3 changes for permissions groups. Changes include removing "DNS" as a separate permissions area and incorporating DNS items under the "Resource" permissions area. DNS Groups, Zones, and Servers may now be selected as "Resource" items when settings up permissions groups.
CPNR Updates:
CPNR Updates include:
- Added a check to ensure CPNR modules in ProVision are reachable prior to Push
- Option 43 is now integrated
- scope_upsert call now is taking 2 new parameters "option_43_name" and "option_43_value".
- The "option_43_name" must be predefined inside CPNR (Design->Options)
- "option_43_value" should be the value that is going to be set for the Scope for example "241 11.22.33.44" (typically 241 followed by the IP).
DNS APIv1 Updates
To support the release of DNSv3, the following updates have been made to DNS APIv1 endpoints:
- As of DNSv3, zones are now considered their own resource. Thus, DNS APIv1 zone parameters "zoneResourceId", "updateZoneResourceId", and "deleteZoneResourceId" now refer to (and equal) the zone ID instead of the parent resource ID, and are no longer editable values.
- The DNS Zone Control "GET" optional parameters "selectOffset" and "sortArray" have been removed.
- DNS Zone Tags are no longer supported. Zone Tag parameters under target=zone and target=record have been removed.
IPAM APIv1 Updates:
Get:The following updates have been made to IPAM APIv1 "get" endpoint. Valid tagsMode options are now "strict", "exclude", "intersection", and "union". See API Module - IPAM for additional details.
- If tagsMode is omitted from an IPAM Get request, the mode defaults to 'intersection'
- tagsMode=union has been implemented for IPAM Get. It selects any block which has any one of the tags.
- tagsMode=intersection matches any blocks which has all of the tags.
tagsMode=strict and tagsMode=exclude remain unchanged.
smartAssign: if the phrase "assignedResourceId=ignore" is supplied, then a matching IP block is selected from the Available pool or any sub-assignable block on any resource.
DNS Gadget Updates:
The DNS Gadget has been simplified to support DNSv3 changes.
- Zone creation, editing, and deletion has moved into DNSv3, under the DNS Tab.
- The action menu has been simplified to a "View Zone" option, which links to the DNSv3 view zone page (also accessible from clicking on the zone name).
- Zone delegation has been removed.
Bug Fixes/Improvements
IM - 1719: Removed "Edit" link on Contact Gadget for read-only users.
IM - 1948: Added a "Clear Search" function to DHCP Pool searches in the DHCP Management Gadget.
IM - 2089: Added the ability to deselect Domain and VLAN from "Create a New Pool" in the DHCP Management Gadget.
IM - 2380: When adding a Peering session, the Router selector will now correctly reset to the appropriate router list if the selected exchange is changed.
IM - 2385: Resolved an issue where "Invalid Date" would show in the Document Manager "Date" column.
IM - 2387: Fixed an issue where IP Rules would not reserver the first address in an IPv6 block.
IM - 2440: Updated the "Resource Tree" widget on the Dashboard to show text as angled while in vertical mode.
IM - 2456: Updated error message(s) in LIR Manager to show the correct color.
IM - 2458: Resolved an issue where the "Add Session" modal would populate a different router list between multiple modal instances.
IM - 2460: Improved the Resource Linkage Gadget to use the resource_linkage table instead of resource_attr, improving API access.
IM - 2469: Peering import BGP sessions will now detect router sessions in cases where no local sessions currently exist in ProVision.
IM - 2472: Resolved an API issue where a parent block could be direct assigned if specified by ID.
IM - 2487: Resolved an issue that occurred when a non-address string was provided for a Region's Address field. Non-address addresses will now default to global zero positioning on the IPAM Map.
IM - 2486: IPAM APIv1, the parameter tags_mode="strict" has been updated return only blocks with no tags, if no tags are specified in the call.
IM - 2517: Read only users will no be able to view the "Delete" button for RIR Contacts.
IM - 2535: Mobile navigation search box now correctly returns search results.
IM - 2544: Resolved an issue in the DHCP Management Gadget - Create Pool where selecting a Domain / VLAN would prevent selection of an IP Rule.
IM - 2595: Removed "Audit DNS" link from the IPAM Manage Action Menu.
IM - 2599: Resource API fields "category__in" and "category__not_in" are once again returning responses.
IM - 2604: The IPAM Aggregate "Clean Up" function now respects subassignable blocks as assigned when used in conjunction with the "ignore assignments" flag.
