RADIUS Authentication
ProVision supports 6connect vendor-specific attributes (VSAs) for use with RADIUS authentication.
...
- Log into 6connect ProVision
- Go to Settings → Admin -> Authentication
- Select the "Radius" tab under "Authentication Options"
- Ensure that Radius functions are available. Radius functions are always available on 6connect cloud instances. Note: Radius functions are available on VM Images and Local Installations only if the relevant PHP Pear Radius Libraries have been installed. An error message will be visible if the PHP extension is not installed.

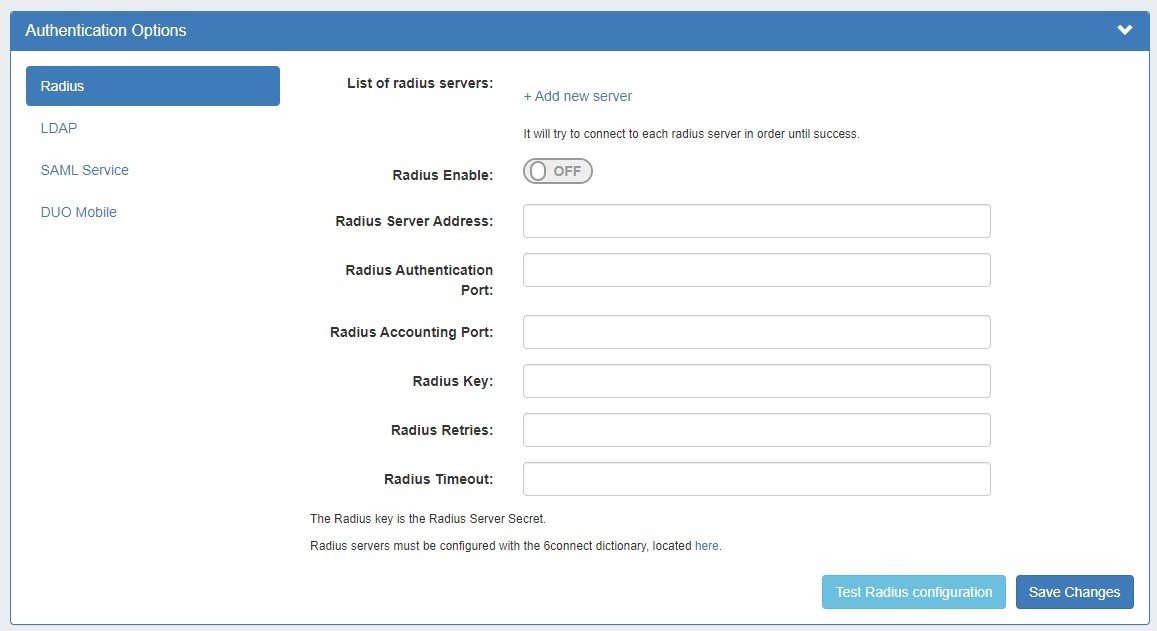
- Move the Radius Enable selector to the "ON" position.
- Fill in the hostname or ip address, authentication ports, accounting port, and shared Radius key as specified.
| Expand | ||
|---|---|---|
| ||
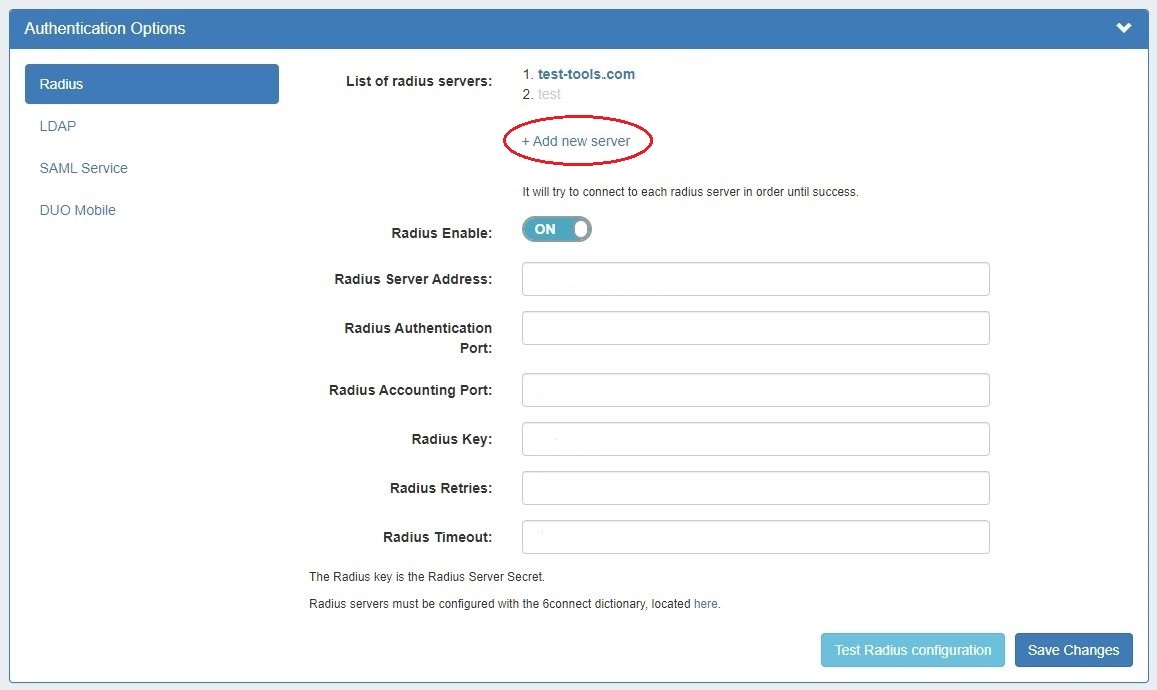
Once at least one Radius server has been added, a list will appear at the top of the Radius module. Add an additional Radius server by clicking "Add new server".
ProVision will try to connect to each radius server listed in the order listed, until a success is returned. Disabled servers will display in grey, and the currently selected server will display in bold. |
...
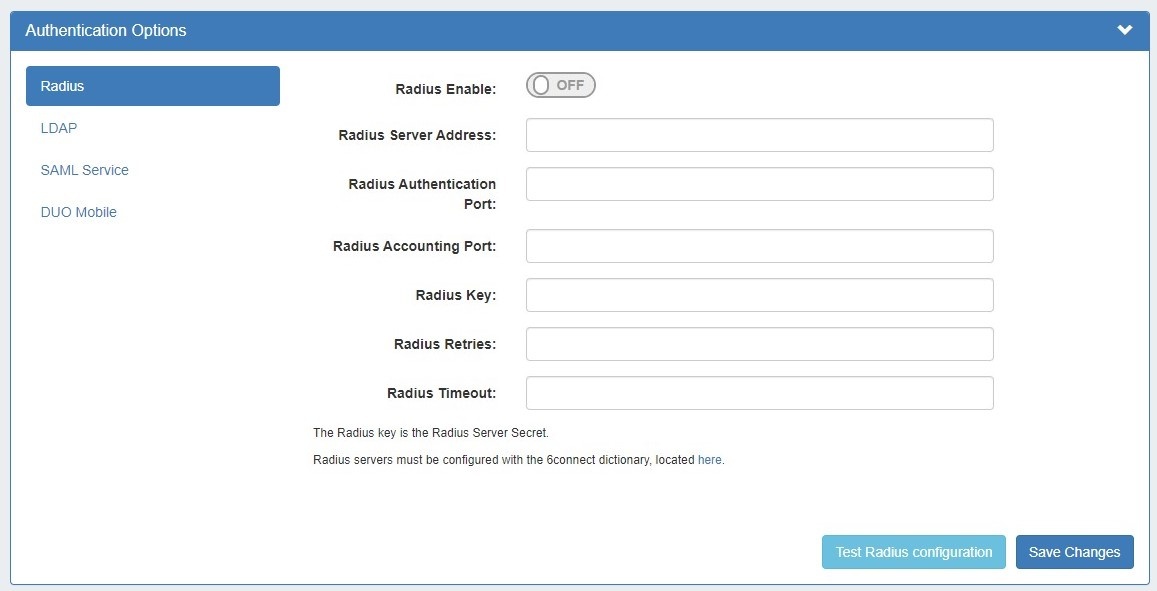
Authentication options are accessed by clicking the "Authentication" sub-tab at the top of the Admin Settings page.
- Radius Enable: Move this selector to enable RADIUS functionality.
- Radius Server Address: Set to the IP address of your radius server. If this is specified, it will force authentication over radius.
- Radius Authentication Port: Set to the port for authentication. Default port is 1812
- Radius Accounting Port: Set to the port for radius accounting. Default port is 1813
- Radius Key: Set to the shared key of your radius server
...