The Login Screen
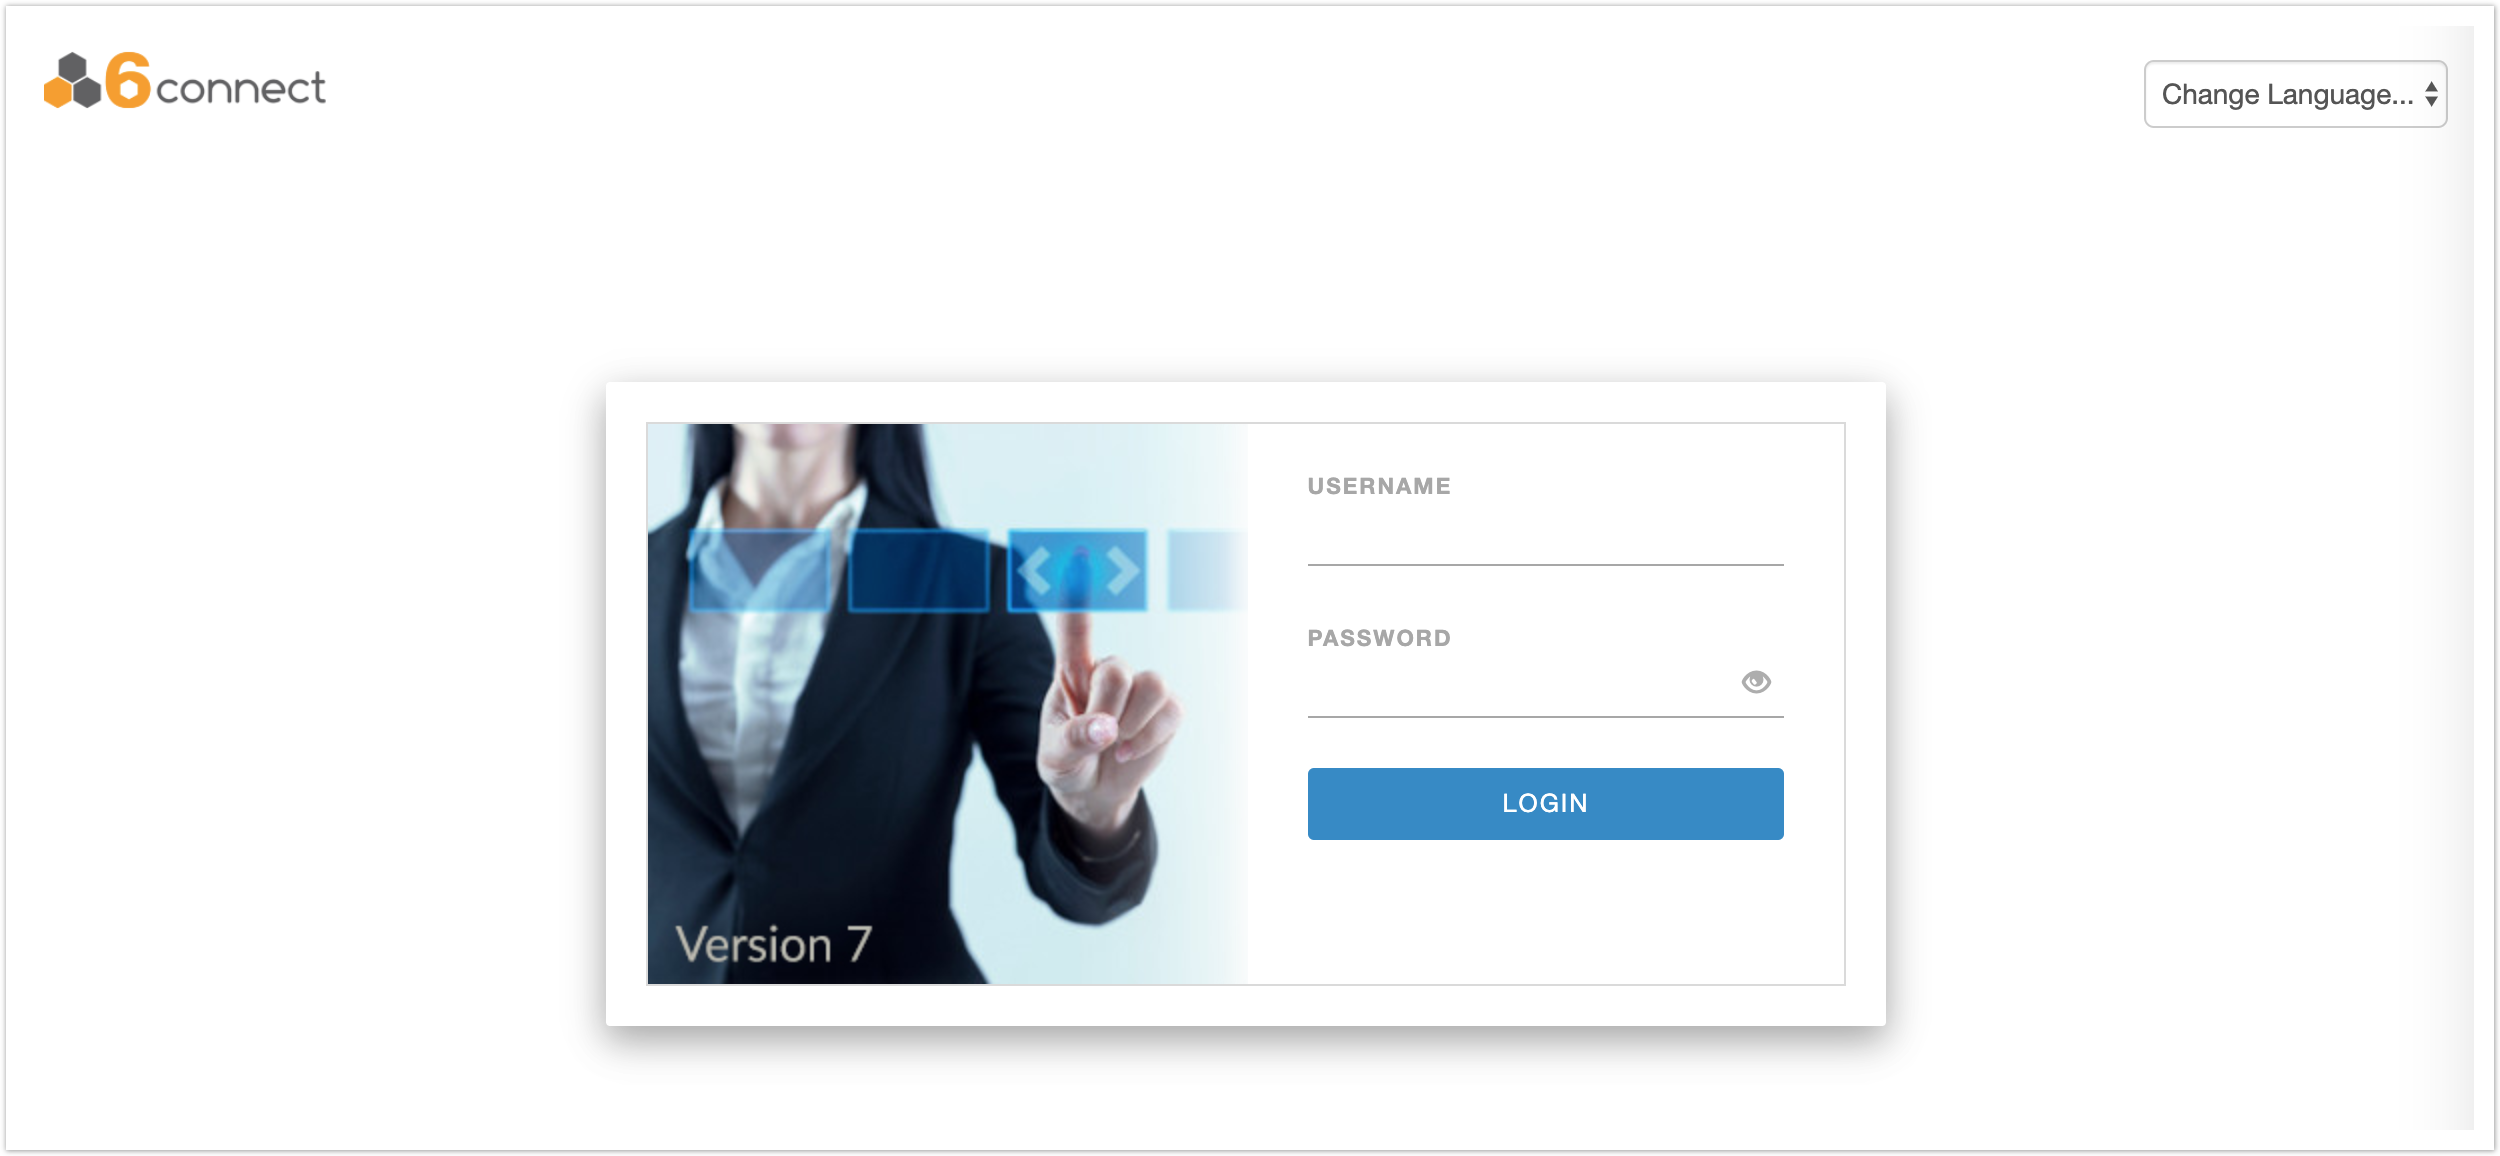
After installation you can navigate to the root of the directory ACP was installed to find the main authentication screen.
The login screen is also where you can select the language localization for the product. This selector is in the upper-right corner.
UI & Actions Menu

After login, the ACP home page defaults to “No Workflow Selected” and provides links for creating a new workflow or importing a workflow. From here, you may also access the ACP actions menu in the upper left corner of screen, the language selector in the lower right corner, and the logout link from the arrow in the upper right corner.
Change Language
Change the Language at any point by selecting the desired language from the selector at the bottom right corner of the screen.

Logout
To log out of ACP, click on the down arrow next to the username in the upper right area of the screen, then click on the logout link that appears.

Ensure that you save any changes to your Workflows prior to logging out - any unsaved changes will be lost after logout.
the actions menu for ACP is accessed by the menu button in the upper-left corner of the screen.
The actions menu contains links to specific management areas, each of which will be described in their own sections. The actions menu also contains a list of the four last-saved Workflows.
The language selection button is in the lower-right corner.
The central area initially defaults to “No Workflow Selected” and provides links for creating a new workflow, importing a workflow, and to browse the list of existing workflows.
User Management
The user management screen is accessed from the primary actions menu.
This screen allows you to add, delete, and edit system users.
When adding or editing, a modal dialogue requests basic information about the user.
The search box allows you to quickly find a particular user.
Categories and Category Management
The category management screen is accessed from the primary actions menu.
Each ACP Workflow is assigned a category to help keep them organized. By default, new workflows are assigned to the category “uncategorized.”
New categories can be added using the “Add category” button in the upper-left. Categories can be removed by using the ‘delete’ button on the left of their row.
There are no limits to the number of categories you can define. A workflow can only be a member of one category.
ACP ships with several built-in categories for the example library, such as “Getting started” and “ProVision and Route53.”
The Workflow List
The category management screen is accessed from the ‘more’ button in the “My Workflows” section of the actions menu or by the “Browse workflows” button just after login.
The workflow list contains all of the saved ACP Workflows within the system. Workflows are listed by the order in which they were created, most recent first, but they can also be sorted by name or category.
The search box allows you to search for a specific workflow by name.
Each row in the listing table describes a single workflow, and the action buttons on the right allow you to:
- Open the workflow in the main ACP editor
- Delete the workflow
- Clone the workflow into a new project
- Replace the workflow entirely with a JSON export
- Export the workflow to JSON
You can also import a new workflow from a JSON export using the ‘import’ dialogue in the upper-left.
The Examples Library
ACP ships with a wide variety of working ACP examples illustrating various concepts and functions. These examples can be found in the Workflow List and are grouped into distinct categories, like ‘Getting Started’ and ‘ProVision & Amazon.’
The ‘Getting Started’ category is of particular importance for new users as it shows specific examples of distinct concepts. This category of workflows will be referenced often in this documentation.
Creating a New Workflow
A new workflow can be created from the “New Workflow” button in the primary actions menu, or by the “New Workflow” button just after login.
Once a new workflow is created, it immediately appears in the main ACP editor.
Editing Basic Fields
The upper-left area of the ACP editor shows basic information about the workflow, all of which can be edited in-place.
The ‘slug’ is the means by which the workflow is executed from outside ACP. It is the distinct URL for the workflow. The slug can be edited, but not the path leading to the ACP projects folder.
The category the workflow is assigned to can also be changed. Clicking the existing category brings up a list of all existing categories. Picking a new category will assign this workflow to it.
The description box is a free-form text field which can contain any notes that are associated with this workflow.
Rollback Mode and Debug Mode
The ‘preferences’ link in the upper-right can be used to bring up an options menu. The choices are:
- Enable Rollback: this setting controls whether the workflow immediately halts or rolls back executed steps when it encounters a failure condition, or is unable to find an appropriate Route at the end of a step.
- Debug Mode: this setting controls whether or not detailed debug output is shown at the end of workflow execution within the ACP GUI. It has no effect on execution via API calls.
Connectors
The ‘connectors’ link in the upper-right opens a window which can be used to define, edit, and import connectors to external API providers. In order to use an API service in an ACP Workflow, you must first define a connector to its service.
To edit an existing connector, click the ‘select’ drop-down and pick it from the menu.
To create a new connector, click the ‘select’ drop-down and pick the service type you would like this connector to be.
ACP currently supports the following connector types:
- 6connect ProVision
- 6connect ACP
- Google Compute
- Microsoft Azure
- Amazon AWS
- Kubernetes
You can define your own connectors to services not natively supported by ProVision by using the ‘Generic Connectors’ functionality, described in a later section.
Once you have picked a connector type, the form updates itself with the locations and credentials required to make calls against this service. The ‘test’ button at the bottom of the window verifies whether or not the supplied information validates against the API service, and the ‘apply’ button saves the new connector.
New connectors are automatically added to the current workflow.
The Step Listing
Workflows are represented as a series of steps (see ‘Getting Started 3. Connecting Steps’ from the examples library). Step headers in blue are initiators, and are executed first when the workflow is run.
Step headers in green are dependant steps and may or may not be executed depending on the specific routing logic built into the workflow.
Step headers in red are steps which have produced errors when executed. These can happen for a variety of reasons, including omitted required values, data type mismatches (ie, a string instead of an integer), or a failure to find an appropriate route in from the Conditions & Routes section.
Step headers in red also display a ‘view response’ link on the right-hand side. This can be clicked to bring up a window which shows what the API service is responding with. This can be very helpful in debugging. Also, turning on Debug Mode can show the full logical pathway of the ACP Workflow.
A new step can be added by using the ‘Add New Step’ form at the top of the screen. Select the connector you want to use, then the API Endpoint Family, then the specific API Endpoint you are interested in.
Steps can be removed from a Workflow by clicking the ‘x’ button on the far right of their entry.
Steps can be re-ordered by using the arrow buttons on the left of their entry.
The output section is required cannot be removed. An ACP workflow must have at least one step in addition to the output section.
Anatomy of a Step
Clicking on any step header will expand the step to a long list of step details, separated into sections.
The first section is ‘General Options,’ and it contains a field where you can add a description of what the step is trying to accomplish. You can also customize the name of the step, and there is a ‘test step’ button which will attempt to run this single API call in isolation. This is useful for debugging.
The second section is ‘iteration options,’ which deals with how to loop over array responses. This section will be covered in more detail later.
The third section is for ‘Required Inputs.’ These are the variables that must be set for the API call to proceed. This section is not always present, as not all API calls have required parameters.
The fourth section is for ‘Optional Inputs,’ which are those parameters that the API call might make use of which are not explicitly required. Some APIs are flexible and allow you to add additional optional parameters. To allow for this, the ‘add input’ button will allow you to define an additional optional input to complete the API call.
Both types of inputs have a small green ‘?’ next to their name which will supply help text as to what that parameter does. For more details, see the official API documentation for the API service you are using.
Both types of inputs can be customized with the following states:
- Omitted. The default state. This parameter will not be sent with the API call.
- Default value. This parameter will be set to some constant, defined here.
- User given. This parameter will be supplied by the user executing the ACP Workflow.
- Workflow link. The input for this parameter is the output of another step. This will be described in greater detail later.
- Function. The input of this parameter will be supplied by the output of a javascript function. This will be described in greater detail later.
If there are no optional inputs for a given API call, the entire section is hidden.
After the ‘output’ section appears after the ‘optional inputs section. This section shows an example return of the API endpoint, for use in establishing Workflow Links.
The ‘Sub Steps’ section describes how to iterate over an array of return objects, similar to the ‘iteration options’ previously. This will be described in more detail later.
Lastly the ‘Conditions & Routes’ section describes the flow-control by which the ACP system chooses what step is next. The logic involved is complicated and receives its own section later in this document.
Links Between Steps
Setting a Required Input or an Optional Input to be a ‘workflow link’ will indicate that this parameter is to be taken from the results of a previous step. The result can come from any previous step so long as it has run previously.
When the ‘workflow link’ option is selected the form expands to gather the necessary information. The middle drop-down selects what step you will be taking this information from. Once a step is selected, the rightmost ‘property’ box accepts the name of a parameter.
For example, if you are referencing a ProVision Resource GET call you can specify ‘id’ or ‘name’ here to feed in the associated value to this parameter.
If the step you are referencing returns an array of items, you can specify which item in the array you reference by way of the syntax ‘index.property’. For example, if an API call returns an array of 3 objects, and you want to reference the id of the last one, you would put ‘2.id’ in the ‘property’ field.
A simple example of using the ‘workflow link’ parameter can be found in the ACP examples library as ‘Getting Started 3. Connecting Steps.’
Another example can be found in ‘Getting Started 9. Working with Arrays.’ The Output area contains a reference to ‘2’, which indicates the entire 3rd object returned by the ProVision Get Resources query.
- User Inputs
- Conditions and Routing
- Output