Workflow Options
This section details out the tabs available under a Workflow step, accessed by clicking on the header bar for any workflow step:
User Inputs
User Inputs are configured for a step under the "Required Inputs" and/or "Optional Inputs" tabs under a workflow:
Required Inputs
The ‘Required Inputs’ section contains variables that must be set for the API call to proceed. This section is not always present, as not all API calls have required parameters.
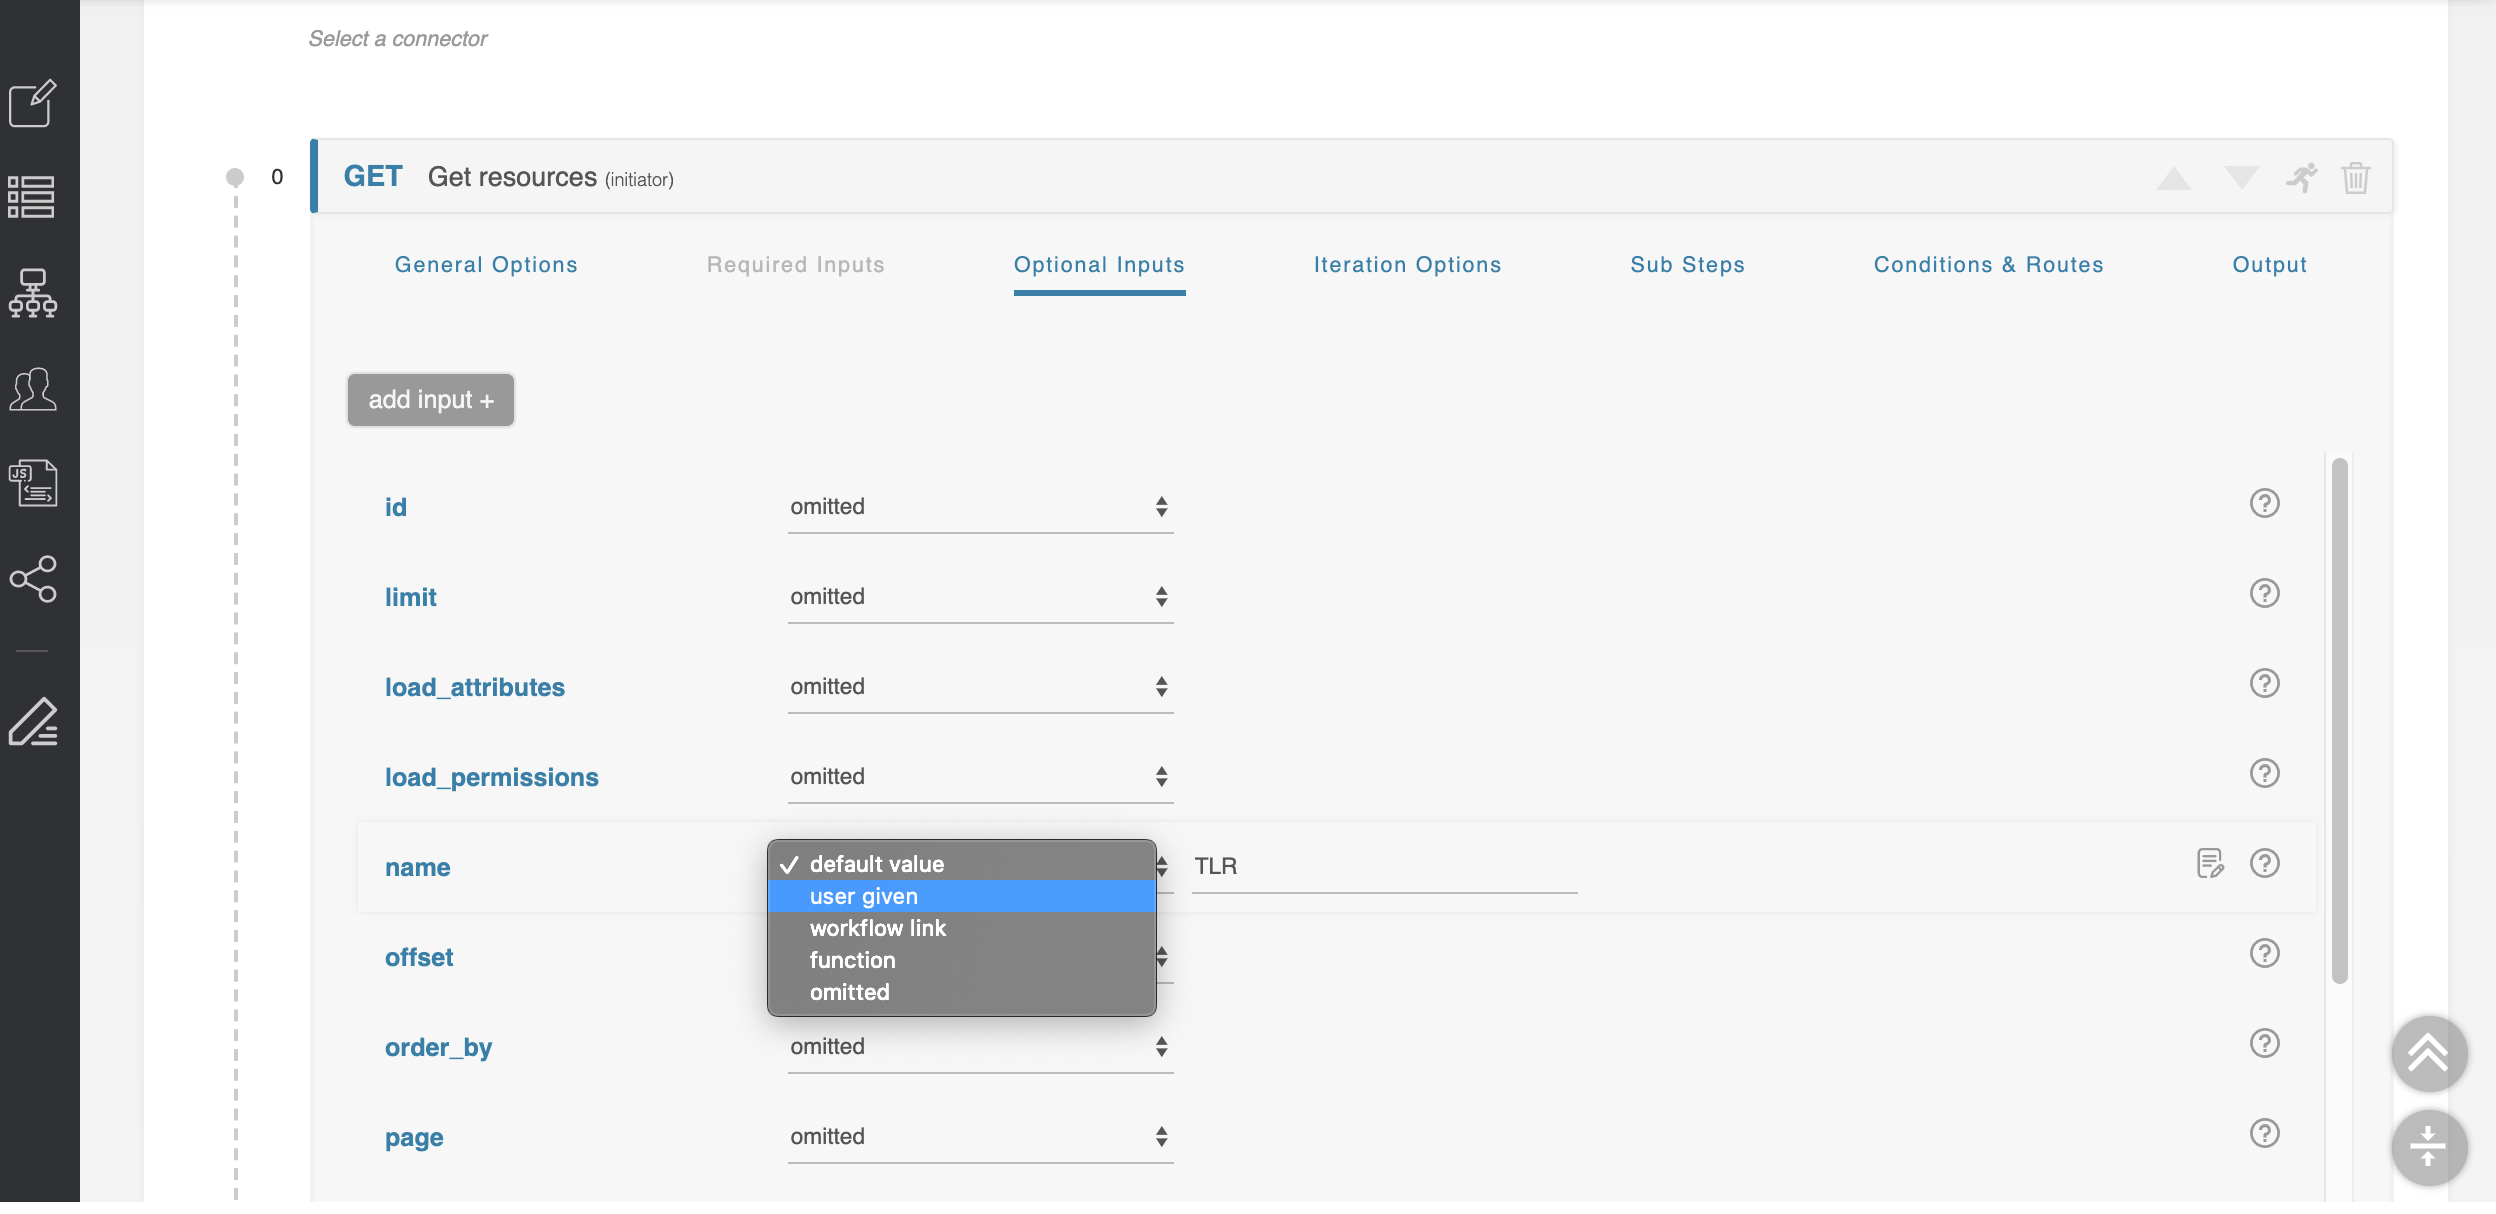
Optional Inputs
The ‘Optional Inputs’ section contains those parameters that the API call might make use of which are not explicitly required. Some APIs are flexible and allow you to add additional optional parameters not explicitly defined in the API specification. To allow for this, the ‘add input’ button lets you define an arbitrary optional inputs to complete the API call.
Working with Inputs
All types of inputs have a small ‘?’ to the right of their input area which will supply help text as to what that parameter does. For more details, see the official API documentation for the API service you are using.
All types of inputs can be customized with the following states:
- Omitted: The default state. This parameter will not be sent with the API call. This option is not available for 'required' parameters.
- Default value: This parameter will be set to some constant, defined here.
- User given: This parameter will be supplied by the user executing the ACP Workflow.
- Workflow link: The input for this parameter is the output of another step. For details, see Workflow Steps → Links Between Steps (Workflow Links).
- Iteration: This parameter becomes available when the Iteration Options section is configured. Inputs set to ‘iteration’ are populated with the iterated run number, starting from zero. For detail, see Initiator Conditions and Iteration.
- Function: The input of this parameter will be supplied by the output of a javascript function. For detail, see Javascript Functions.
Iteration Options
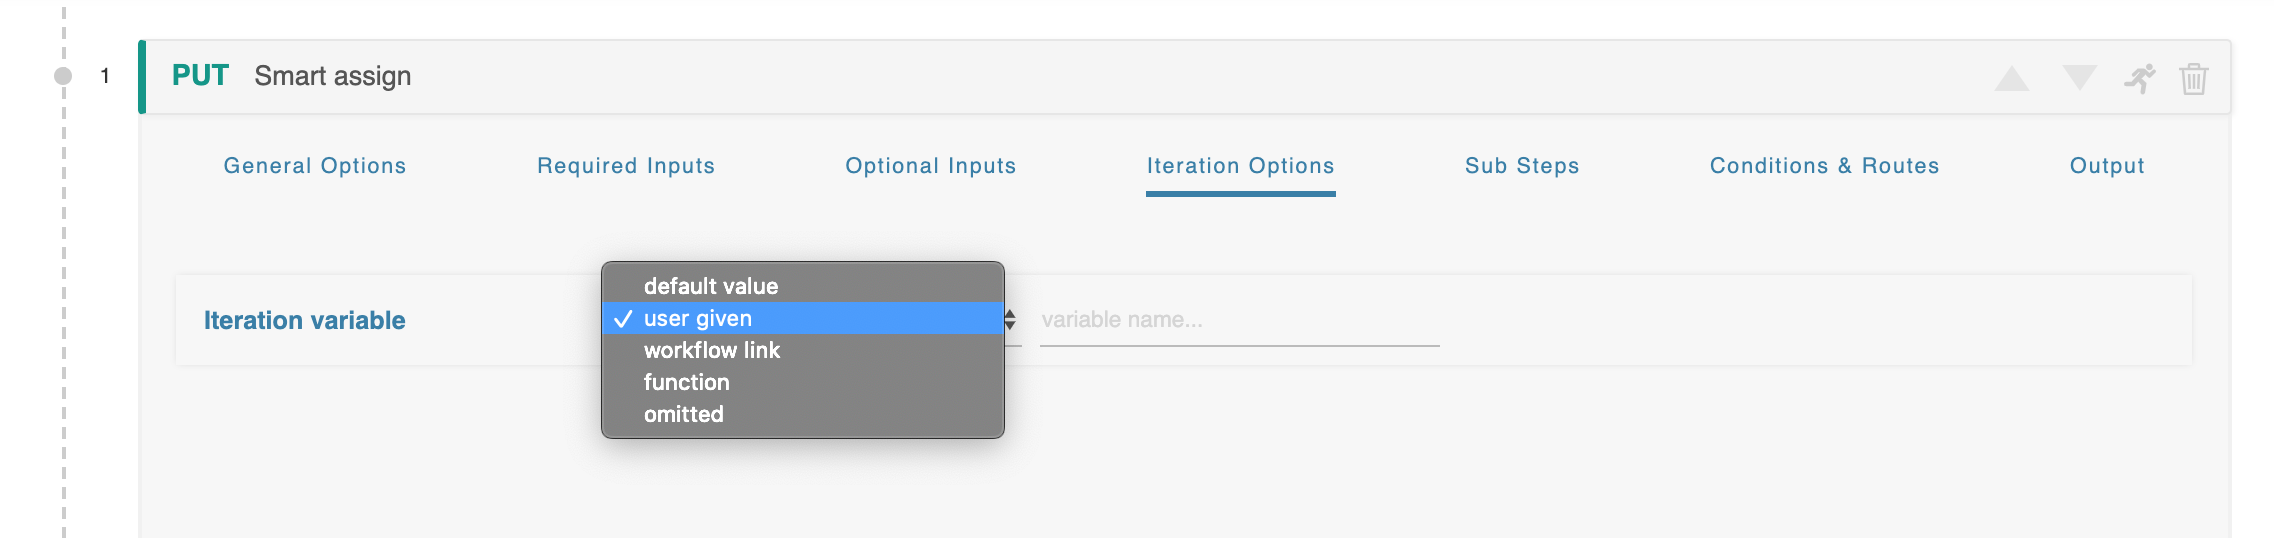
When using an iteration variable, it can be customized with the same options as any other input.
Setting the Input to ‘user given’ indicates that this parameter must be supplied by the user who executes this workflow, regardless of whether the step where it is introduced is ever executed.
When the ‘user given’ option is selected the form changes to show an additional field where this variable can be named. These variable names are global in scope, and the same name used multiple times will refer to the same variable. For example if your variable is ‘customer_name’ and it is used in three separate steps, the workflow will only request ‘customer_name’ once and use it in all three instances.
Sub-Steps
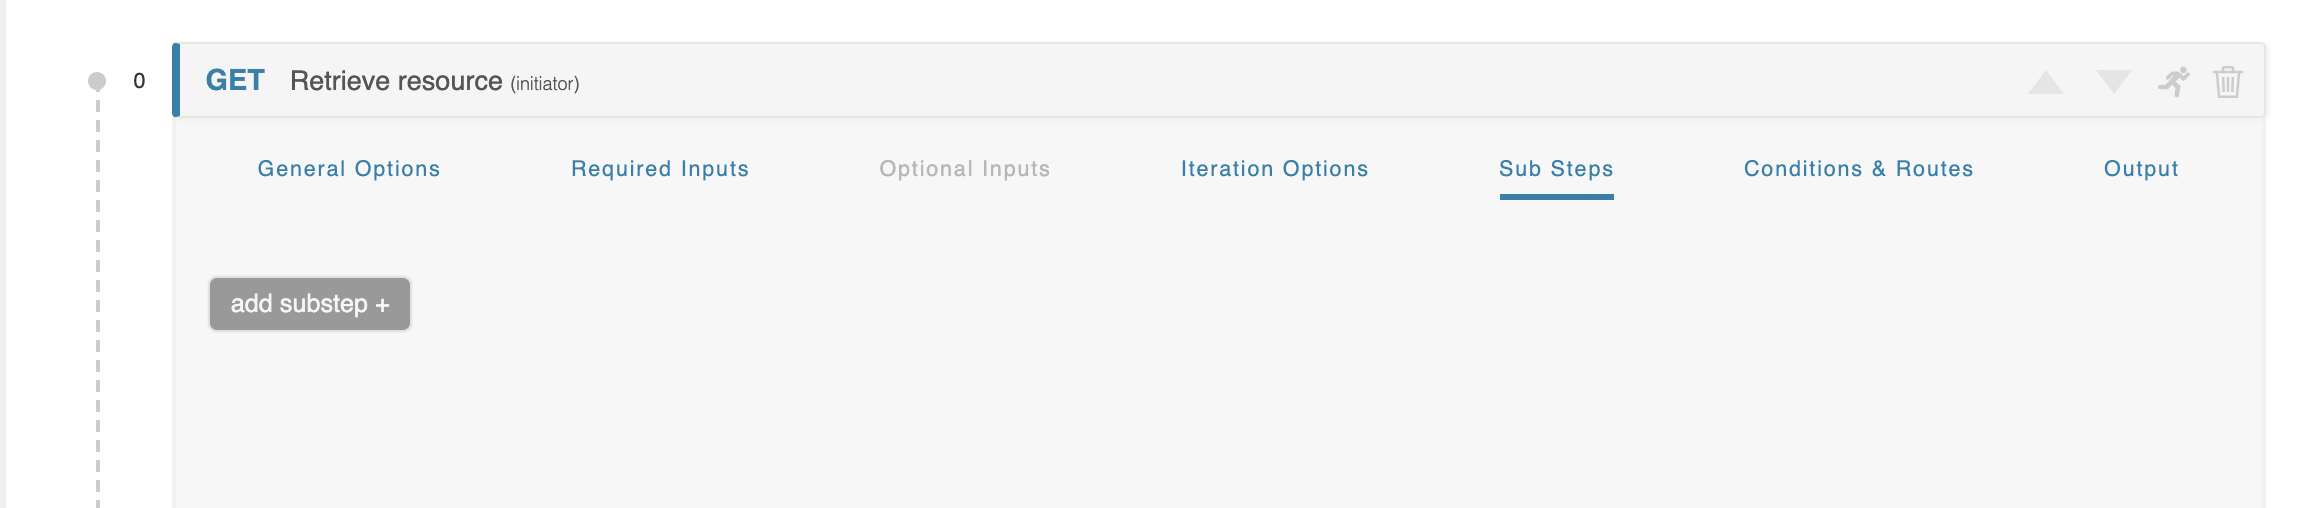
Each Workflow Step has an optional Sub-steps section. This area is initially empty, but can be populated with sub-steps to create a Workflow within a Workflow.
This Inner Workflow will be executed once for each item produced by the parent Step. For example, if the parent Step produces an array of five objects, then the Inner Workflow in the Sub-steps section will be executed five times, once for each object.
The Sub-steps section is executed after the parent call, but before the data is passed to the Conditions & Routes section.
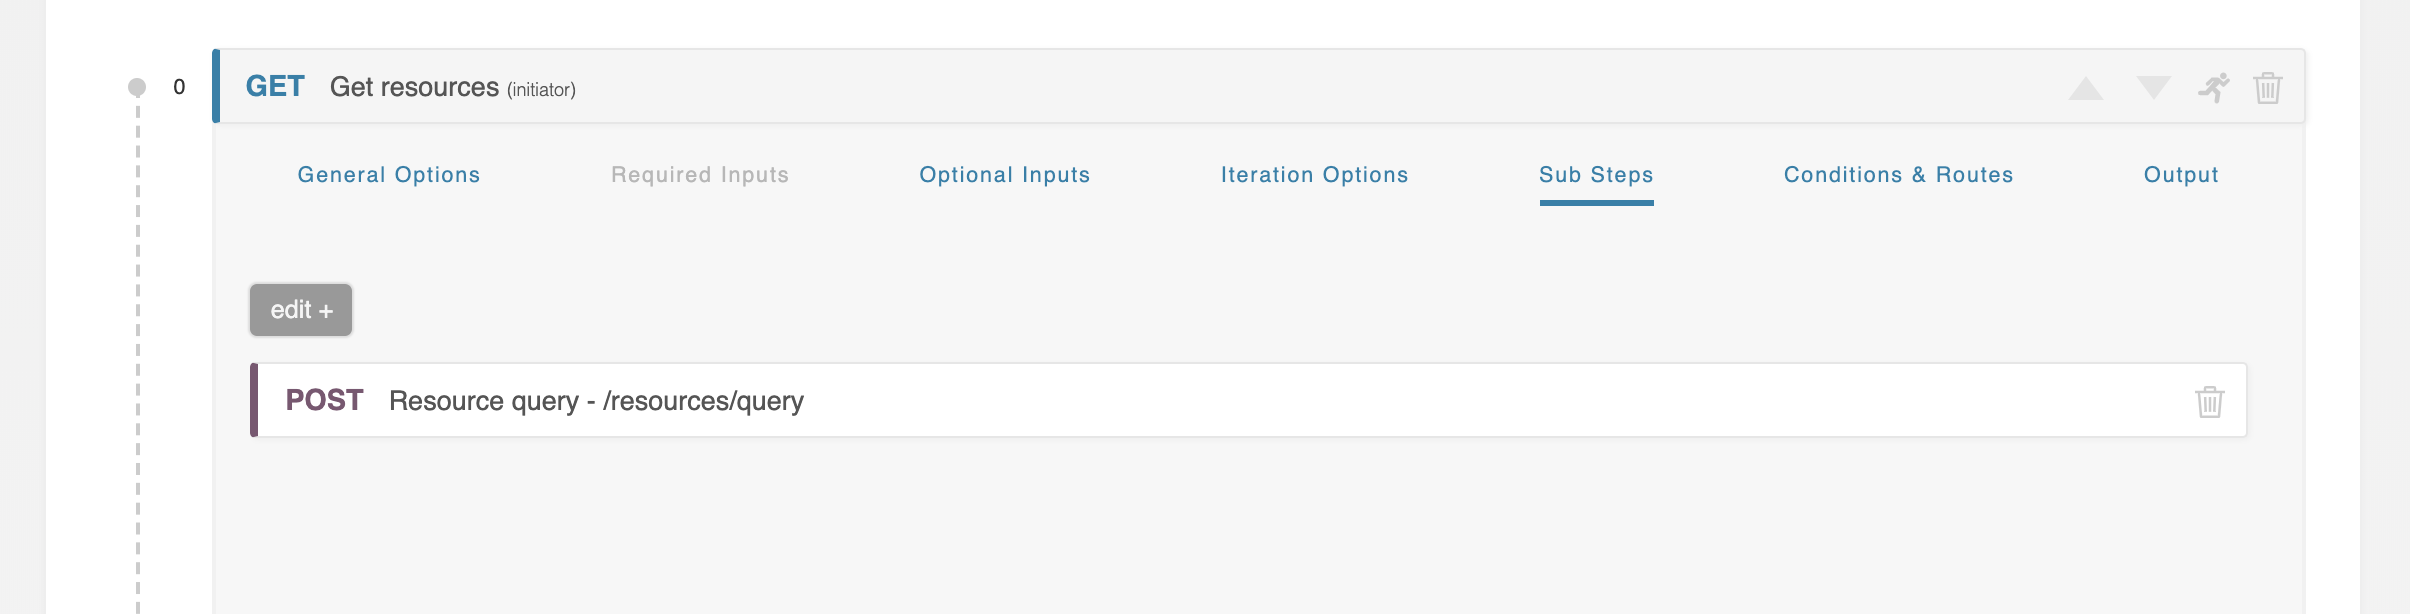
The Sub-steps section is initially empty. The “add substep” button enables this area and navigates to a new screen which focuses exclusively on this inner Workflow. The “back to parent” button returns to the parent Step.

The Sub-step edit screen is very similar to the normal Workflow Step editing area. You can add individual Sub-steps, each invoking an endpoint of a configured API service, connected by Conditions & Routes sections and utilizing data provided by previous Steps from both inside and outside the Sub-step area. It works exactly like a complete Workflow, only self-contained and dedicated to manipulating the data result of a parent Step.
In general, all the rules which apply to the normal Steps of a Workflow apply to Sub-steps.
One major difference is that a series of Sub-steps does not have an “Output,” but instead has a new field in its General Options field titled “Write output in parent scope.” This field substitutes for an Output area and allows the user to specify where to deposit the results in the parent's data object. These results will then be available to all subsequent steps as the Outer Workflow proceeds.
Each Inner Workflow can have, if needed, Sub-steps of is own, creating an Inner-Inner Workflow. There is no limit to how many Workflows deep this can go.
Conditions and Routing
The ‘Conditions & Routes’ section examines the data returned as the result of a workflow step and decides which step is next. The workflow creator can define an unlimited number of separate conditions leading to different next steps, and each condition can consist of an unlimited number of individual comparisons. The system evaluates each condition in order, from top to bottom, and immediately proceeds when it finds a match.
![]()
The “add condition” button in the upper-left is used to create a new condition. Each Conditions & Routes section can have an unlimited number of routes defined. Individual routes can be removed by clicking the trashcan icon at the right, and the route can be renamed by clicking on the existing name in the header.
At the bottom of every Conditions & Routes section is a “Route” section which dictates which step the workflow will be directed to if these conditions are met.
Each routing section is evaluated in order, from top to bottom, until a match is found. Once a match is found the system proceeds to the indicated step without evaluating further conditions. Multiple matches are not checked for. If no next-route is found, the workflow errors, possibly triggering a rollback.
Values
Initially, each condition consists of a single comparison clause. All comparison clauses consist of a ‘left value,’ which indicates source data, an ‘operator,’ which defines the nature of the comparison, and a ‘right value,’ which denotes the comparison data.
Both the ‘left value’ and the ‘right value’ areas can accept data from a variety of sources. The options are:
- http code: uses the HTTP code returned by the API call in the step.
- body: accesses some value in the body of the API request. Parameters are accessed by name, and arrays are accessed by “$index.parameter” as elsewhere. (ex: the name of the first object in an array would be ‘0.name’)
- default value: a static, default value defined by the workflow creator
- user given: a value which must be supplied when the workflow is invoked
- workflow link: a reference to data obtained in a previous step
- function: indicates that the data for this field is the output of a data-processing function. These functions are described in greater detail later in this document.
Operators
The ‘operators’ are self-explanatory boolean comparators, but a few require special syntax:
- The operators IN and NOT IN accept comma-separated arrays (ex: one,two,three) for their values. See “Getting Started 8. Compound Branching Conditions” for examples.
- NULL, NOT NULL, TRUE, and FALSE do not require a right-hand value.
- BETWEEN and NOT BETWEEN accept a tuple with the format “minvalue,maxvalue” (ex: ‘200,299’ for valid HTTP codes).
Additional Conditions
The add-clause button (the plus symbol) and the remove-clause button (the minus symbol) on the far right allow you to join individual clauses into a compound clause, like “if A or B” or “if A and B and C”. Once clicked, the add clause button creates a new clause below the last existing clause.
At the far right of each comparison clause is a drop down that dictates how this and the next clause are to be joined. The drop-down contains two operators, AND and OR, which join the two conditions as advertised.
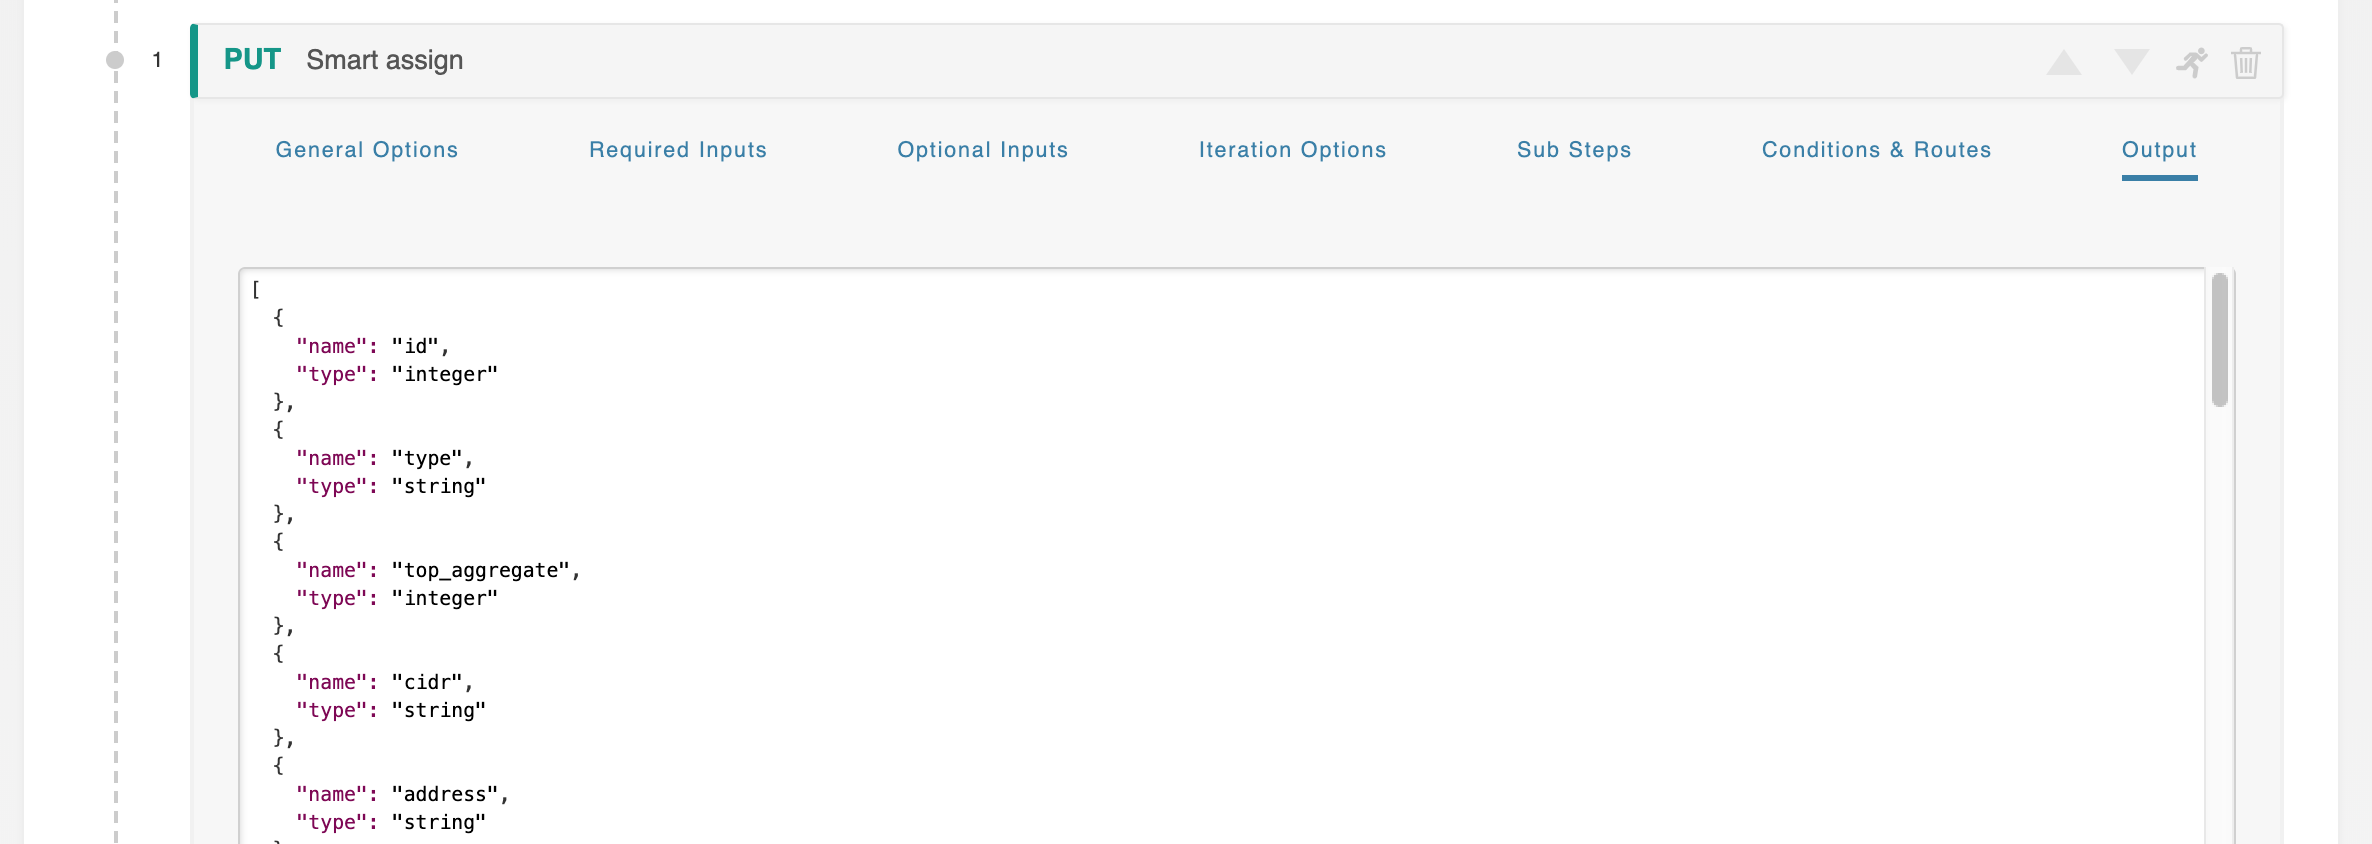
Step Output
Step Output displays an example of the output that will be generated when executing the step.
Additional Information
Continue on to additional User Guide pages for detailed information on working in ACP: