ACP Workflows
This overview covers basic workflow actions, such as creating a new workflow, editing its identity data, and an overview of high-level options.
Using Workflows
Workflows are the primary component of ACP. Each workflow is an independent entity using its own connectors, inside which multiple steps can be created to chain together actions from separate API services.
For information on adding connectors to a workflow, see Connectors. For detailed information on working with workflow steps, see the next section, Workflow Steps.
Creating a New Workflow
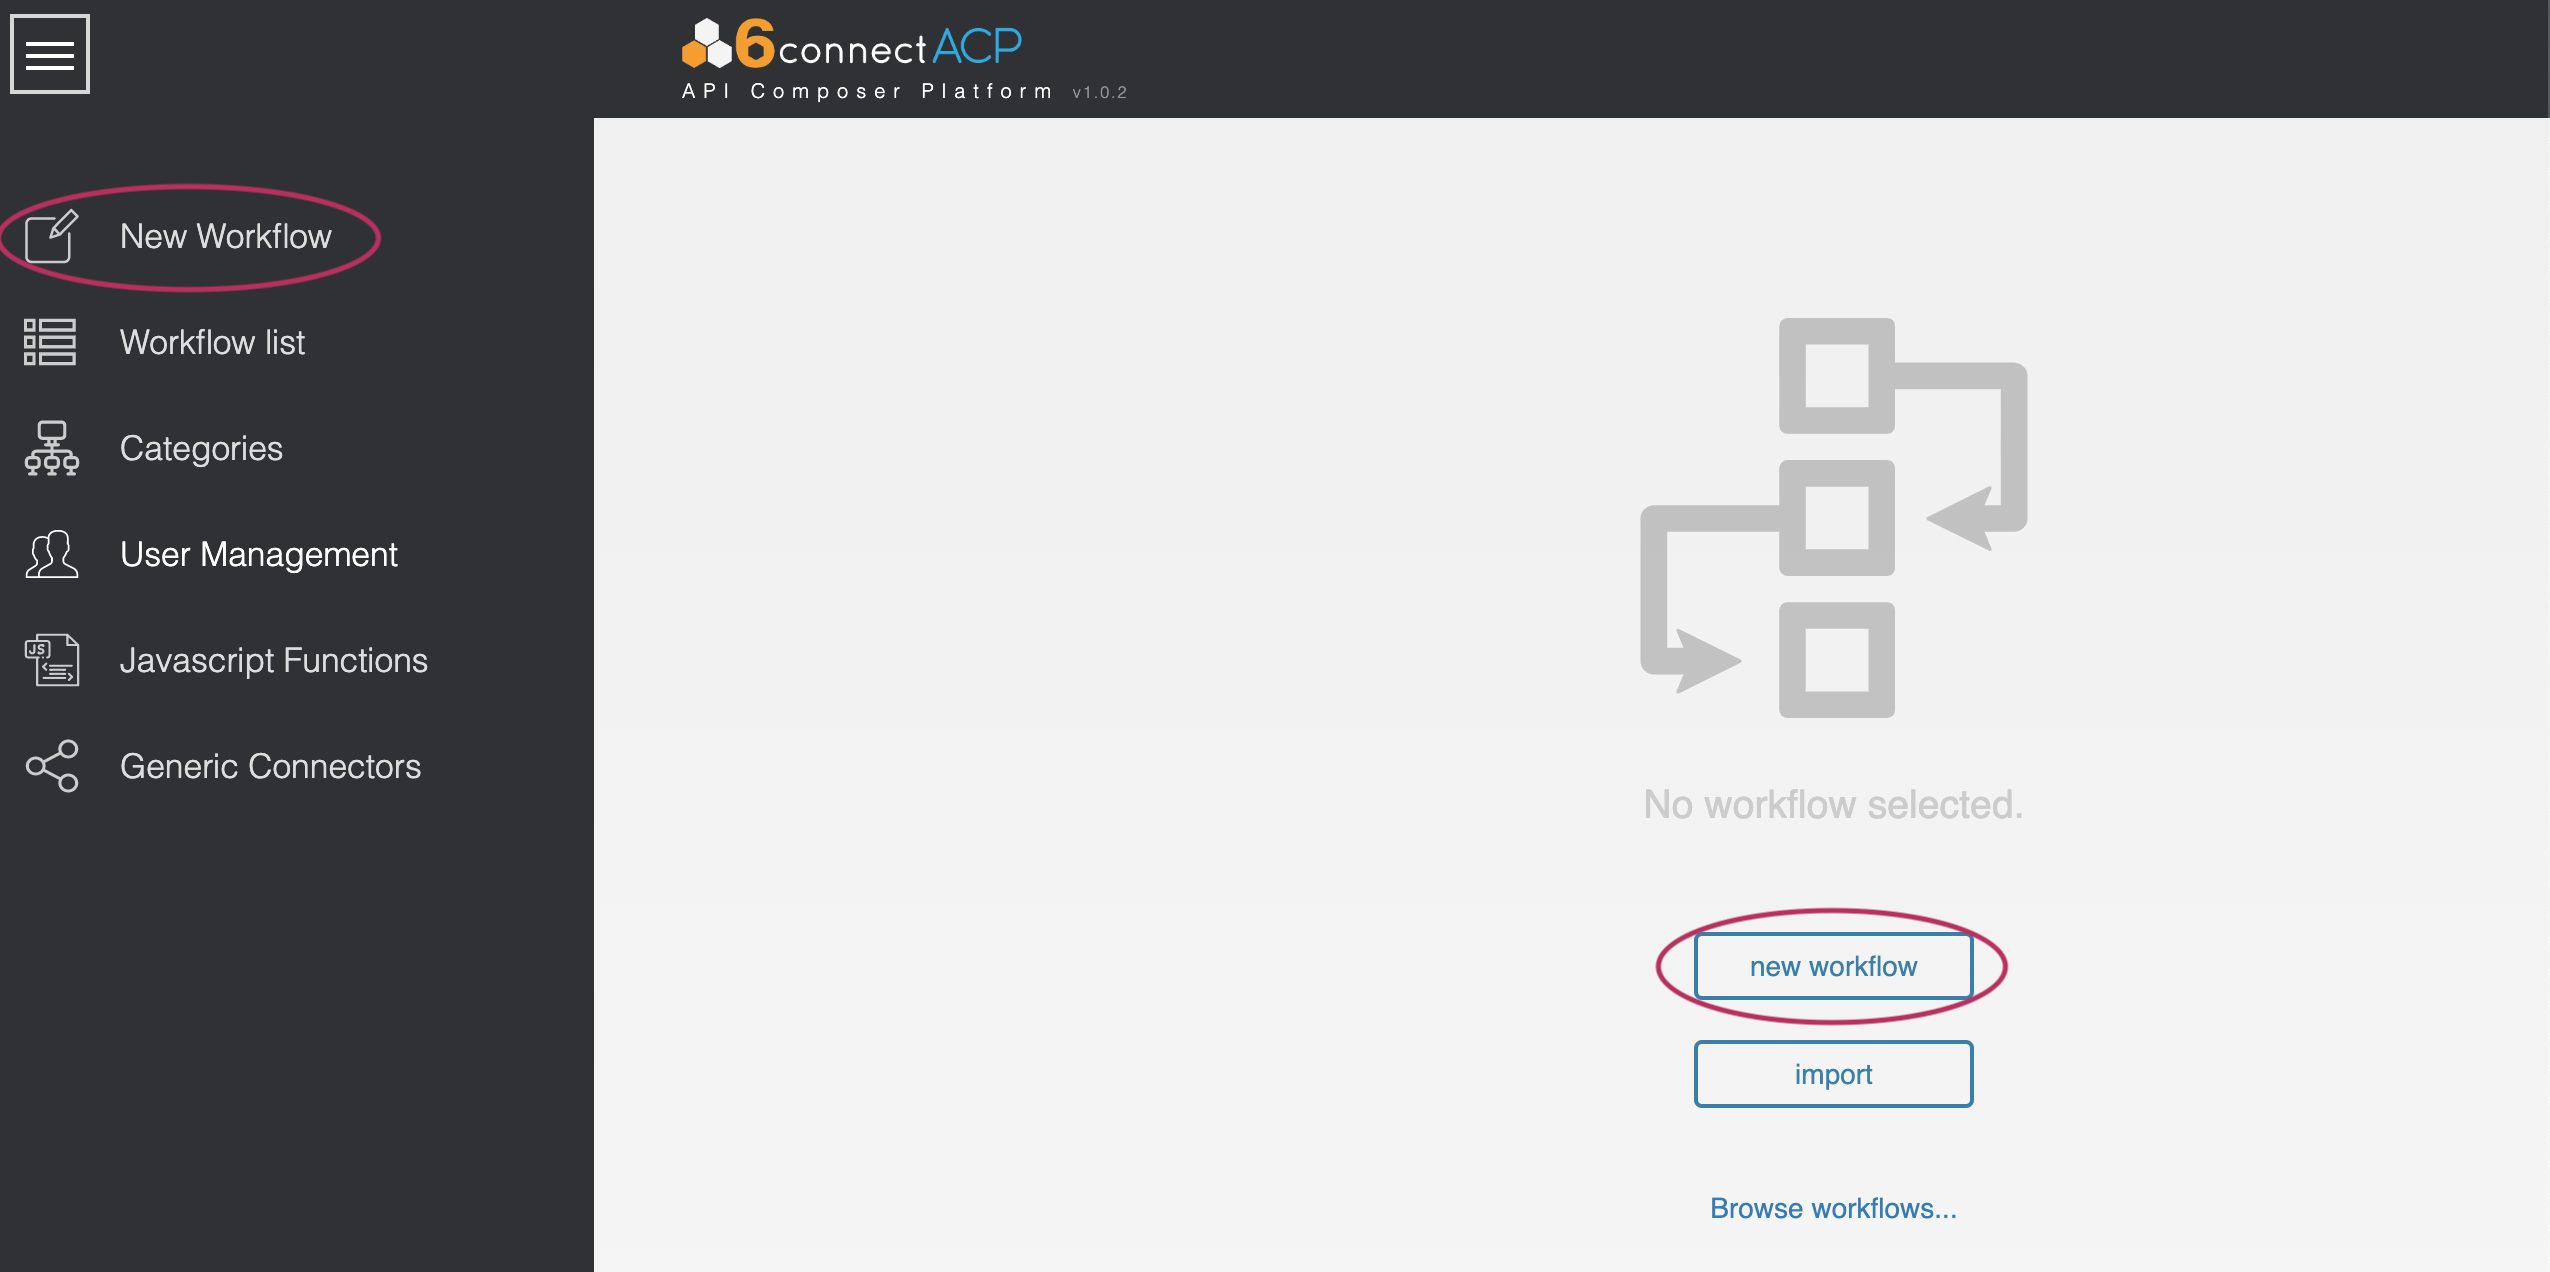
A new workflow can be created from the “New Workflow” button in the primary actions menu, or by the “New Workflow” button just after login.
Once a new workflow is created, it immediately appears in the main ACP editor.
Editing Basic Fields
The upper-left area of the ACP editor shows basic information about the workflow, all of which can be edited in place.
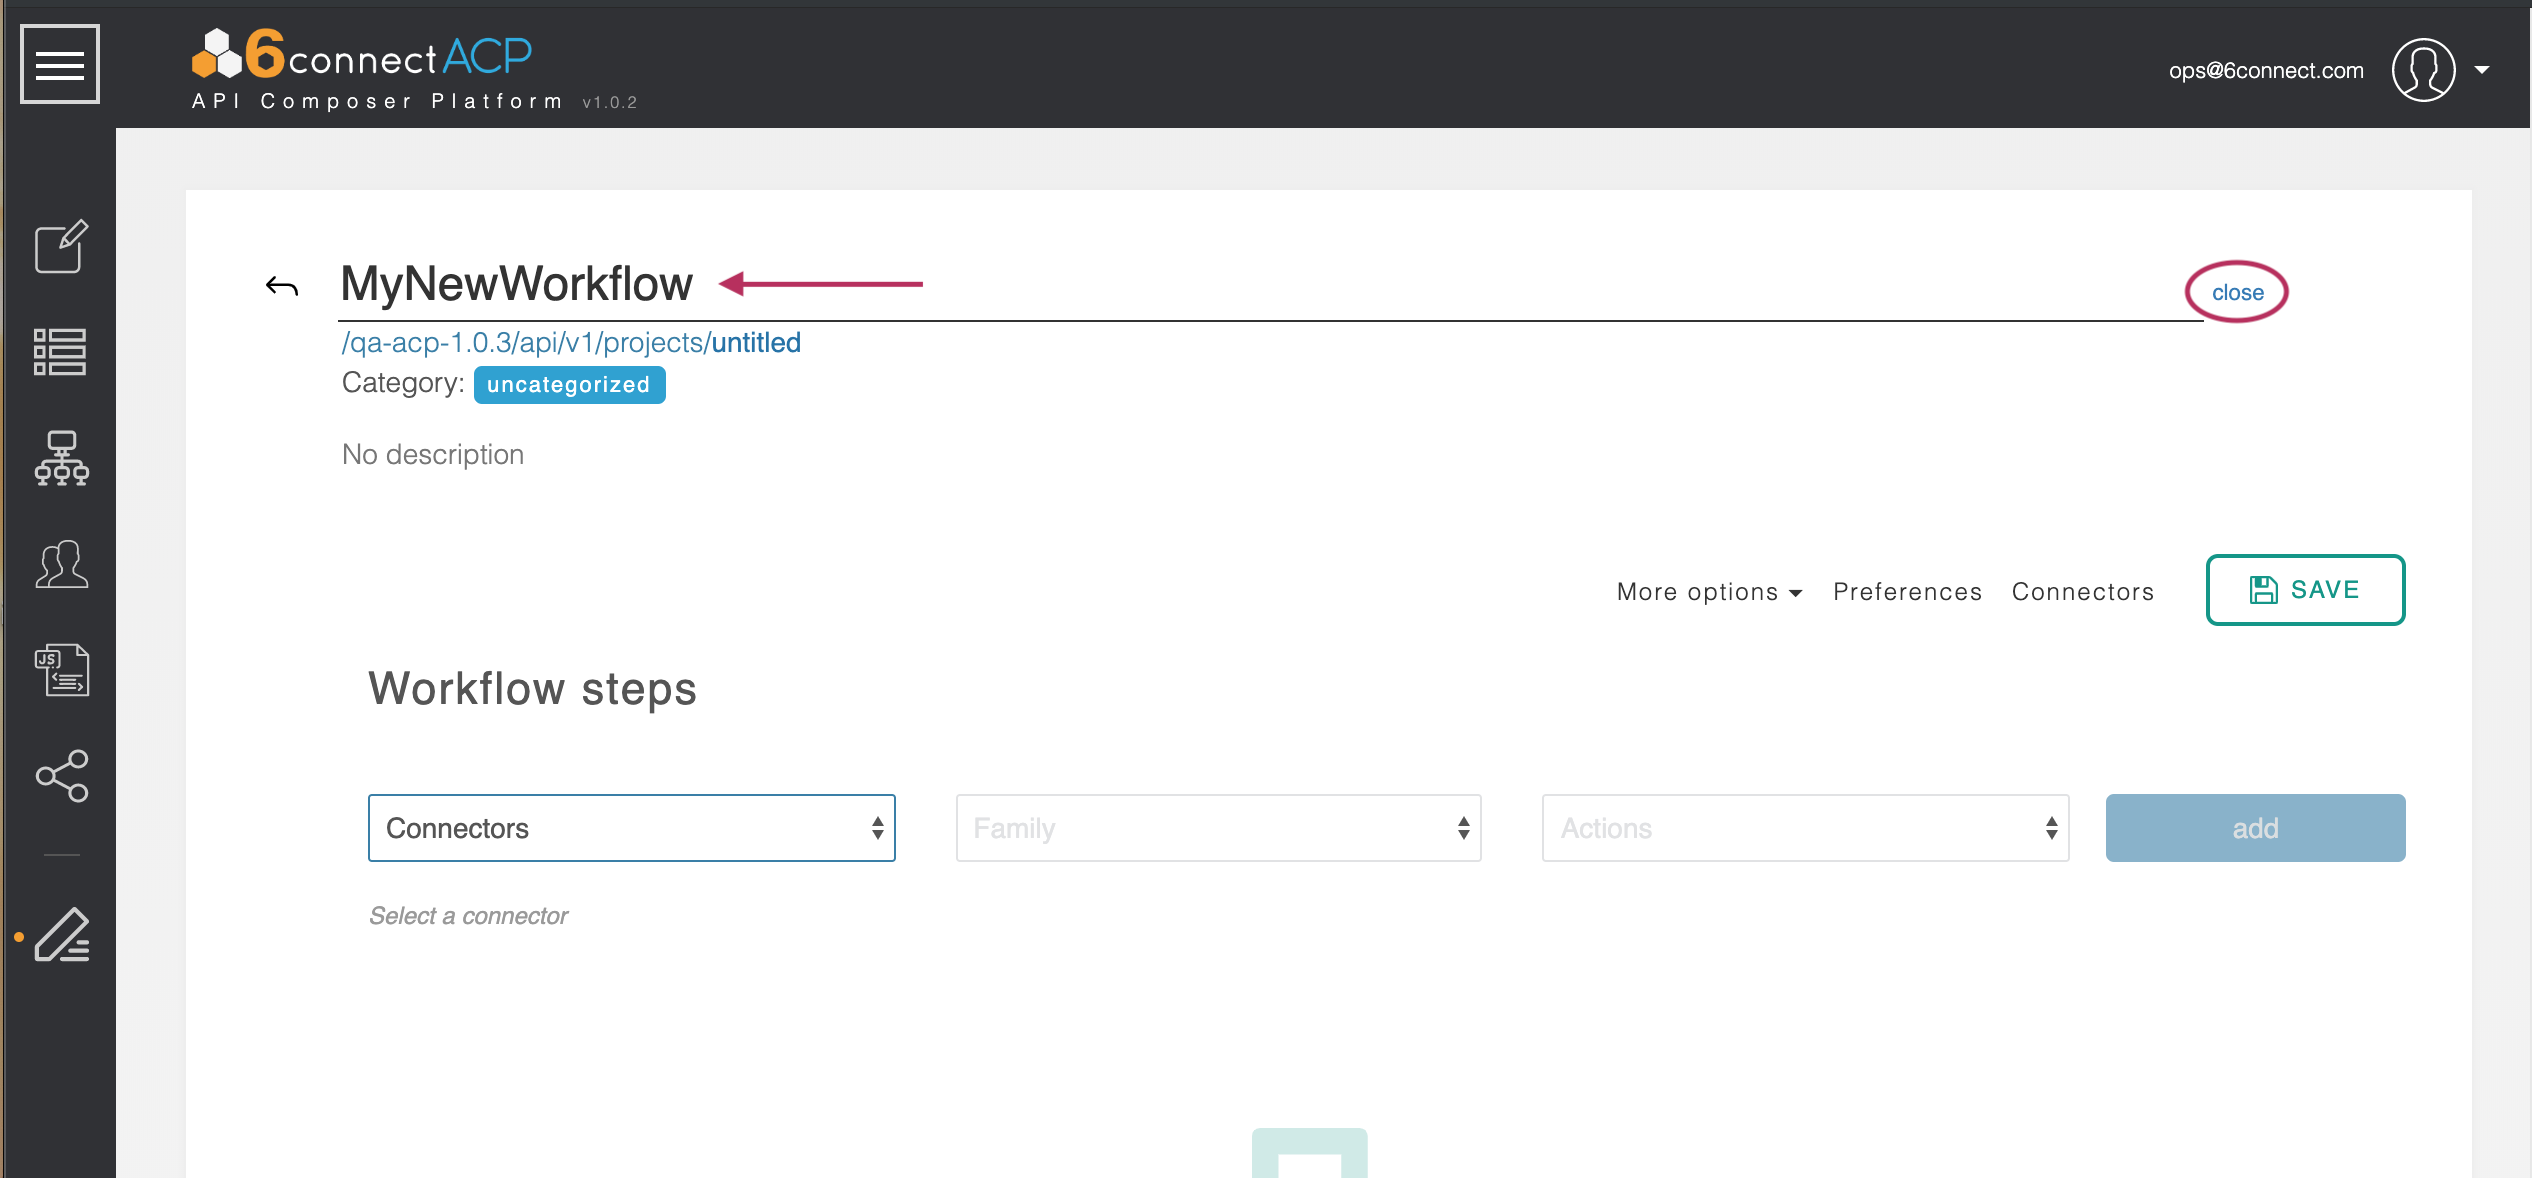
The workflow name can be edited by clicking the "edit" button that appears when hovering over the name, then clicking "close" when complete.
The ‘slug’, below the workflow name, is the means by which the workflow is executed from outside ACP. It is the distinct URL for the workflow. The slug can be edited, but not the path leading to the ACP projects folder.
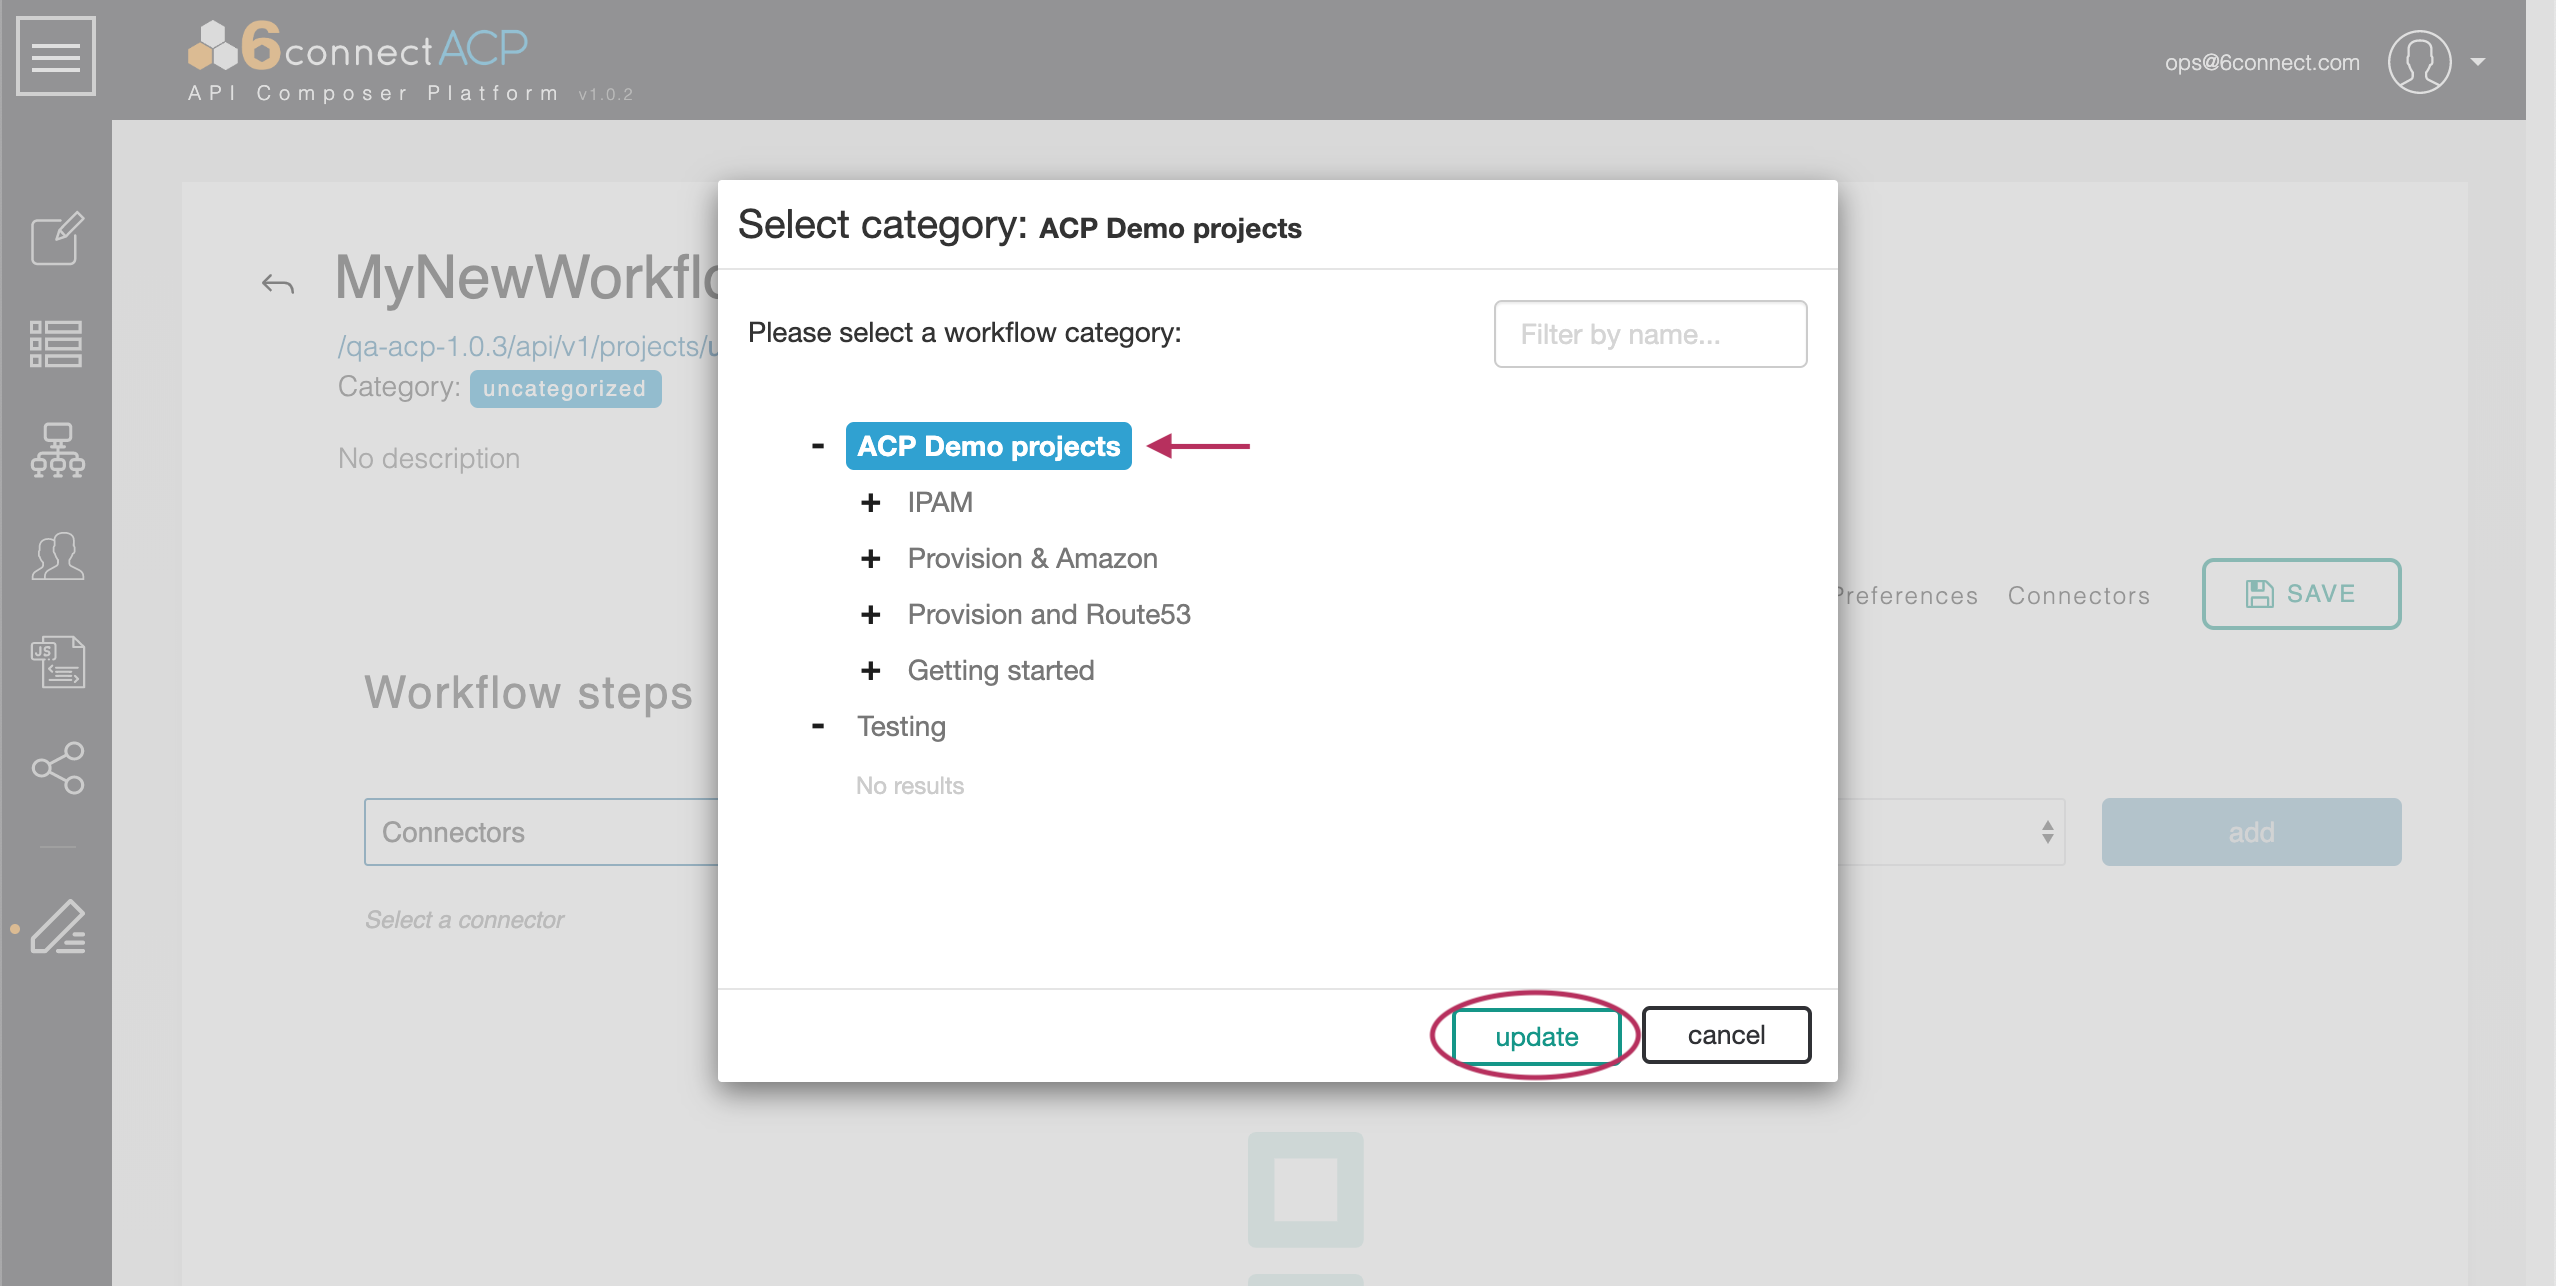
The category the workflow is assigned to can also be changed. Clicking the existing category brings up a list of all existing categories. Picking a new category will assign this workflow to it.
The description box is a free-form text field which can contain any notes that are associated with this workflow, and directly edited by double clicking on the current description, then clicking anywhere outside the description area when complete.

Workflow Options
Workflow Info
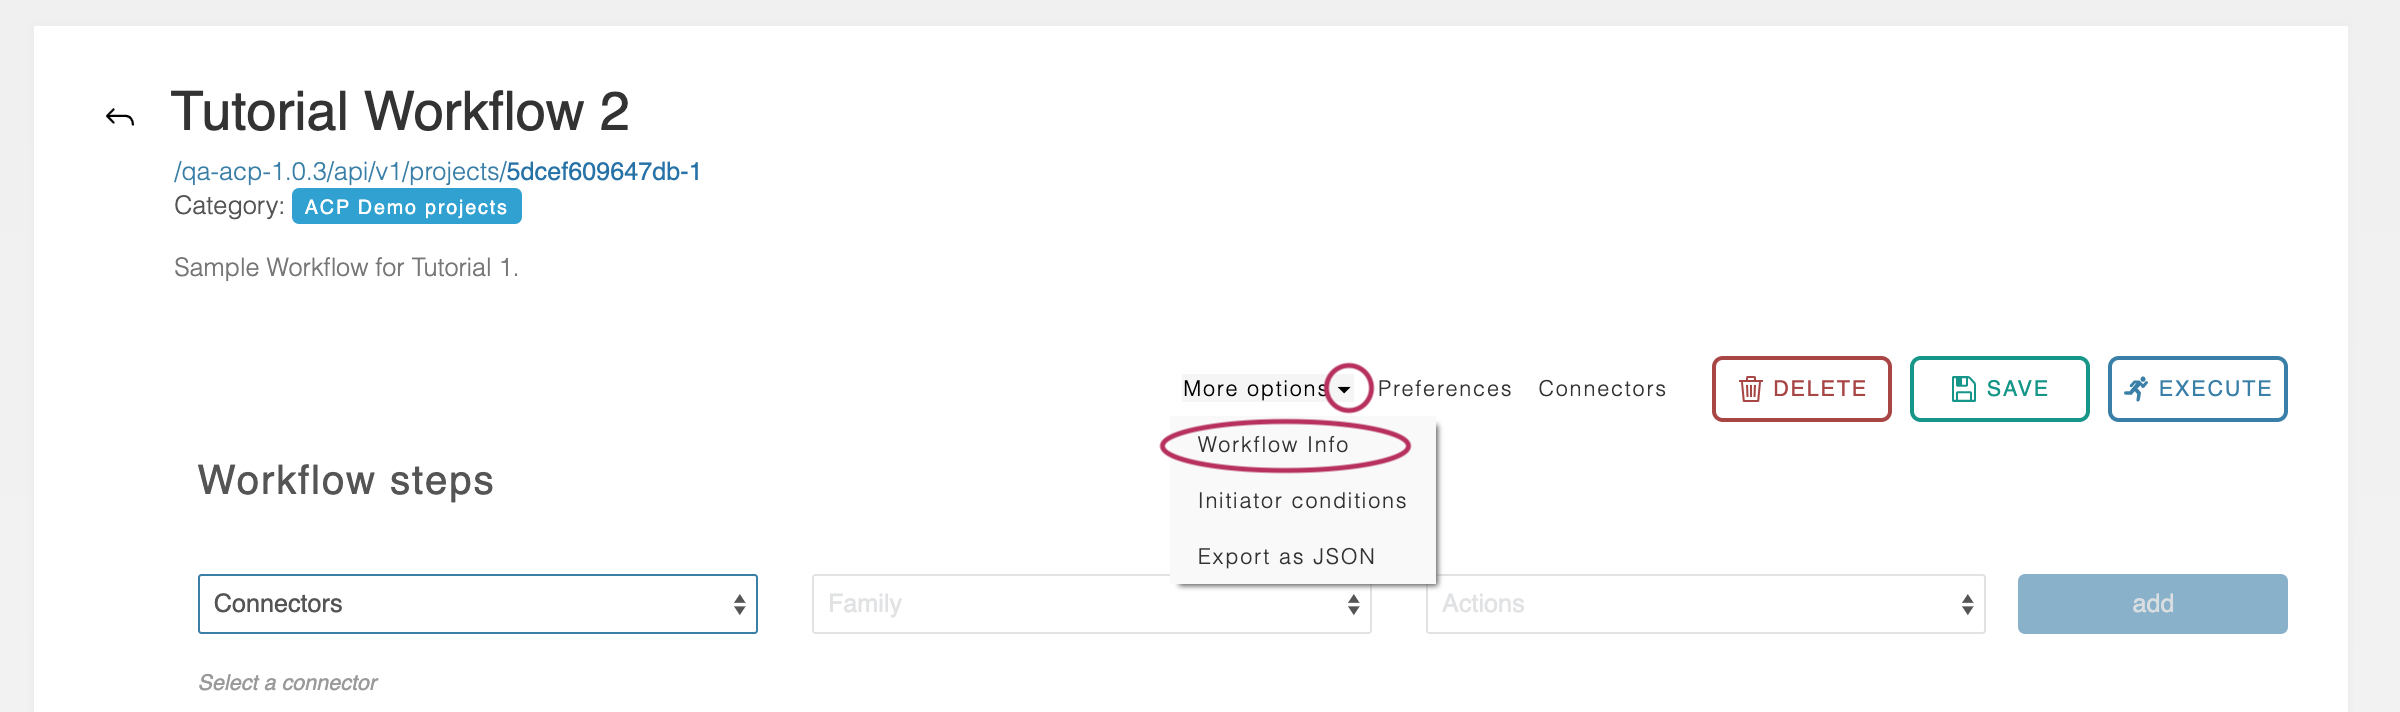
Once saved, every Workflow is assigned a distinct URL that can be used to execute it remotely by POST’ing data to it. This URL can be found by navigating to the header area of the Workflow and clicking on the ‘More options’ drop-down below the description area.
Then select the ‘Workflow Info’ option.
A modal window appears which displays the Workflow URL and the user-given variables required for the Workflow to run.
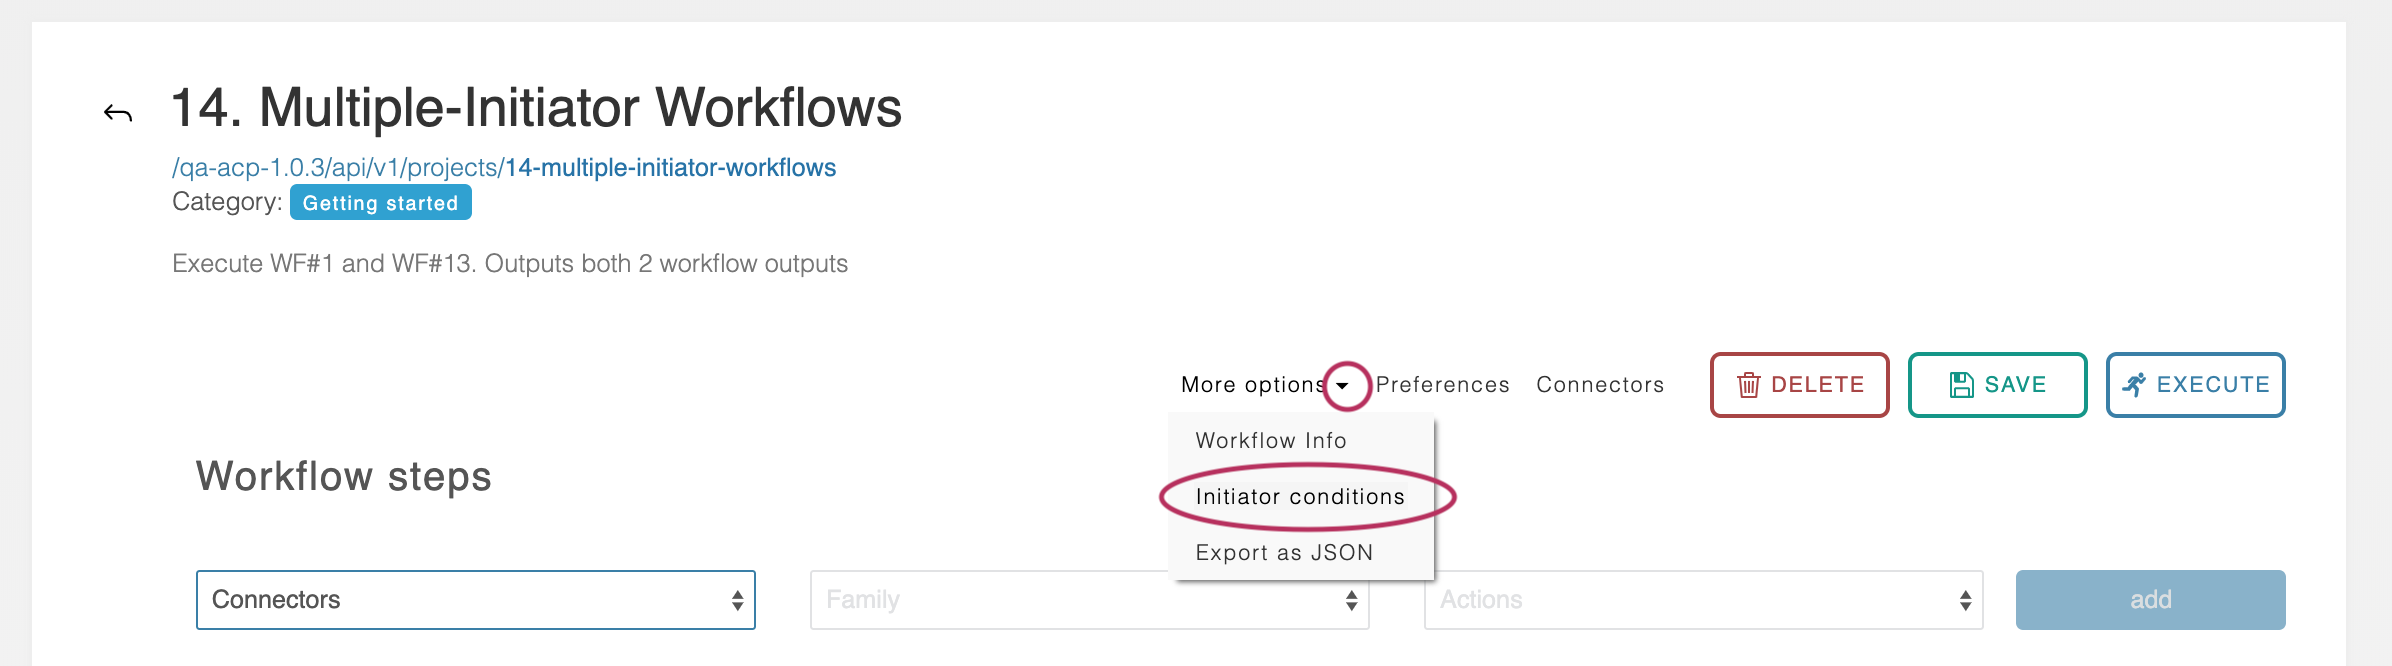
Initiator Conditions
The 6connect ACP system uses “initiator conditions” as a pre-routing system to determine, based on user-given data, which step is executed first.
The Initiator Editor can be accessed by scrolling to the top of a workflow and clicking ‘More options’, followed by ‘initiator conditions.’
For more detail, see Initiator Conditions and Iteration.
Export as JSON
Workflows can be exported in JSON format by navigating to the header area of the Workflow and clicking the ‘More options’ drop-down below the description area.
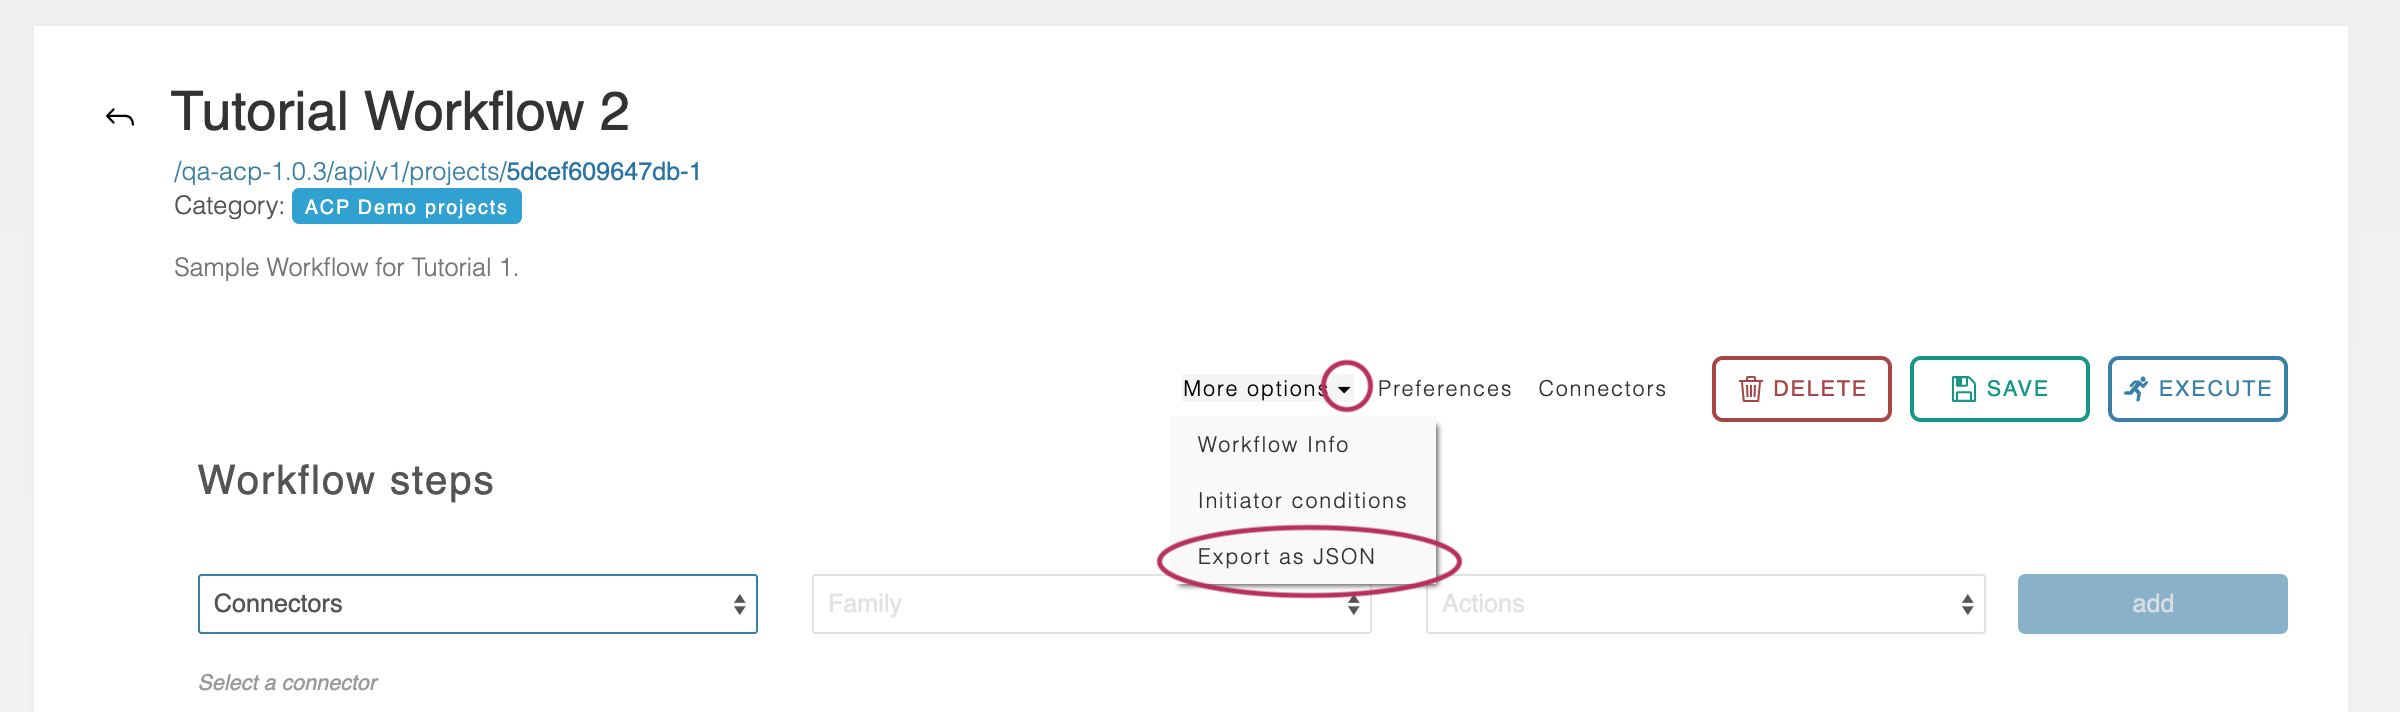
Then select the ‘Export as JSON’ option.
The Workflow JSON will be downloaded through the browser. This exported JSON can be saved as a backup, shared with coworkers, or sent to 6connect Support for assistance.
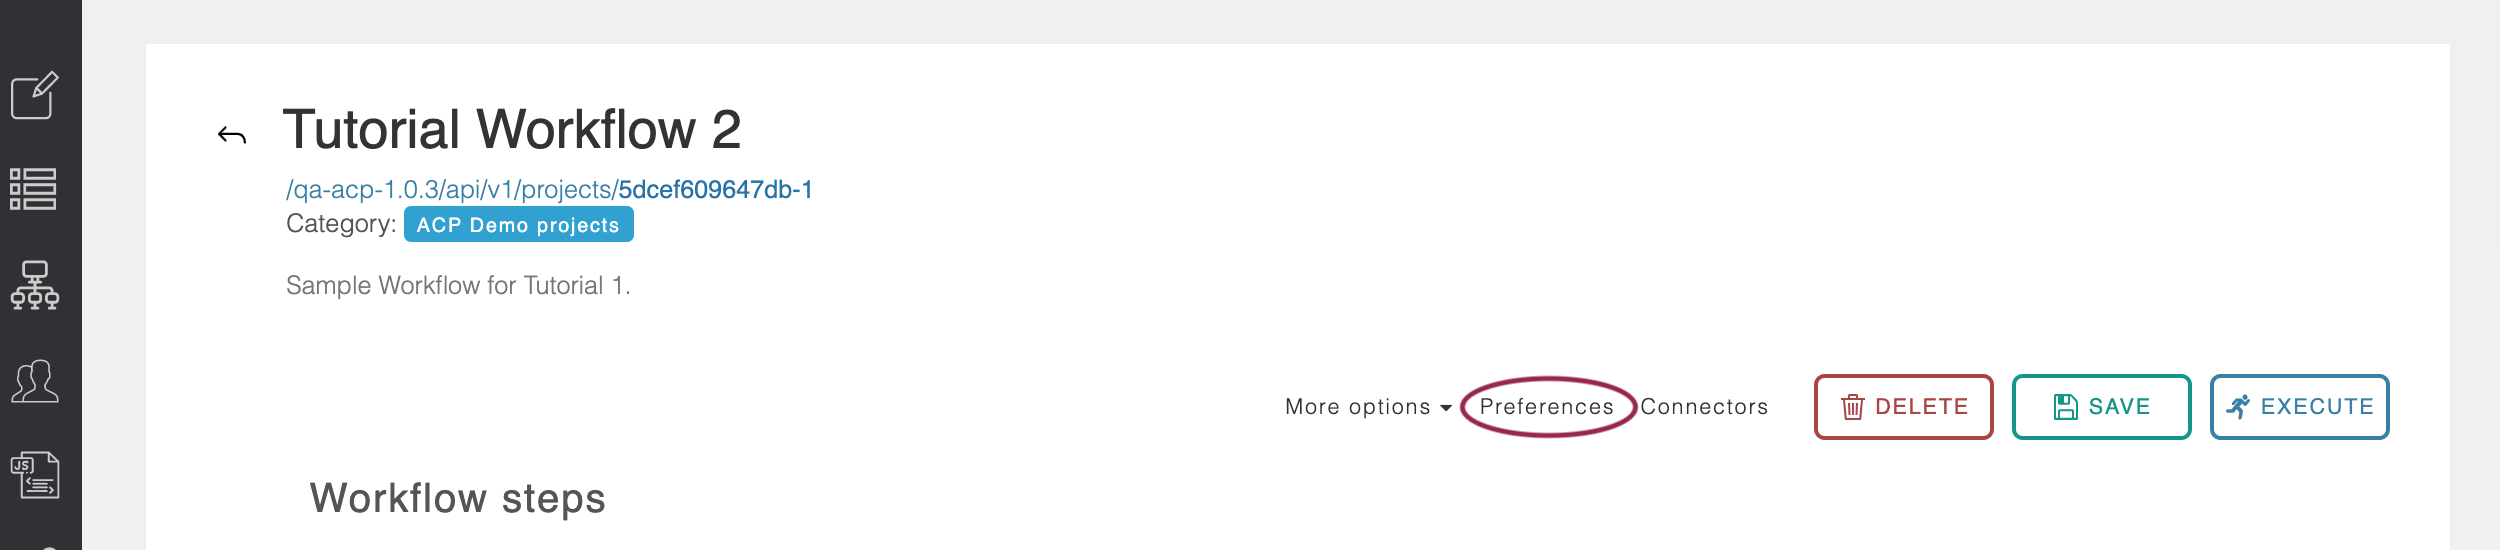
Workflow Preferences
Click on the "Preferences" link to bring up workflow operation settings.
Rollback Mode and Debug Mode
The ‘preferences’ link in the upper-right can be used to bring up an options menu.

The choices are:
- Enable Rollback: this setting controls whether the workflow immediately halts or rolls back executed steps when it encounters a failure condition, or is unable to find an appropriate Route at the end of a step.
- Debug Mode: this setting controls whether or not detailed debug output is shown at the end of workflow execution within the ACP GUI. It has no effect on execution via API calls. For an example of how to use Debug mode, see Quick-Start Tutorial 2.
Additional Information
Continue on to additional User Guide pages for detailed information on working in ACP: