ACP UI Overview
This section provides a high-level overview of the navigation, available screens, and menu options in ACP.
The Login Screen
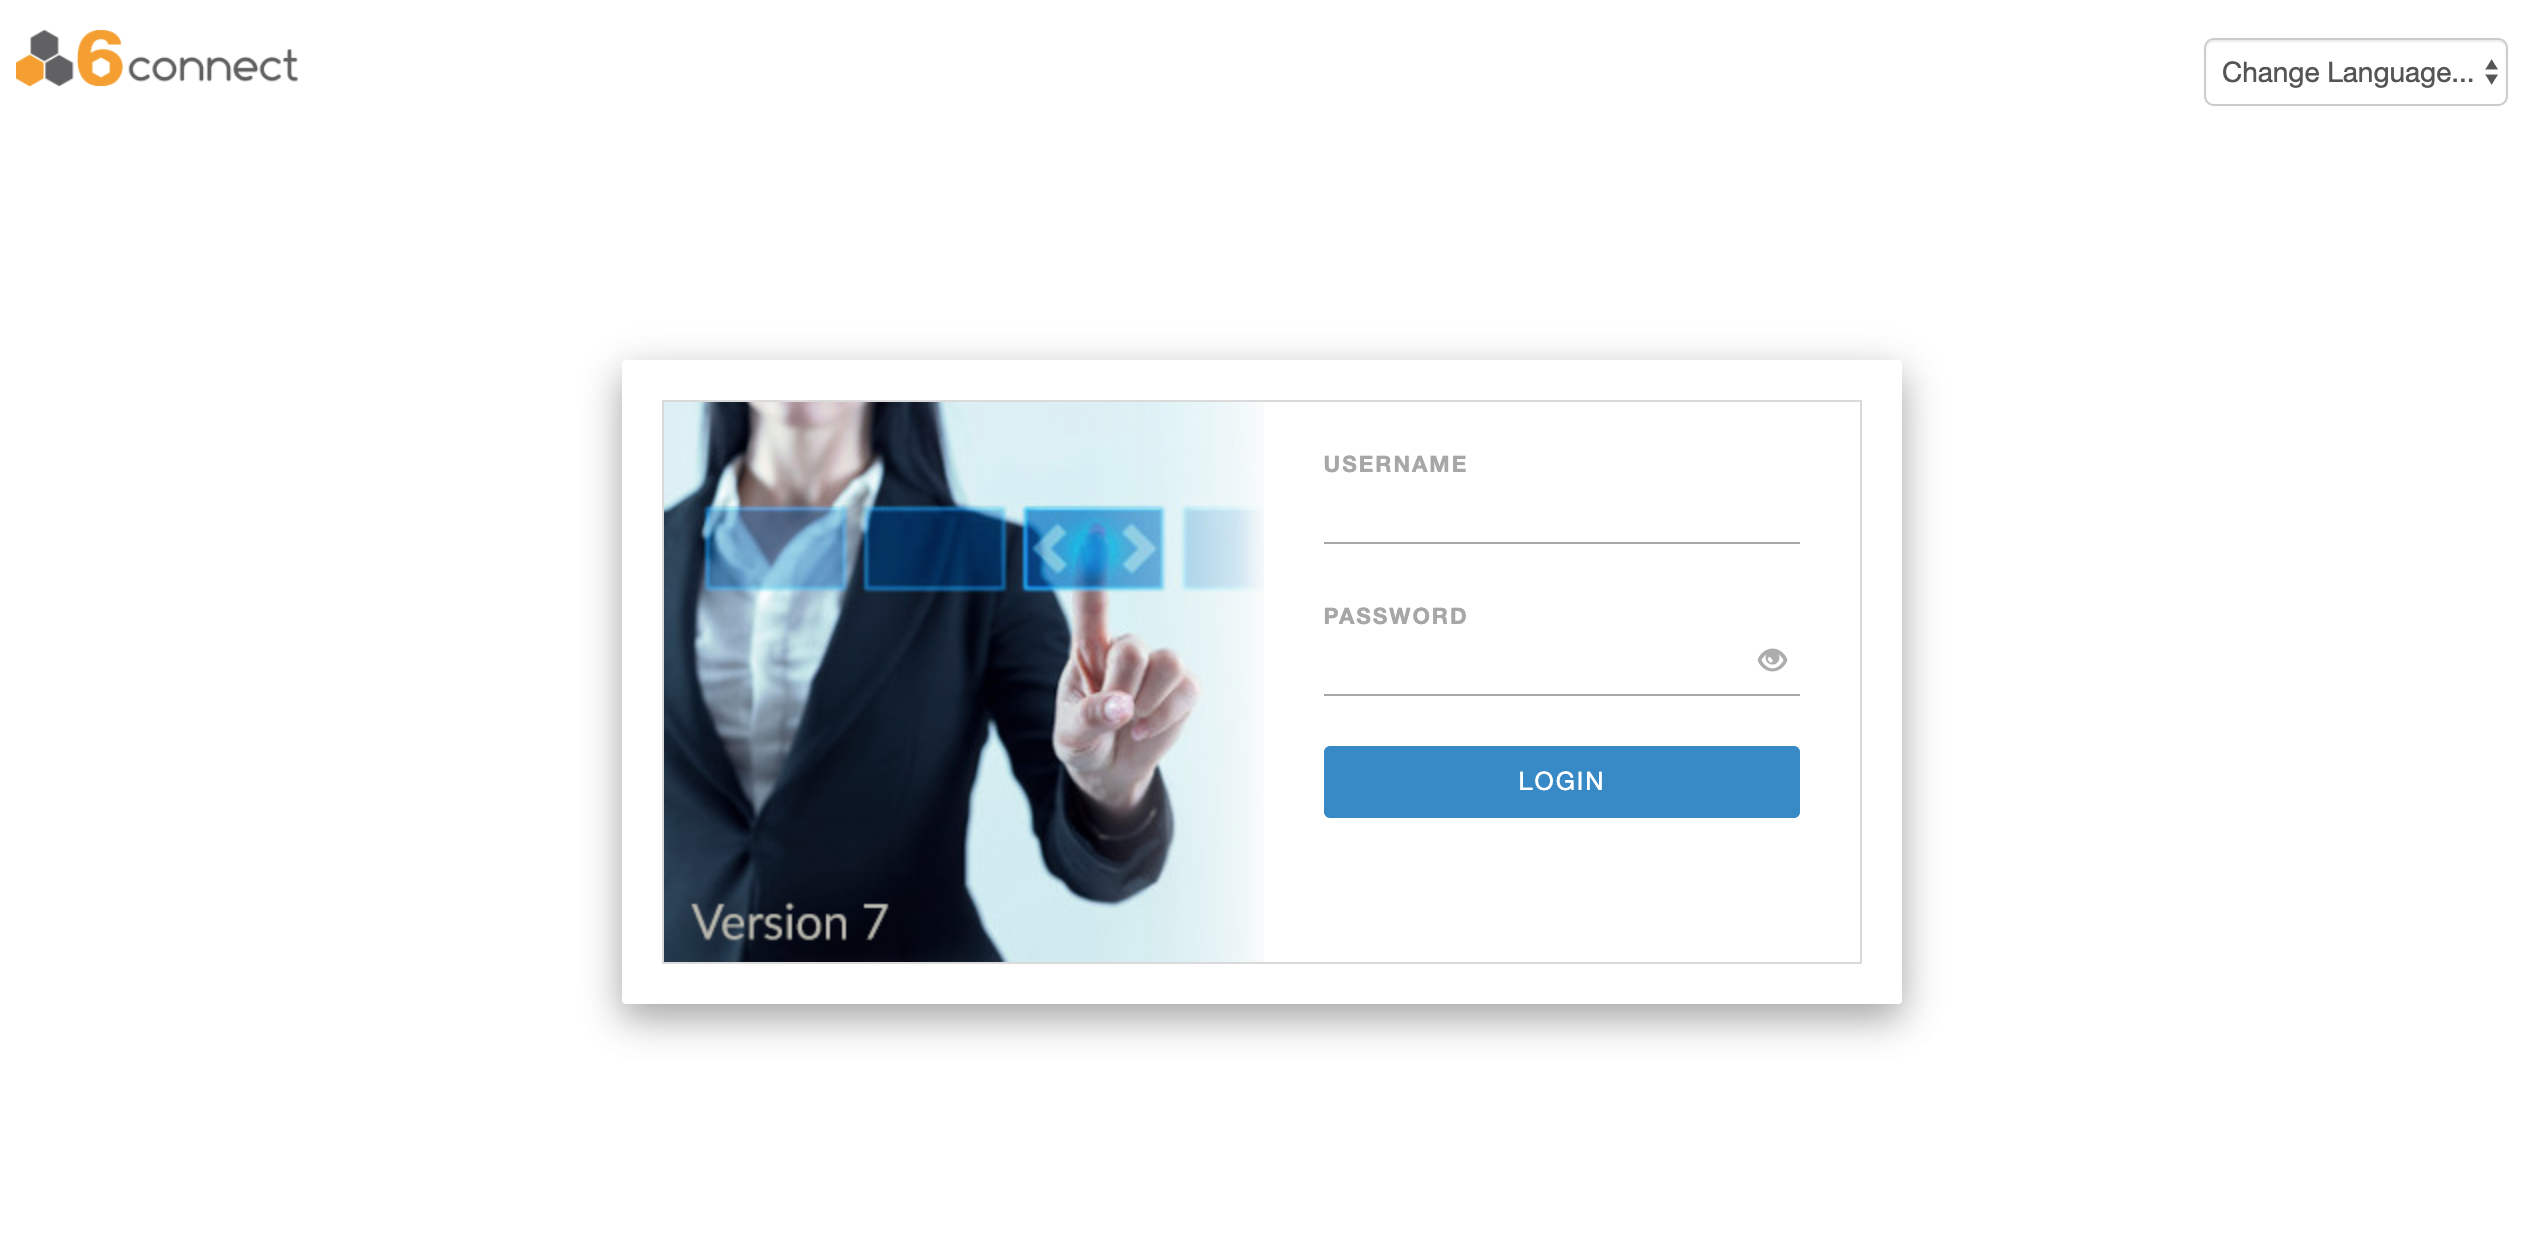
Your username and password will be provided by 6connect, your local vendor, or your systems administrator.
The login screen is where you can select the language localization for the product. This selector is in the upper-right corner. After logging in, you will be directed to the ACP Home Page.
ACP Home Page Options & Menus
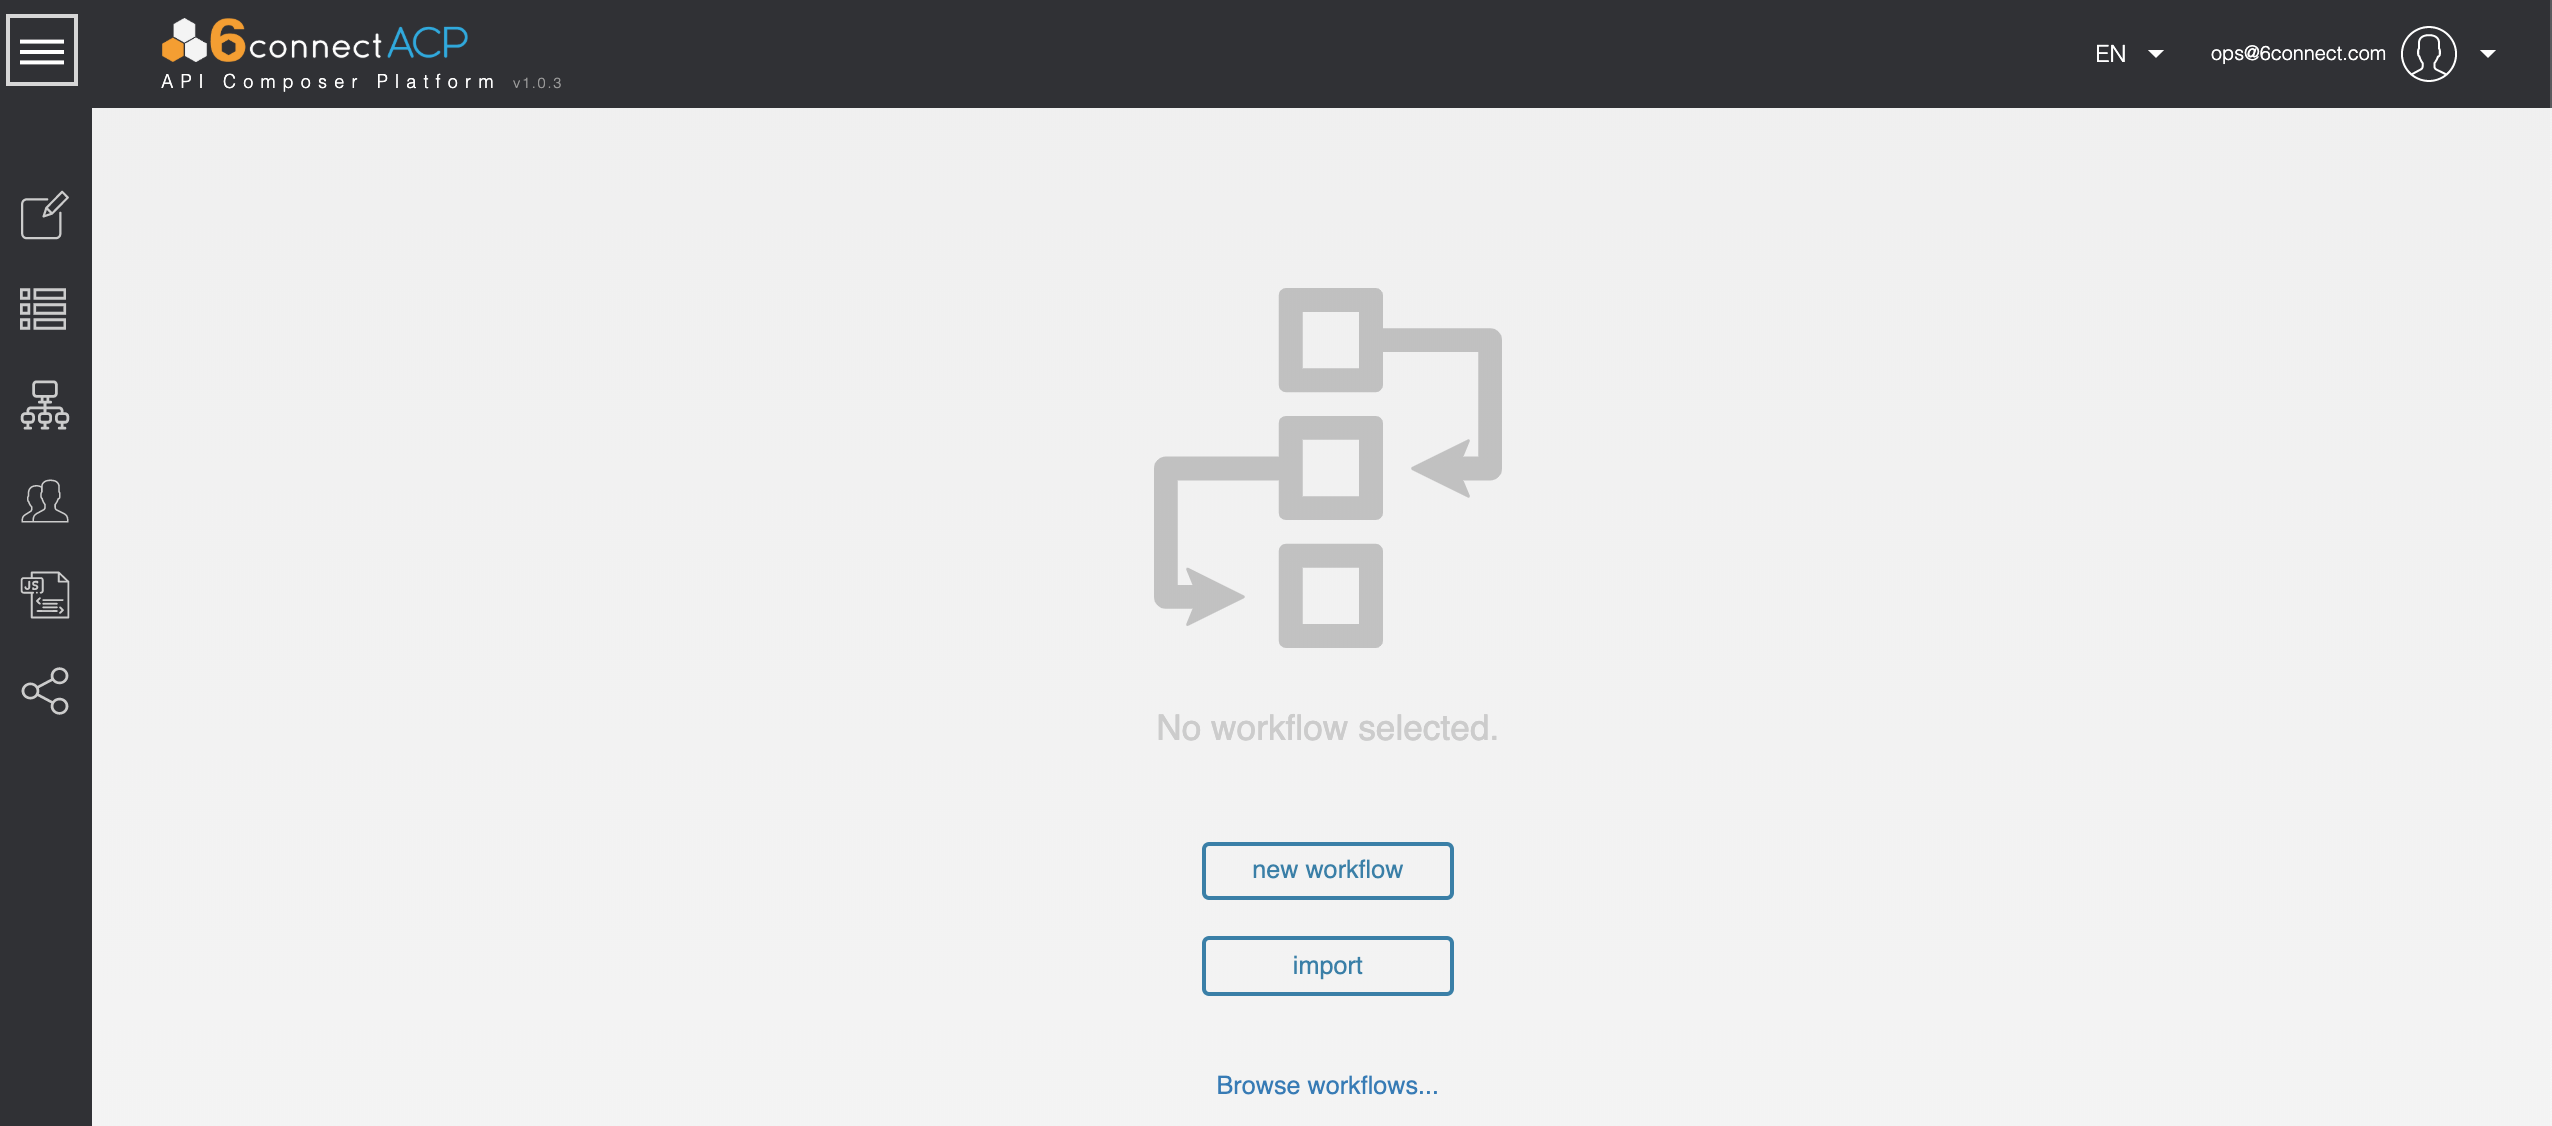
After login, the ACP home page defaults to “No Workflow Selected” and provides links to create a new workflow, to import a workflow, and to browse the list of existing workflows.
From here, you may also access the ACP actions menu in the upper left corner of the screen, and the language selector and logout link from the options in the upper right corner.
ACP Header

The ACP Header (the black bar at the top of the page) is available throughout ACP, and contains the following elements:
- Actions Menu Button
- ACP Logo and Current Version
- Language Selection
- Current User
- User Options / Logout
Page options
After logging in, and whenever no workflows are open, the Home Page will display "No Workflow Selected" and give the following options:
- New Workflow - Click to open a new workflow page
- Import - Import a workflow provided a JSON file (from the "Export as JSON" feature)
- Browse Workflows - Opens the Workflow List to open an existing Workflow
Change Language
Change the Language at any point by selecting the desired language from the selector at the top right corner of the screen, next to the user name.

Logout
To log out of ACP, click on the down arrow next to the username in the upper right area of the screen, then click on the logout link that appears.

Ensure that you save any changes to your Workflows prior to logging out - any unsaved changes will be lost after logout.
The Actions Menu
The actions menu for ACP is accessed by the menu button toggle ("Hamburger" icon of three horizontal lines) on the left side of the ACP black header bar (upper-left corner of the screen). The actions menu contains links to specific management areas, each of which will be described in their own sections.

Clicking the menu button once will expand the actions menu on the left side of the screen, showing the full menu options. Clicking it again will collapse the menu, showing only the menu icons. Hover over a menu icon at any point to view a text description of the menu item.
Actions Menu Options
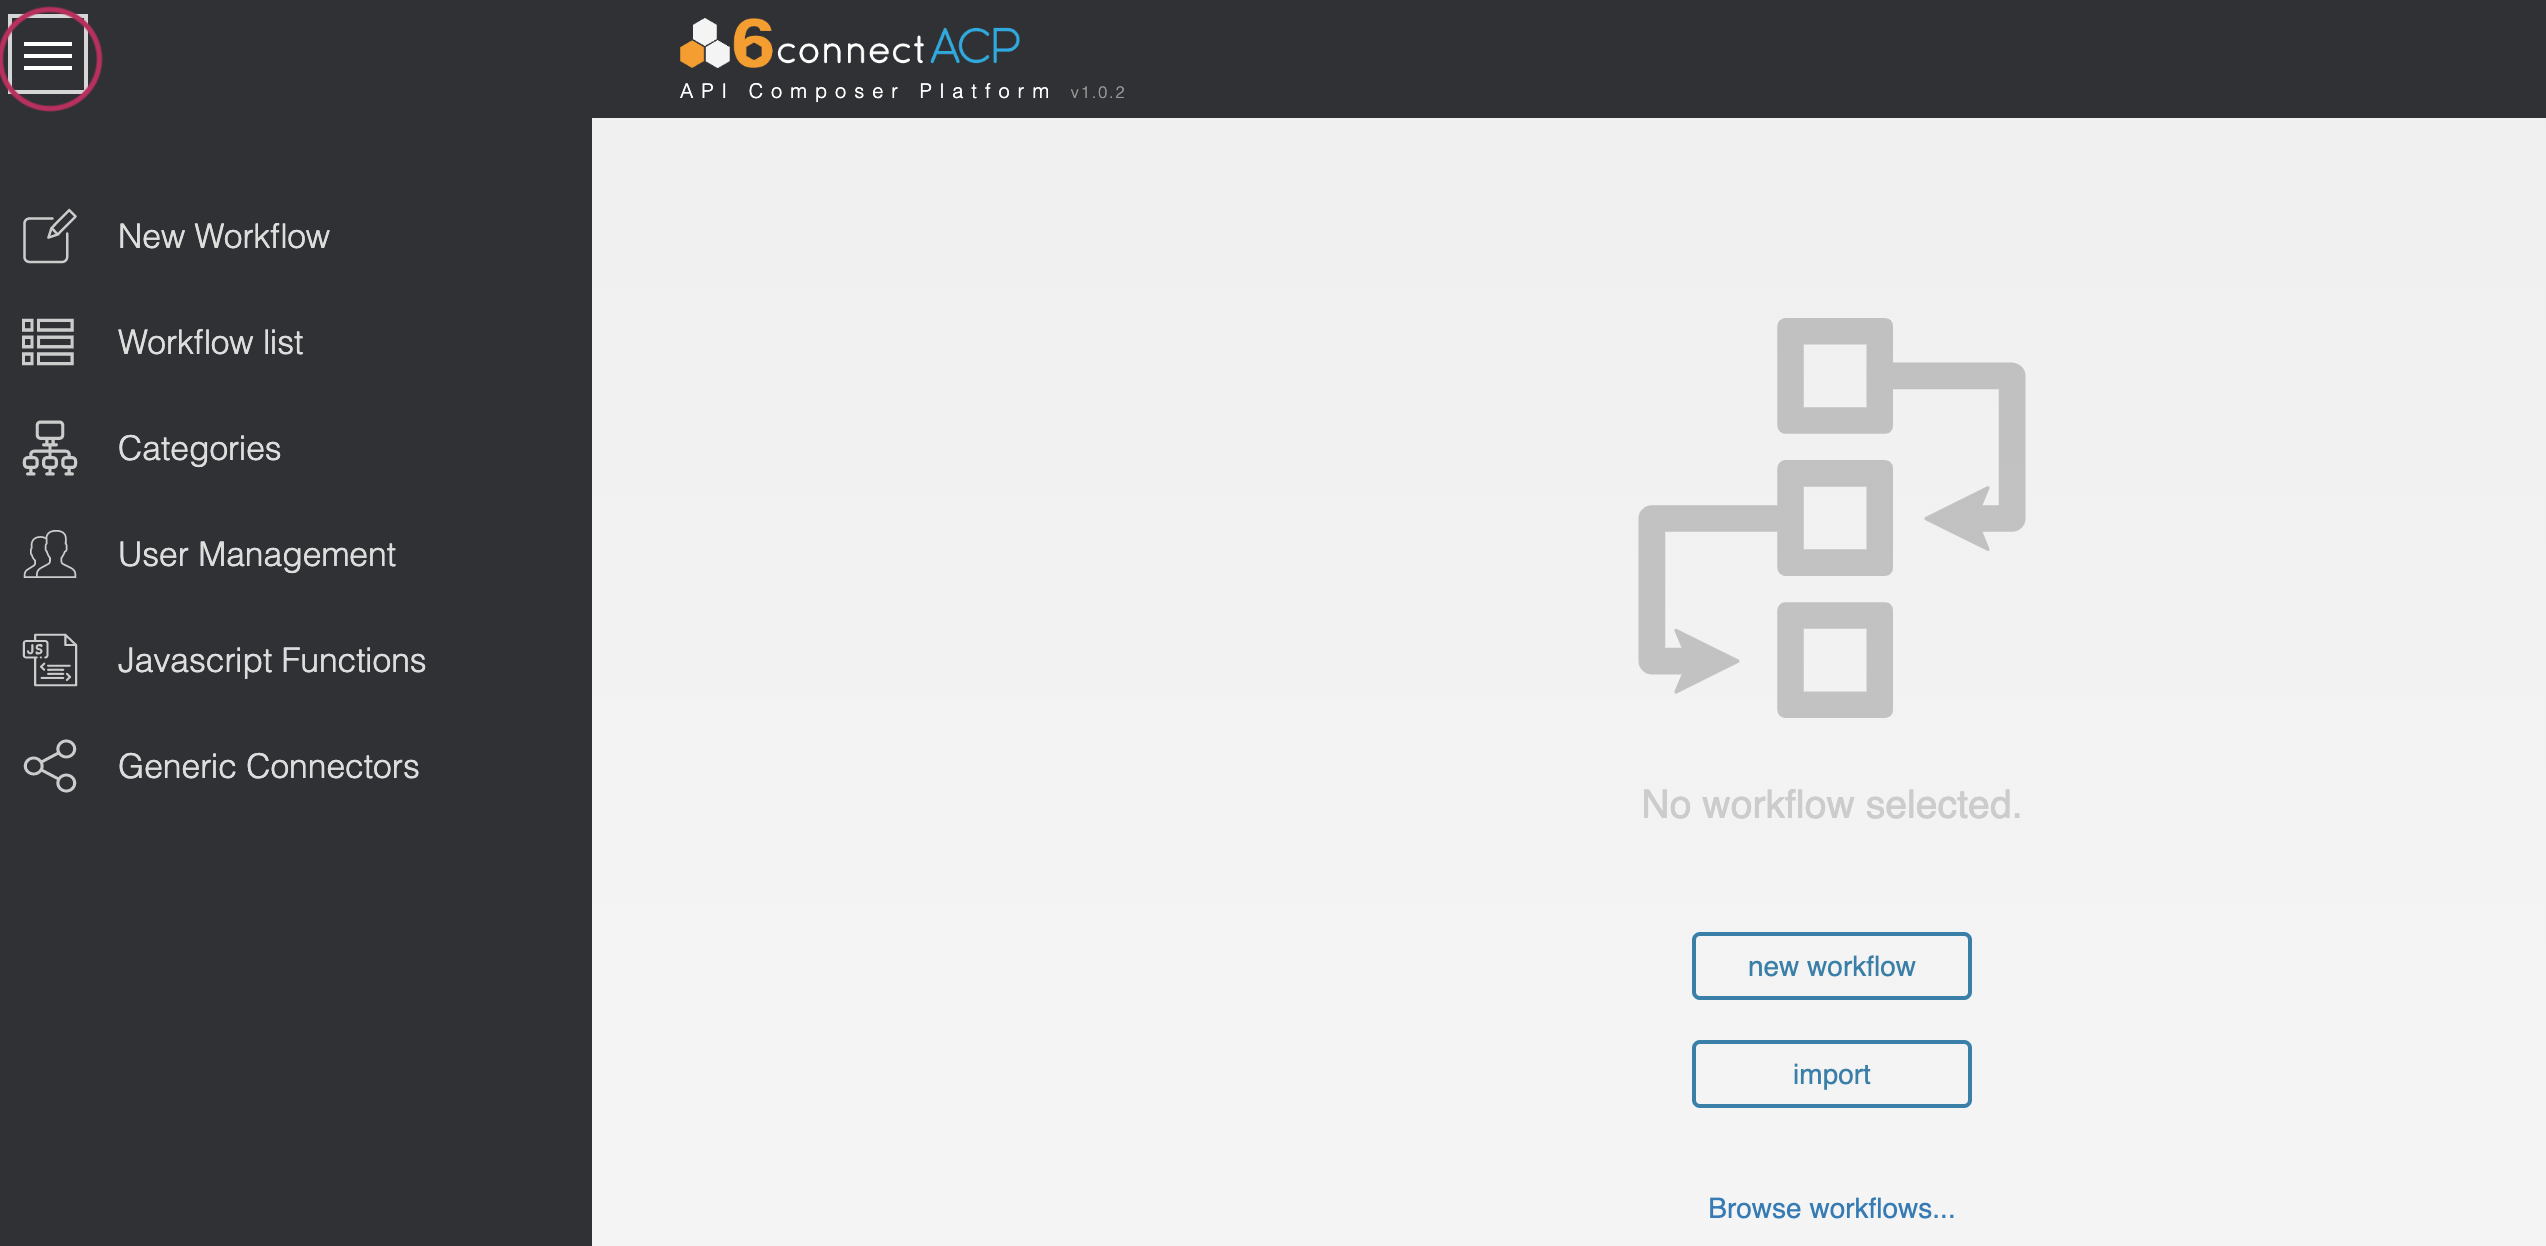
The following management area options are available from the ACP Menu:
- New Workflow - Opens the page to create a new ACP Workflow
- Workflow List - Browse a filterable list of all existing Workflows
- Categories - View, add, or edit Categories to organize your Workflows
- User Management - Manage the users authorized to access the ACP instance
- Javascript Functions - Create, view, and edit custom Javascript functions for use in advanced workflows
- Generic Connectors - Define your own connectors for services not natively supported by ACP
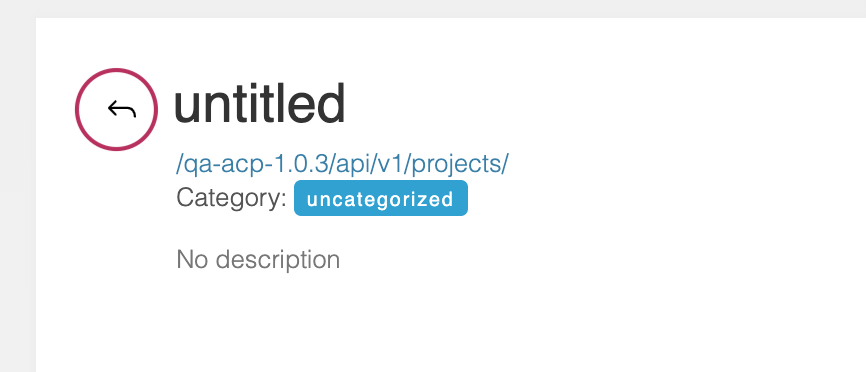
New Workflow / Workflow page
Selecting the "New Workflow" menu option will prompt to close out of any currently open workflows, and open the Workflow page with a new, untitled workflow.
At the top left of the page is basic information about the workflow - here, you can edit the workflow name, slug, category, and description.
Near the upper right of the page are options and available actions for that workflow, where you can set workflow options, preferences, and connectors, as well to save / delete / execute the workflow. On longer workflows, these options and actions will pin to the top of the page to ensure access from wherever you are in the step list.
The 'Workflow steps' section is the main body of the workflow, where new steps can are added, and where existing steps display in order of execution.
![]()
A new workflow must have at least one valid step created before it can be saved to prevent invalid/empty workflows, so ensure that you are prepared with connector information and the ability to add at least one step prior to creating a new workflow.
To exit out of the workflow screen, click the return arrow next to the workflow name to close the workflow.
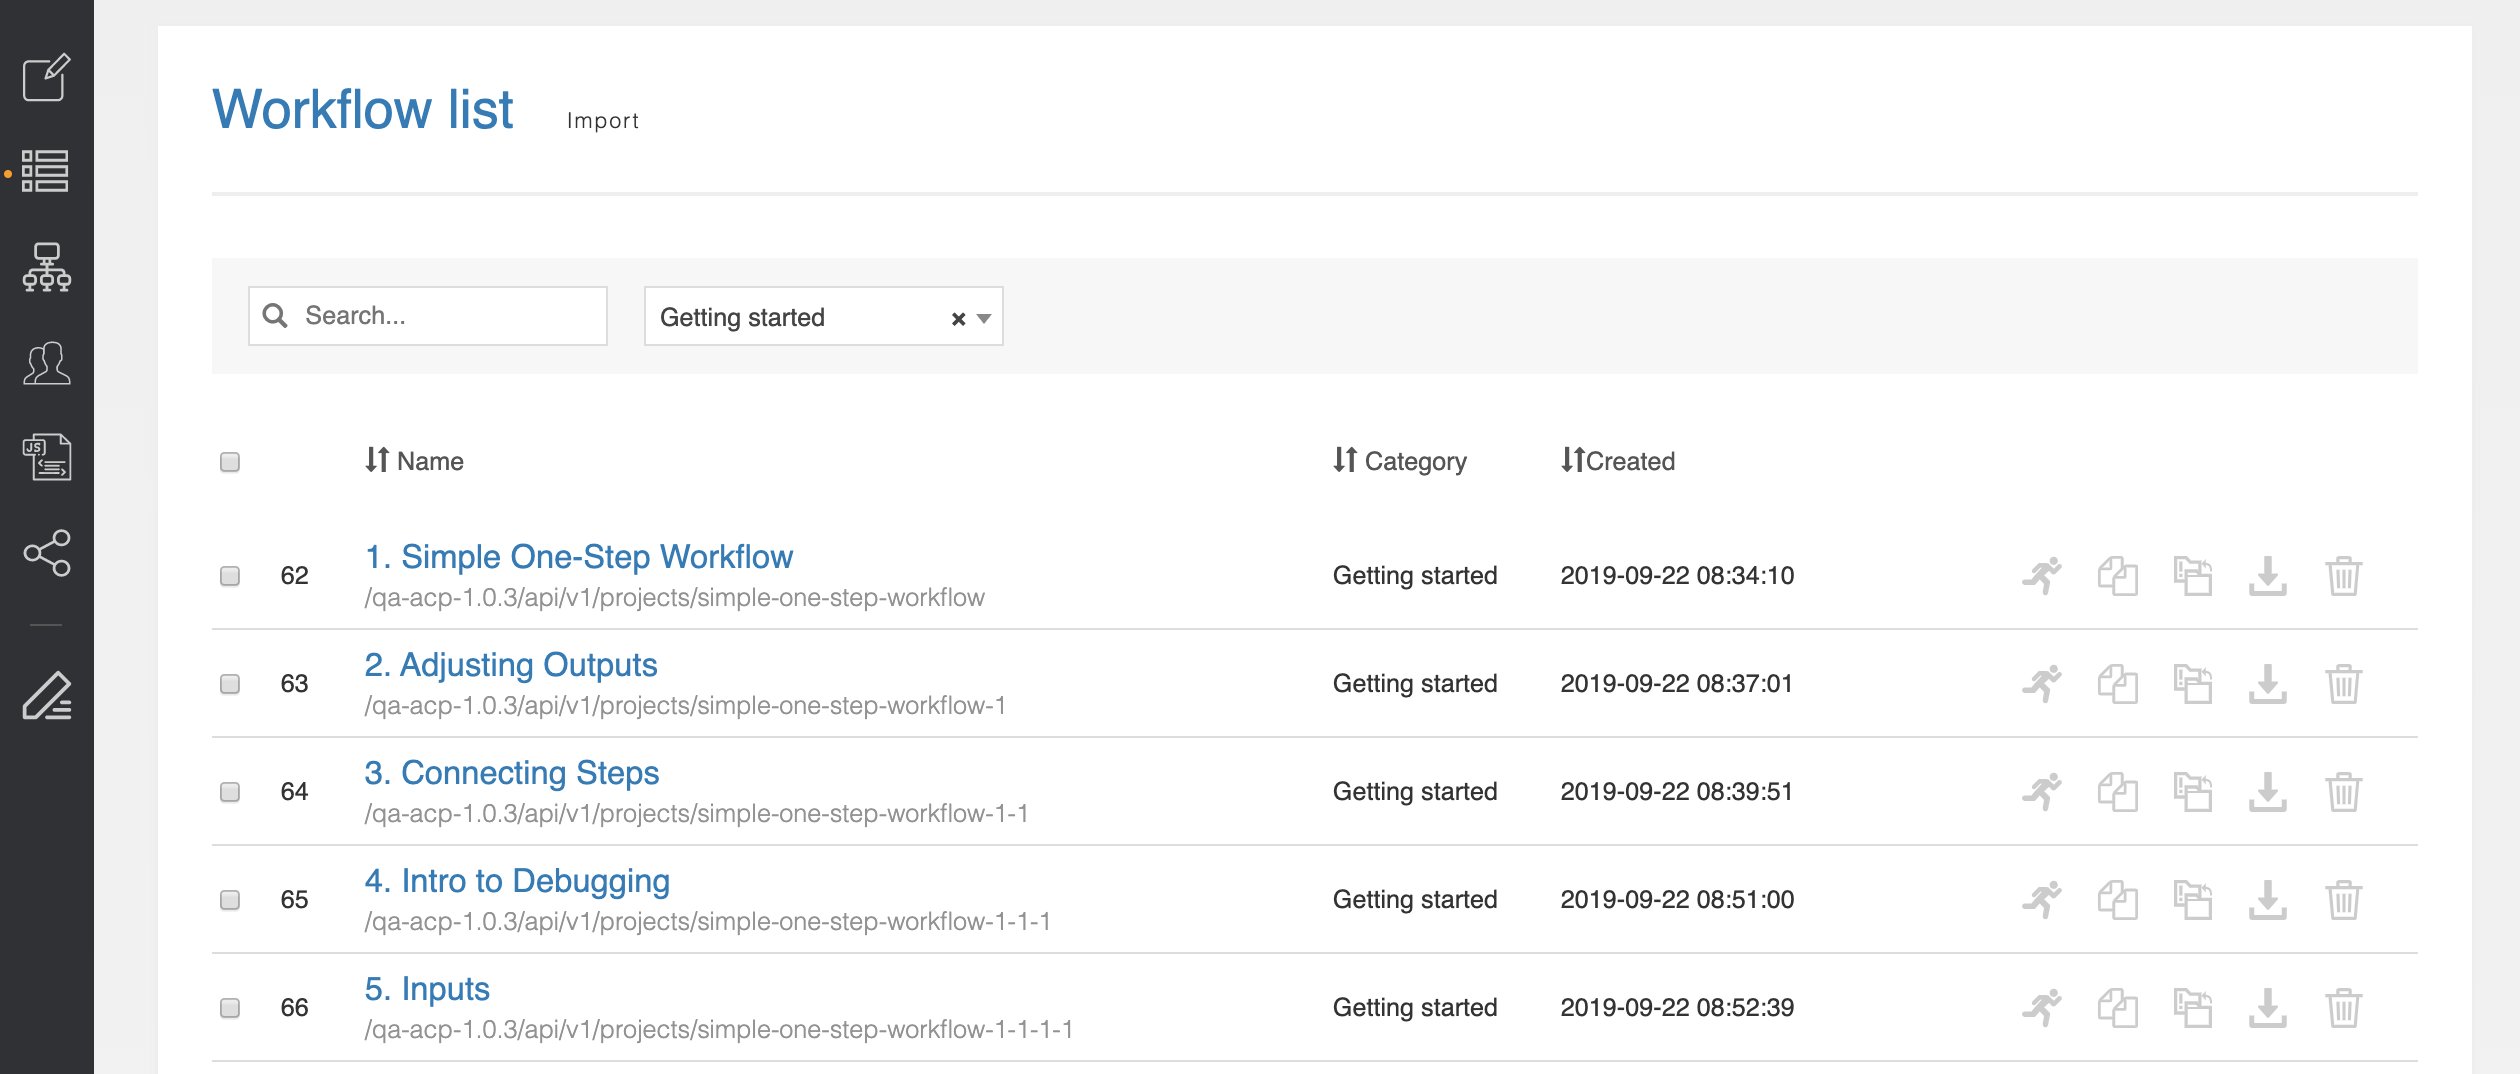
The Workflow List
The workflow list contains all of the saved ACP Workflows within the system. Workflows are listed by the order in which they were created, most recent first, but they can also be sorted by name, category, or data created. The search/filter boxes allow you to search for a specific workflow by name or filtered by category.

Each row in the listing table describes a single workflow. Actions available for each workflow in the list include:
- Open the workflow: Click on the workflow name to open the ACP Workflow page editor.
- Select Checkbox: Export multiple workflows by selecting two or more workflows, then click "Export All" at the top of the page/
- Action buttons on the right allow you to:
- Execute the workflow
- Clone the workflow into a new project
- Replace the workflow entirely with a JSON export
- Export the workflow to JSON
- Delete the workflow
You can also import a new workflow from a JSON export using the ‘import’ dialogue in the upper-left.
The Examples Library
ACP ships with a wide variety of working ACP examples illustrating various concepts and functions. These examples can be found in the Workflow List and are grouped into distinct categories, like ‘Getting Started’ and ‘ProVision & Amazon.’
The ‘Getting Started’ category is of particular importance for new users as it shows specific examples of distinct concepts. This category of workflows will be referenced often throughout this documentation.
Categories and Category Management
The category management screen is accessed from the primary actions menu.
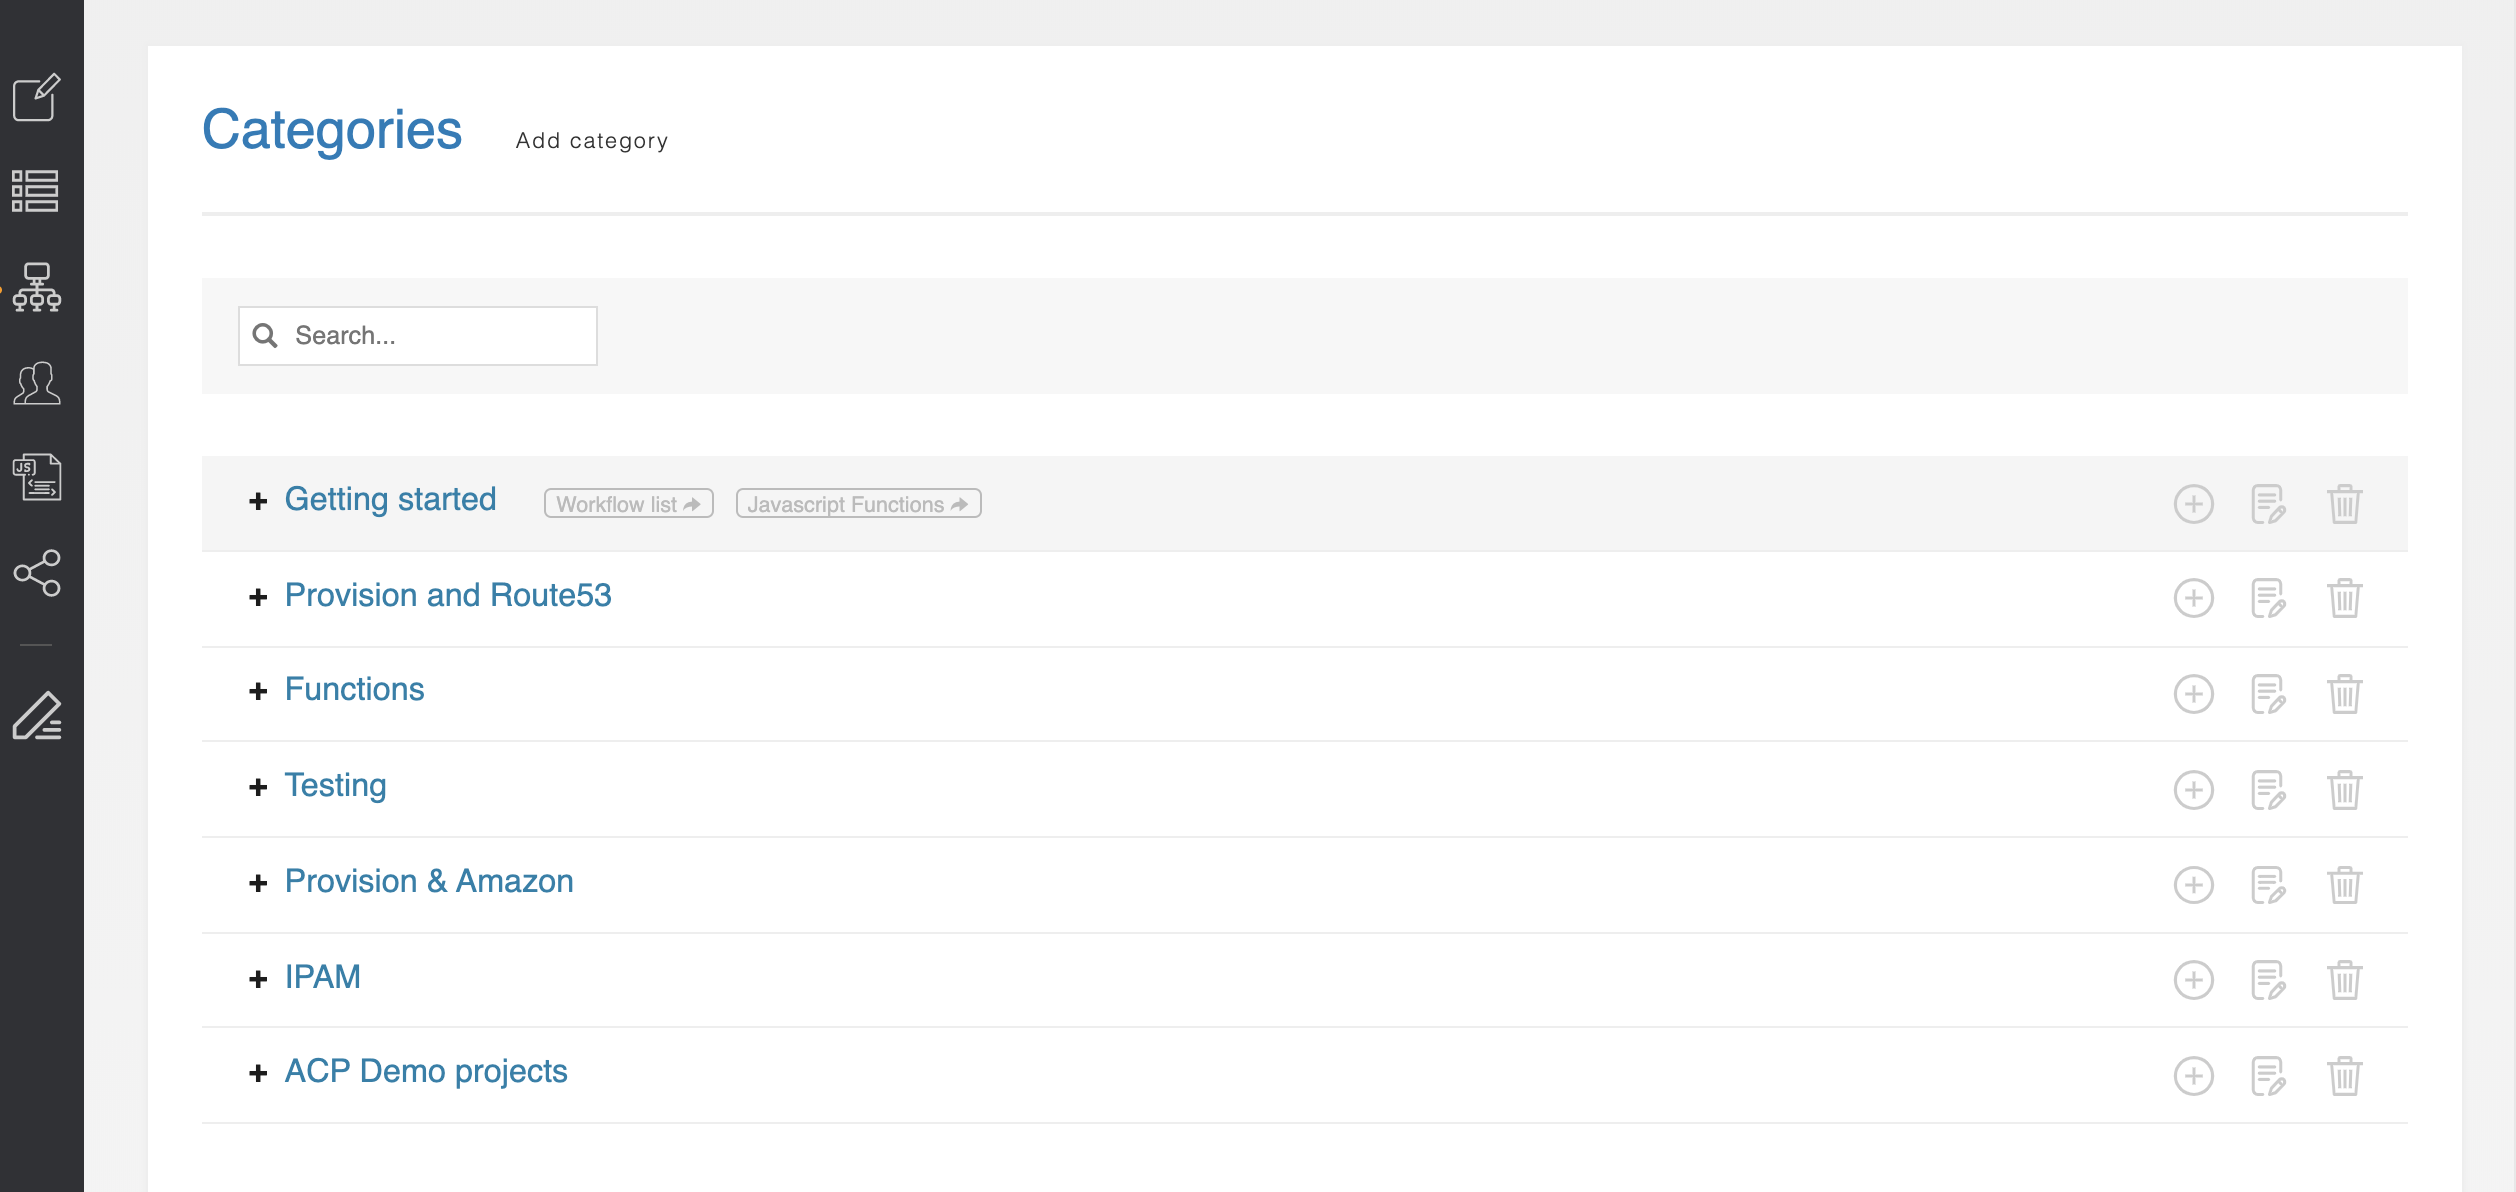
ACP ships with several built-in categories for the example library, such as “Getting started” and “ProVision and Route53", and users may define as many new categories as desired using the “Add category” button. Categories may also have sub-categories, created by selecting a "Parent" category inside the "Add Category" screen, or clicking the "Add sub-category" icon for a particular category.
For each category listed, you can perform the following actions:
- View Sub-Categories: Click the category name or + icon
- View Workflows of that category: Hover on the category name and click on the "Workflow List" link (opens in a new tab)
- View Javascript Functions of that category: Hover on the category name and click on the "Javascript Functions" link (opens in a new tab)
- Action buttons on the right allow you to:
- Add a sub-category
- Edit the category
- Delete the category
Associating a category with a workflow is done from the Workflow page, and each ACP Workflow can be assigned to one category to help keep them organized - by default, new workflows are assigned to the category “uncategorized”.
User Management
The user management screen is accessed from the primary actions menu.
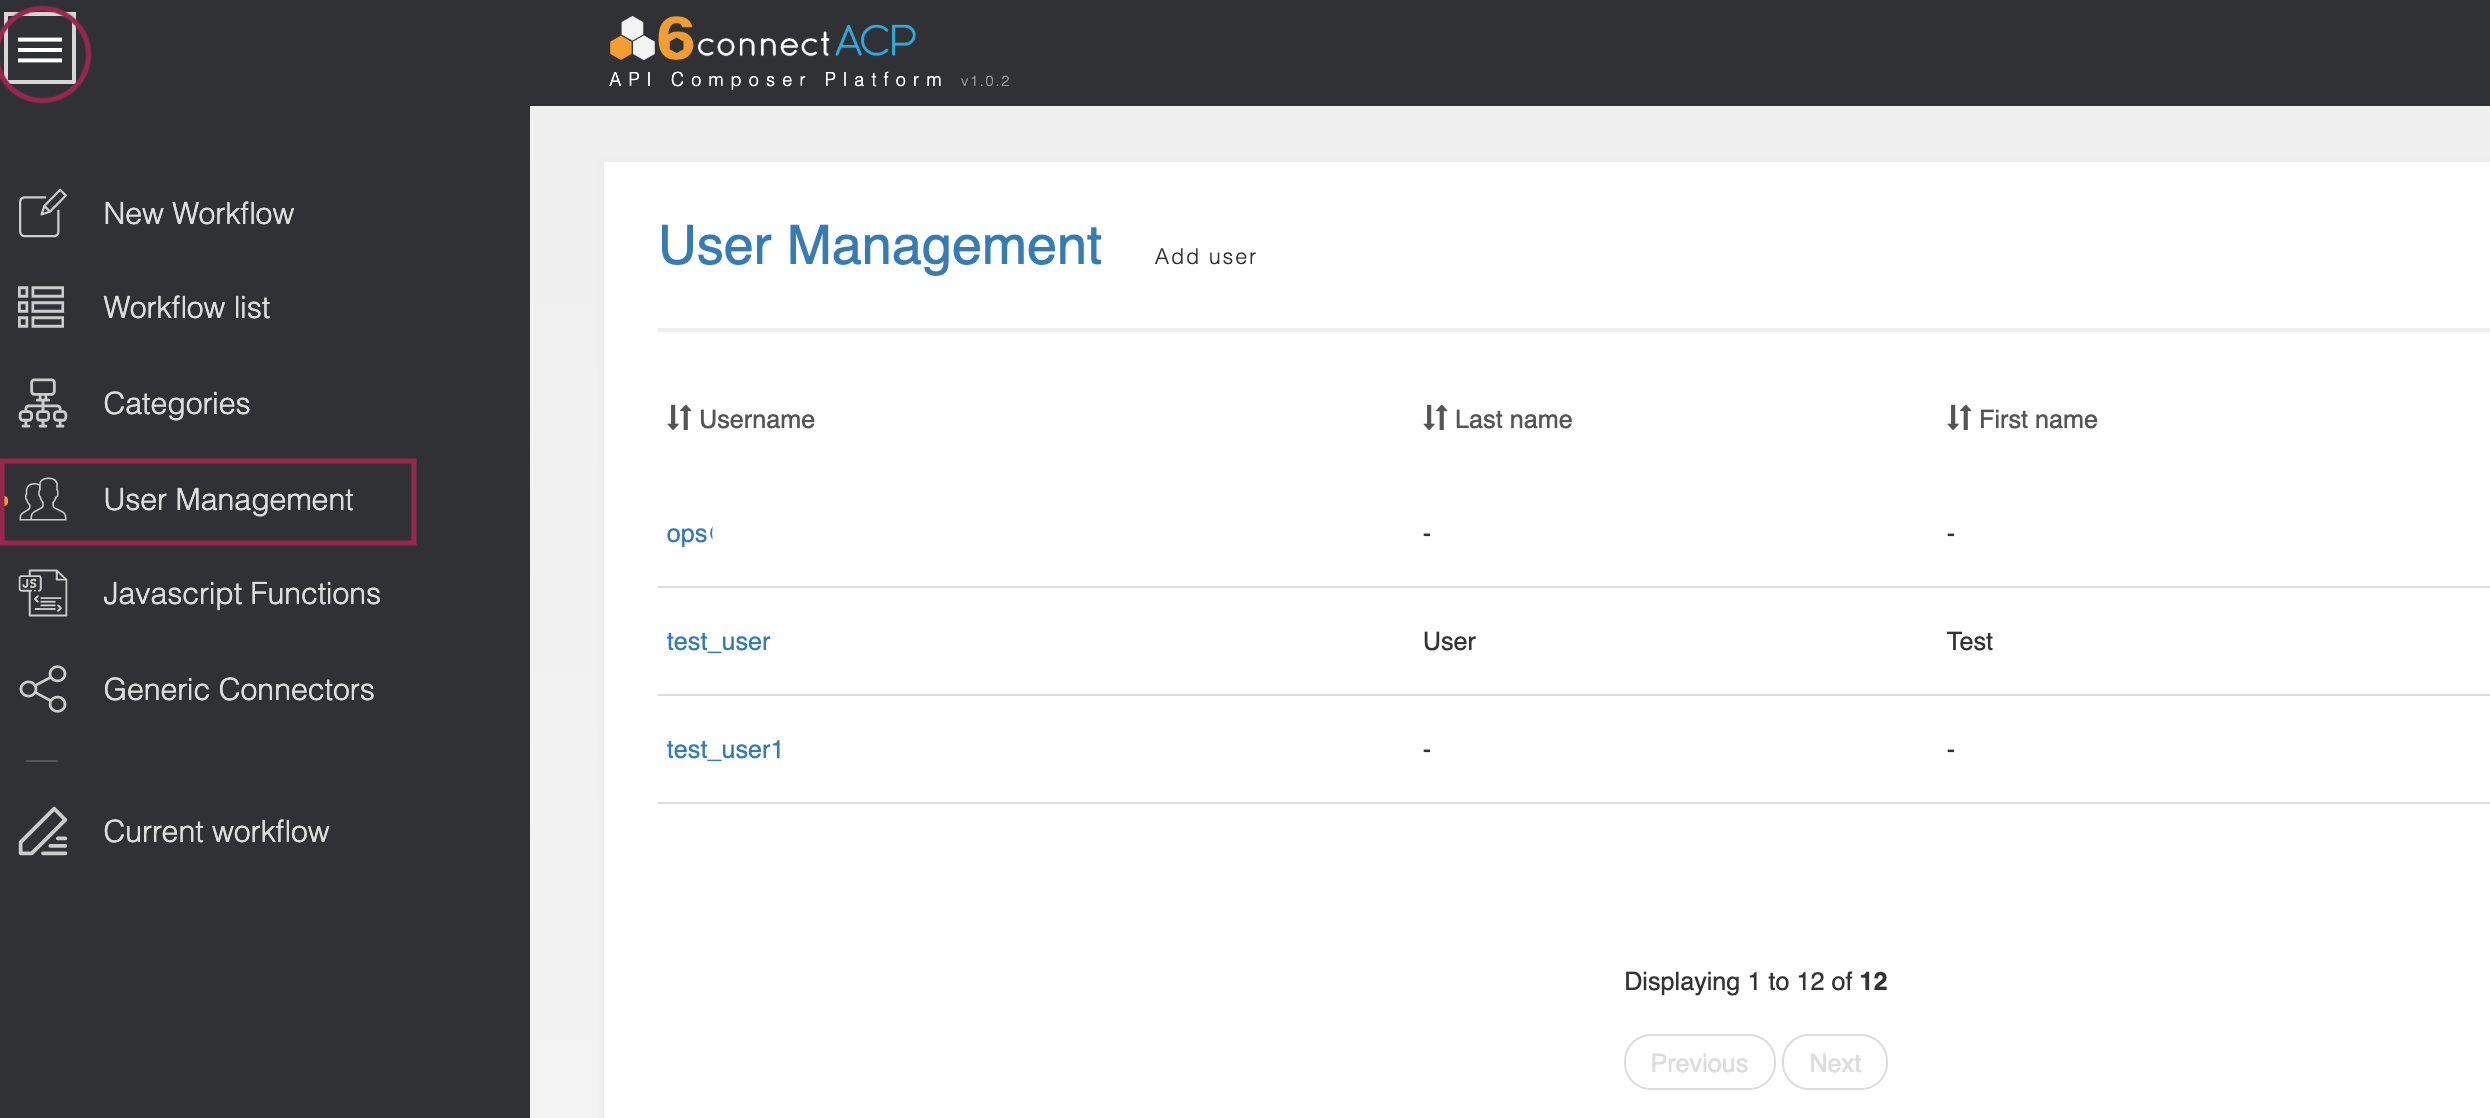
This screen allows you to add, delete, and edit system users. All users in the system have the same level of access and permissions.
When adding or editing, a modal dialogue requests basic information about the user. The search box allows you to quickly find a particular user.
Javascript Functions
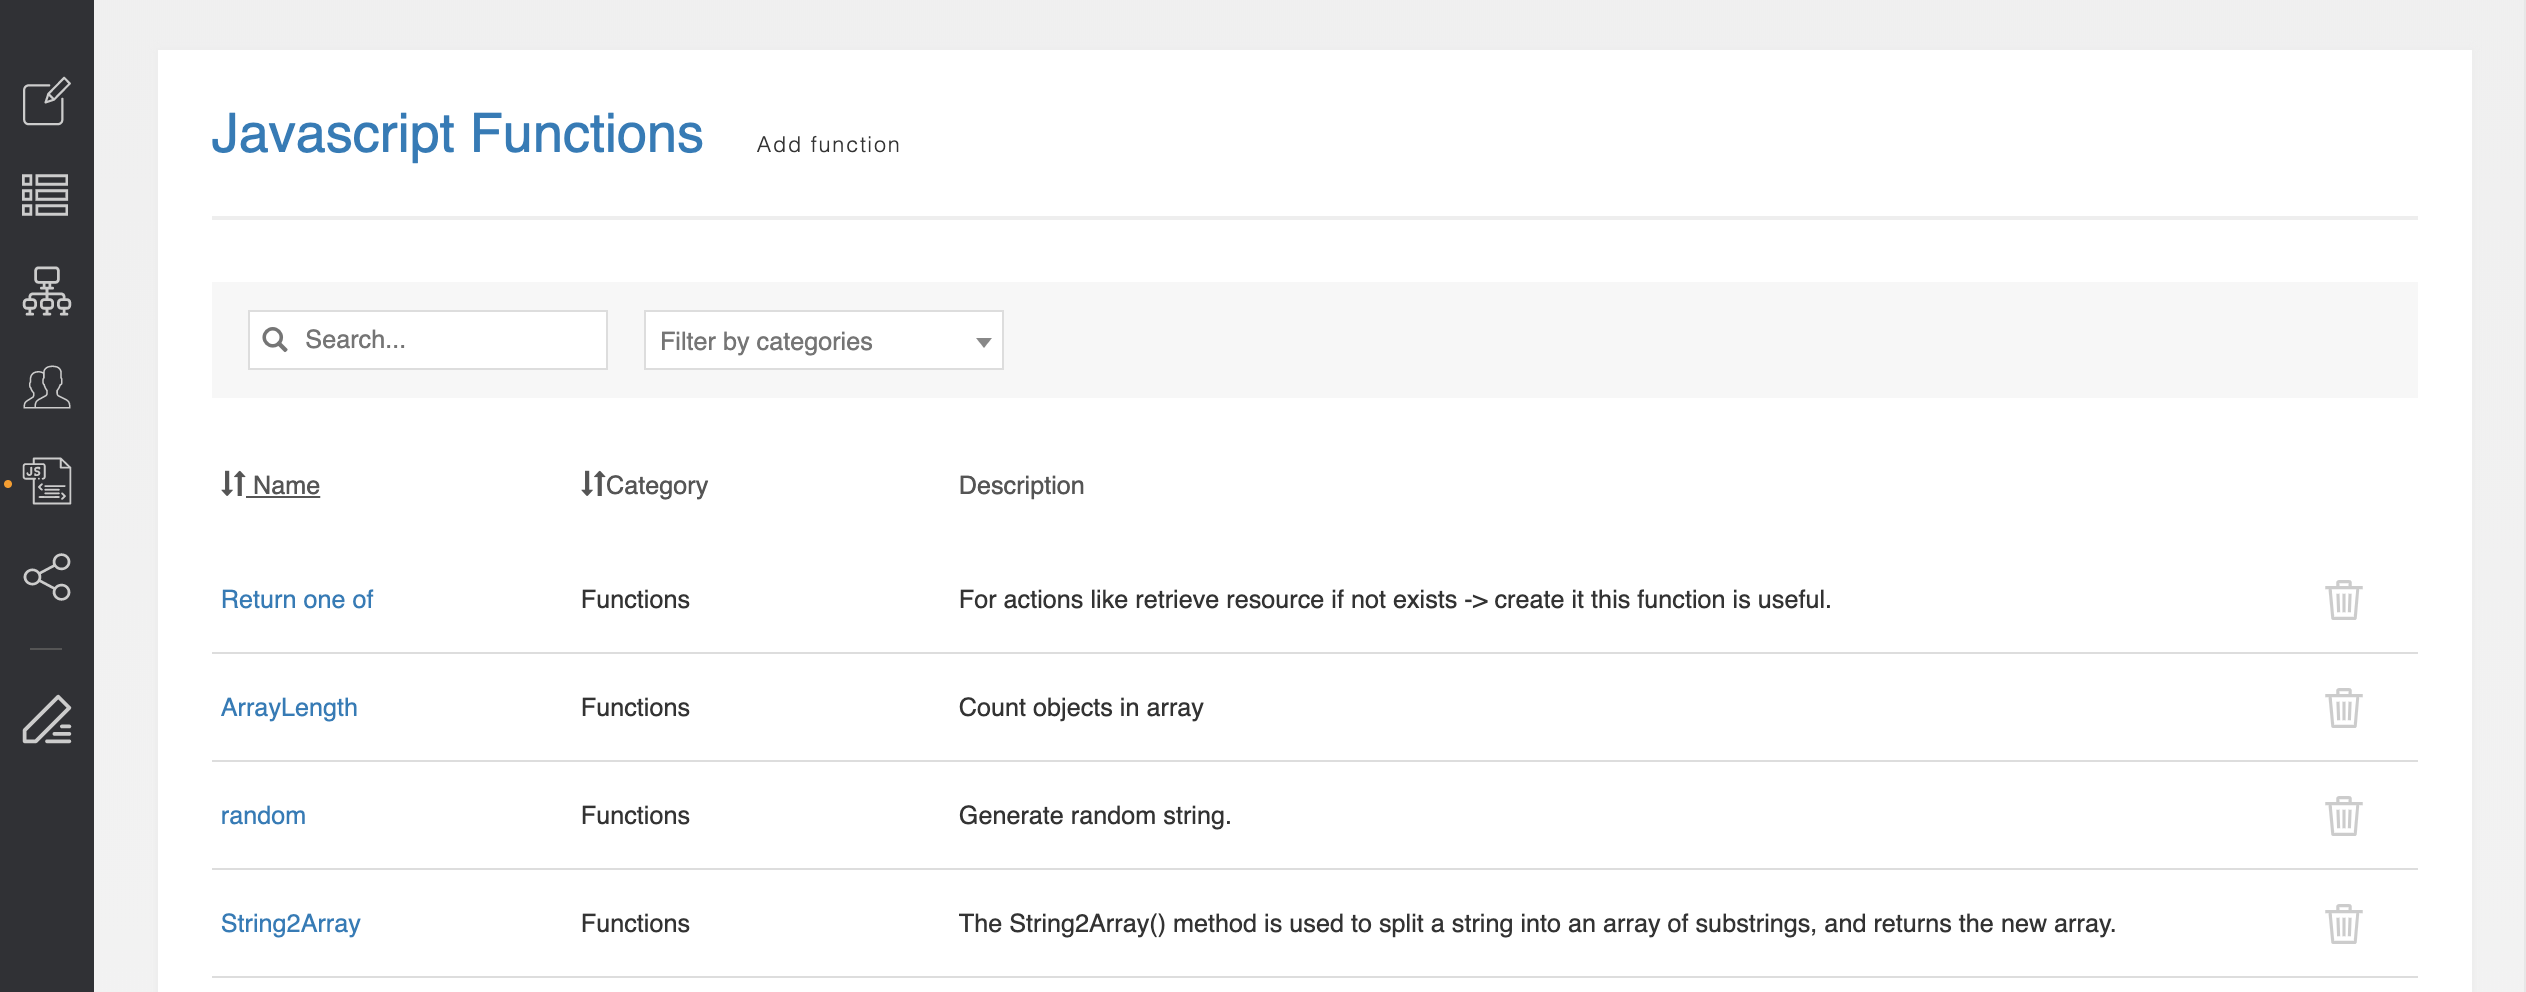
For advanced users wishing to perform more complex data manipulation, ACP allows for custom Javascript functions to be applied to ACP results.
For more information, see Javascript Functions.
Generic Connectors

Generic Connectors allows for users to create custom connectors for services not included in the standard connector service options.
For more information, see Connnectors.
Additional Information
To learn how to work with ACP, check out our Quick-start Tutorials:
Quick-start Tutorials:
For detailed information on working in ACP, see the ACP User Guide:
ACP User Guide
- User Management
- Workflow Overview
- Connectors
- Workflow Steps
- Workflow Options
- Executing Workflows and Export
- Initiator Conditions and Iteration
- Javascript Functions
- Template Workflows